1985-89 TOYOTA MR2 |
||||||||||||||||||||||||||||||||||||||||||||||||||||||||||||||
|
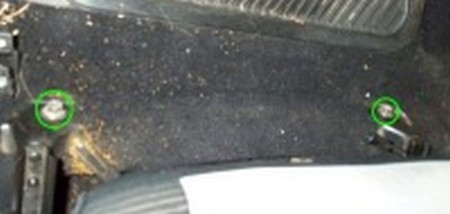
1. Remove the driver's seat for ease of access. Undo the four 14mm bolts that hold the seat in place, two in the front ... |
 |
|
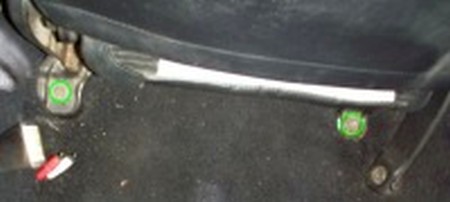
2. ... and two in the back. |
 |
|
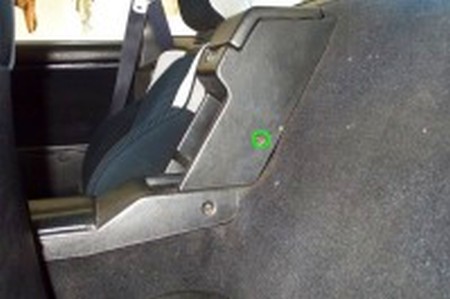
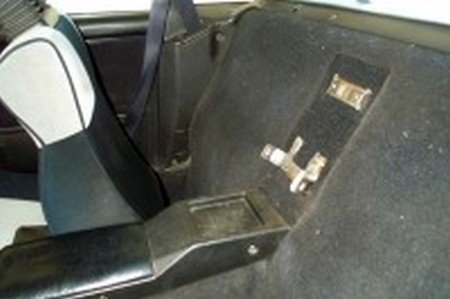
3. Now remove the vertical storage box by undoing the screw on both the drivers and passenger sides. |
 |
|
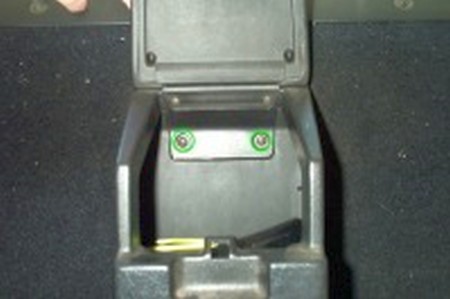
4. Open the lid and remove the top 2 screws there. |
 |
|
5. The storage box should then pull right out. |
 |
|
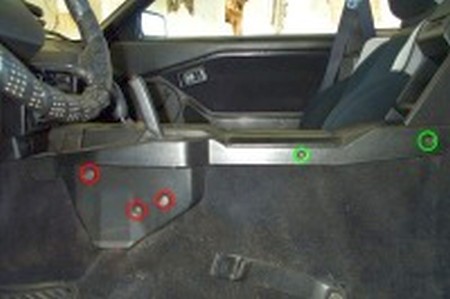
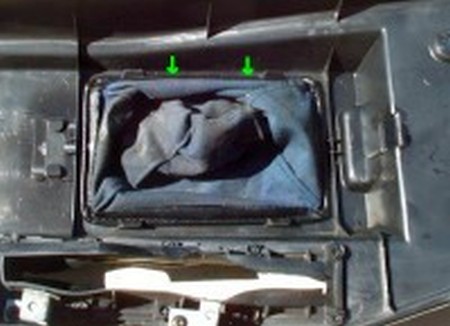
6. Remove the 5 indicated screws. There are 2 screws opposite the green circled ones on the passenger side that need removal. This is for 85/6s, later years will be a tad different. |
 |
|
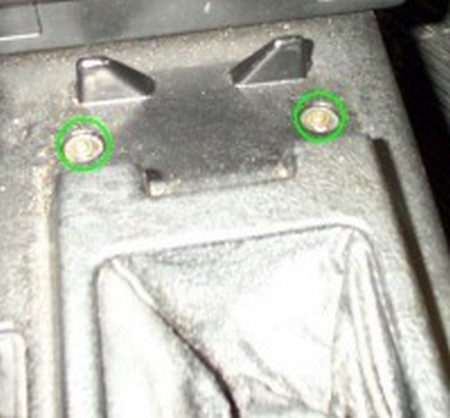
7. Remove the ashtray, and remove the 2 screws there. |
 |
|
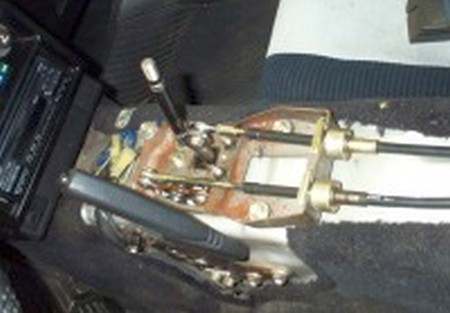
8. Remove the shift knob by simply unscrewing it, and then take out the center console. Lift it out from the rear of the console, and then slide the front of it over the shifter and the e-brake. Not a bad idea to take this opportunity to clean stuff up in there. |
 |
|
9. Now remove the old shift boot. It is simply held in place by 4 tabs. Just squeeze the edge of the shift boot. There's a wire that holds the boot in place. It should flex easily enough to get past the tabs. |
 |
|
10. Now, you need to reuse this wire in the new shift boot, so cut it out of the old boot with your favorite utility knife. Sand off the surface dust and attach this to the base of the new shift boot. You can simply staple it in. If you do this, just make sure to keep the staples as close as possible to the wire, and you will need to bend the ends to secure them in place. |
 |
|
11. Install the new boot into the console. It should just snap in place under the tabs. Re-installation of the center console is reverse order to removing it. If you are installing the ebrake boot at the same time, don't do that just yet though. |
 |
|
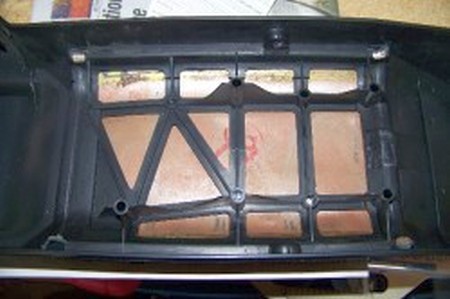
EBRAKE BOOT INSTALLATION
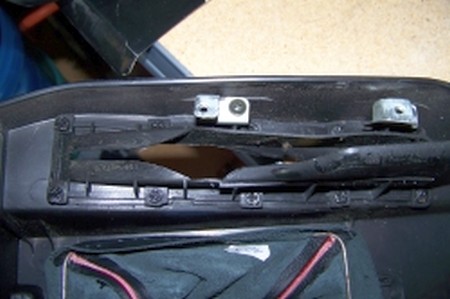
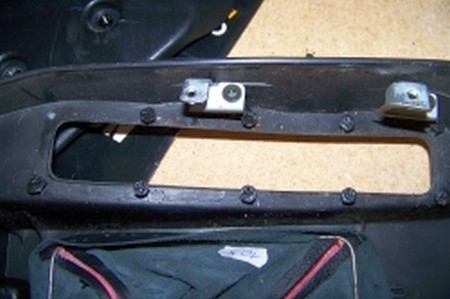
1. This is what the underside of the ebrake surround looks like. |
 |
|
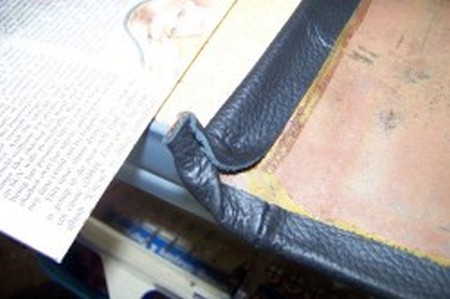
2. Remove the rubber e-brake surround by gently stretching the rubber over the melted plastic tabs. |
 |
|
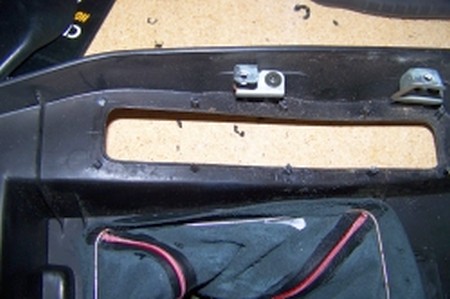
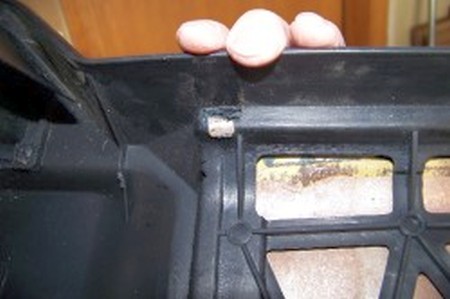
3. Trim off the flatened melted parts of the plastic pegs holding the old rubber surround in place. |
 |
|
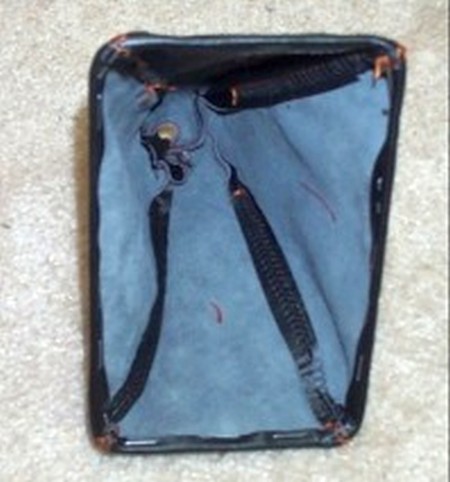
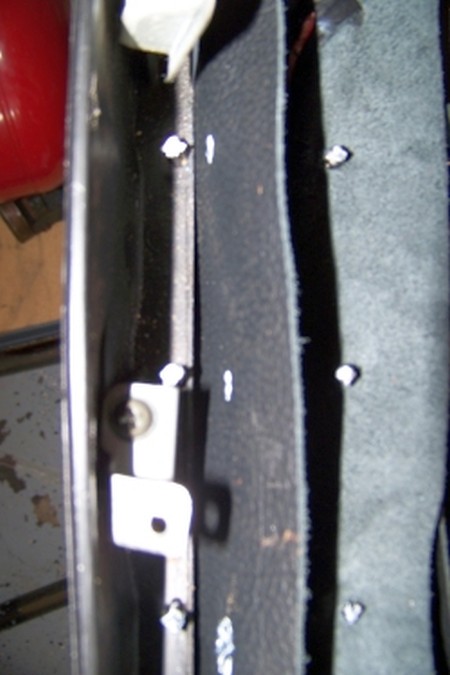
4. Put fingernail polish or some other marking compound onto the pegs, then line up the new e-brake boot and push the leather onto the fingernail polish. MAKE SURE TO KEEP THE HOLES CLOSE TO THE BOTTOM EDGE OF THE BOOT, CLOSER THAN ON THE PICTURE TO YOUR RIGHT. Start very close to the edge (1/4" or less) you can always punch new ones higher in the boot if you need to. |
 |
|
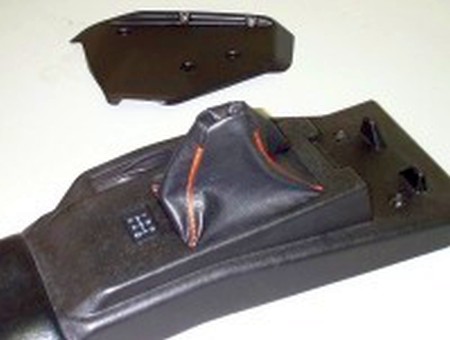
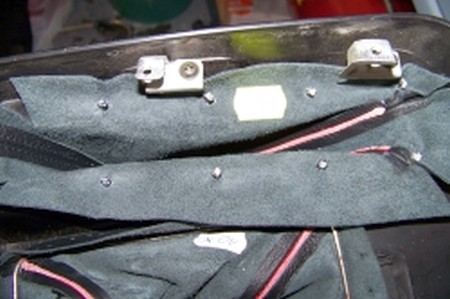
5. Punch holes in the leather where the fingernail polish left marks. Place the boot back into the center console and push the pegs through the holes punched in the boot. You might want to put a spot of glue where the leather connects with the pegs for extra hold. |
 |
|
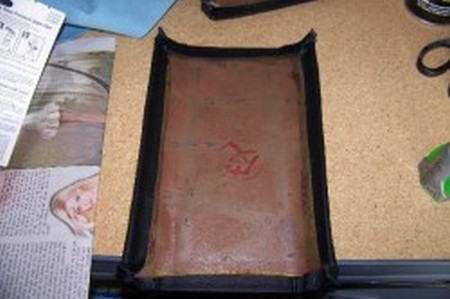
ARMREST COVER INSTALLATION
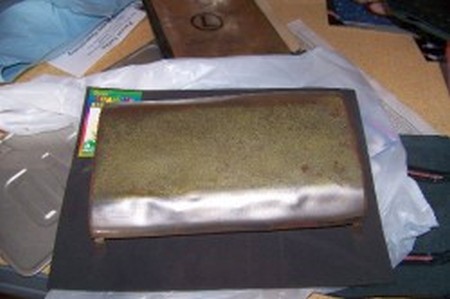
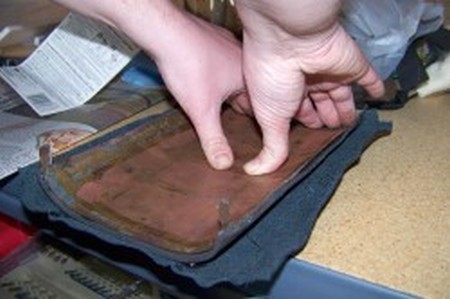
1. Remove the old arm rest from the center console by straightening the four metal tabs at the corners underneath the arm rest and push the arm rest off of the center console from underneath. |
 |
|
2. Remove the old, worn leather and pad from the metal frame of the arm rest.
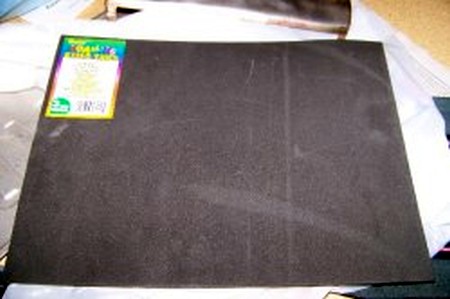
OPTIONALLY a piece of appropriate high density foam to act as a new pad and... |
 |
|
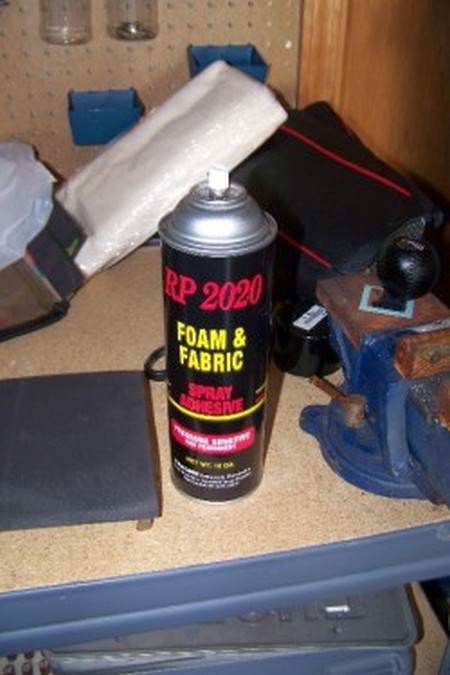
3. ... using a fabric glue... |
 |
|
4. ... adhere the pad to the metal frame. |
 |
|
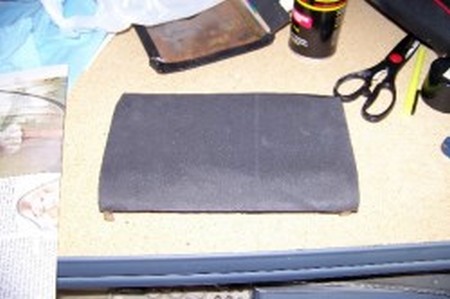
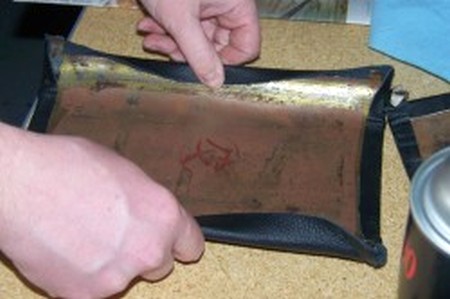
5. Line the new leather cover from with the armrest. |
 |
|
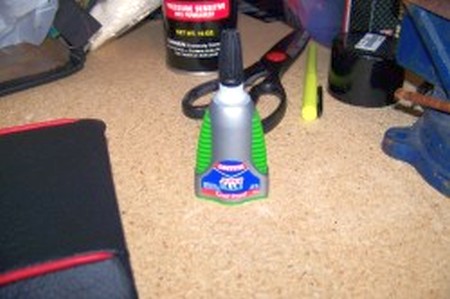
6. Using high strength glue, such as the super glue pictured below, fold the edges of the leather over the frame |
 |
|
7. and glue them in place. |
 |
|
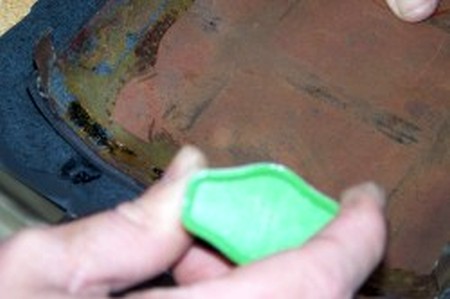
8. Make sure to wrap around the edges tightly... |
 |
|
9. ... and glue them. Clamps will be useful in holding this down until the glue sets. |
 |
|
10. Trim the leather as needed to ensure the folds over the 4 metal tabs at the corners of the pad are thin enough to fit through the center console. |
 |
|
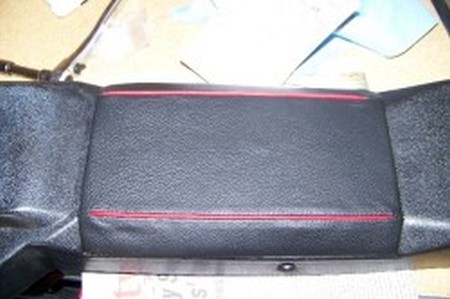
11. Reinstall the newly covered arm rest onto the center console... |
 |
|
12. ... by reversing the removal. |
 |
|
13. Reinstall the center console back into the car. |
 |
|
ENJOY YOUR NEW LEATHER BOOTS! |
|
|
Useful tip You have installed a product made out of genuine leather. As you know, to maintain a leather product in good condition, you should take care of it. We suggest occasionally (every 4-6 week for example) applying some leather conditioner/UV protector to keep your leather from drying up in the sun and cracking. |
|
Please subscribe to our newsletter.
Get an instant 20% discount and enter our montly $100 CASH sweepstakes!