2001-06 MINI COOPER |
||||||||||||||||||||||||||||||||||||||||||||||
|
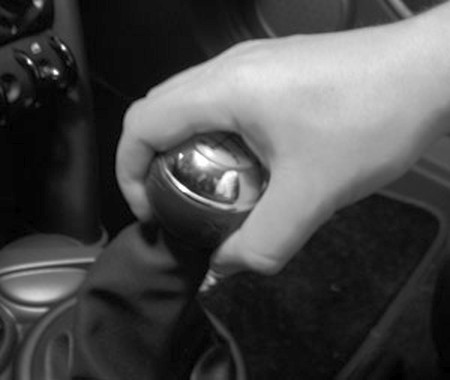
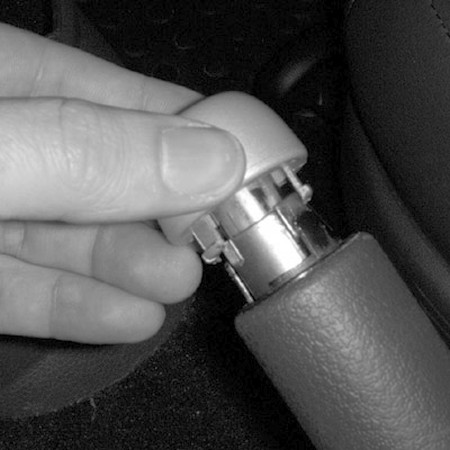
1. Stand inside your car with body braced against something sturdy. If you have a glass sunroof it wouldn't hurt to open it in case you throw your body against it by accident while pulling the stock knob off. Yes, you guessed it, you will be pulling with quite a bit of force to get the stock knob off. It is a pressure fit with NO mechanical fasteners. Just pull straight up until it releases. If that doesn't work, try it again :) |
 |
|
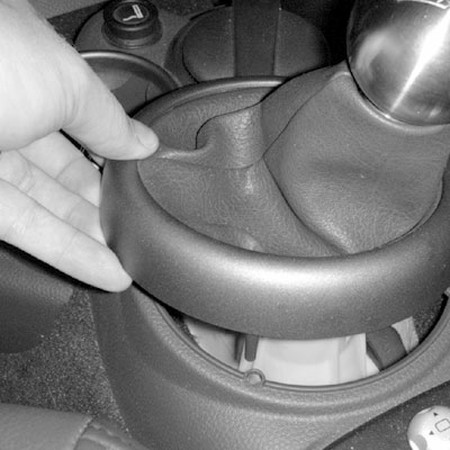
2. Pull up on the trim ring by using two hands, one on each side. Pull straight up. |
 |
|
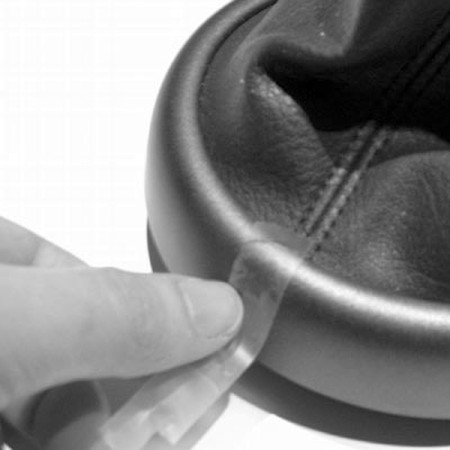
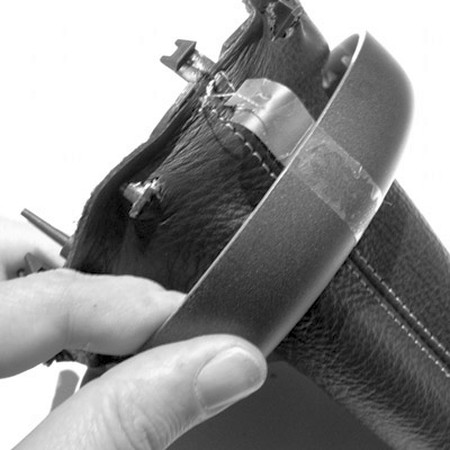
3. Put a piece of tape on the plastic ring that lines up with the double stitch in the vinyl boot. |
 |
|
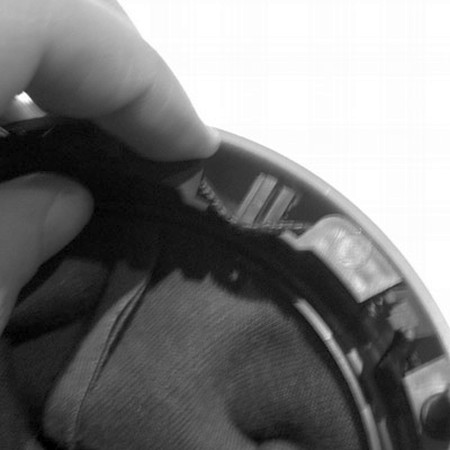
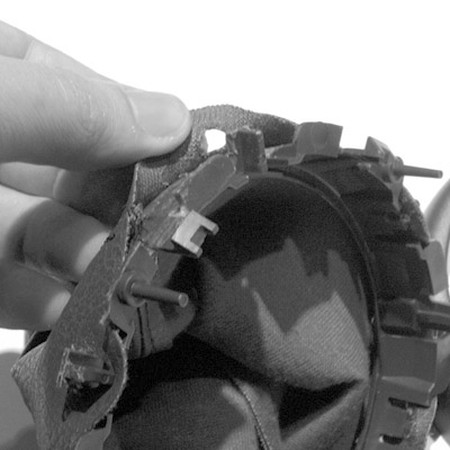
4. Remove old shift boot by gently pulling and unhooking from the plastic posts. Remember (or mark on a piece of tape where the double stitched side is). This will be important to know when you attach the new leather shift boot. |
 |
|
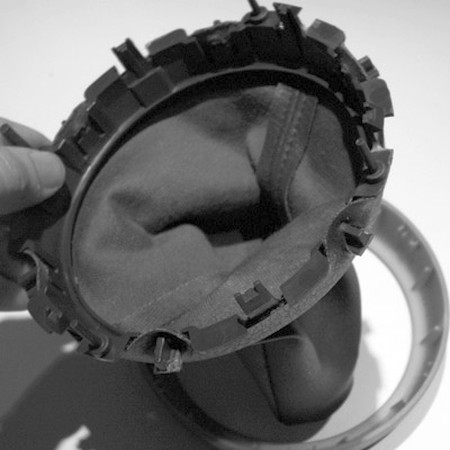
5. Remove inner ring from plastic frame. |
 |
|
6. Place a piece of tape inline with the double stitching on the inner ring also, as this must line up with the tape on the trim ring. |
 |
|
7. Gently pull old boot from the hooks. There is also som glue in there, but it's easy to pull apart. |
 |
|
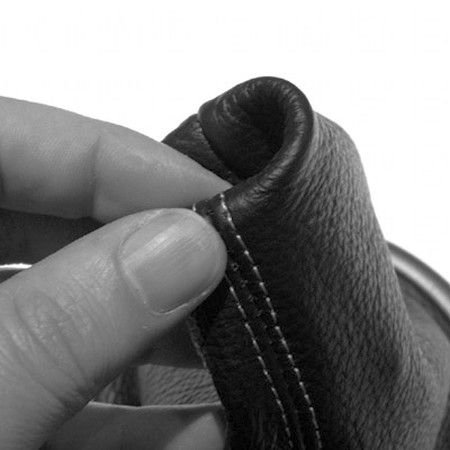
8. Install new boot in same way, keeping the double stitch side of the shift boot facing the same direction as the old one so when you put it back in place it looks good. |
 |
|
9. Line up tape on outer trim ring with the double stitching on the shift boot and place trim ring back on. Gently push the tabs into the corresponding slots in the trim ring. |
 |
|
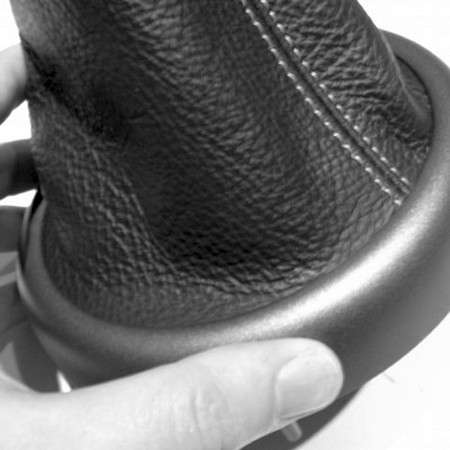
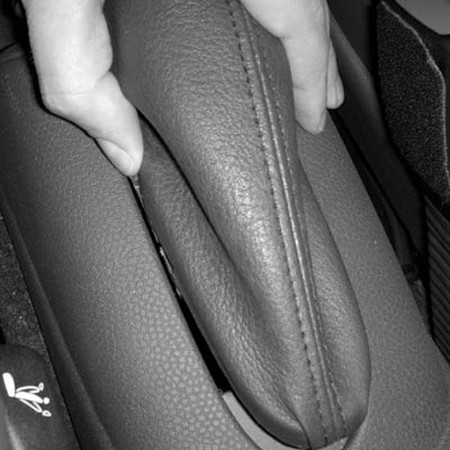
10. Place completed shift boot and trim ring back in car being cautious to line up the plastic posts with the correct holes. They only line up one way which is why you used tape to line everything up along the way. |
 |
|
11. You may also want to roll the leather at the top so it looks good. If you have a short shift kit you may want to roll the leather in a bit more so the boot doesn't look too baggy. |
 |
|
12. Squeeze the plastic frame from either side and pull straight up. There are also tabs on each end, so try to wiggle it out. It's actually fairly easy. |
 |
|
13. Gently pull off the plastic trim ring from the end of the handle. |
 |
|
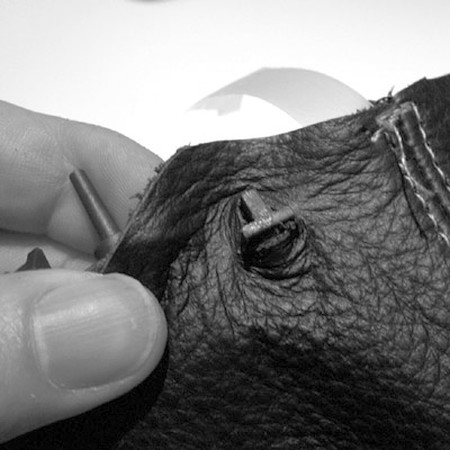
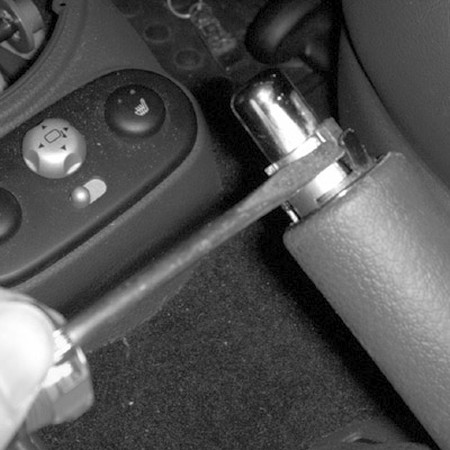
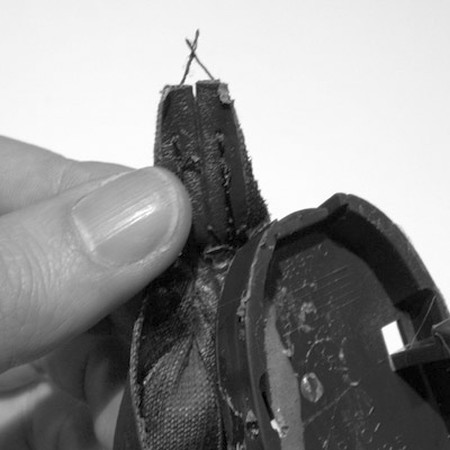
14. Using a thin screwdriver to pry the two tabs back on the main handle. While holding the tabs out, slide the handle off. This is a bit tricky, so you may have to work on one tab at a time while putting pressure on the hand so the other tag doesn't go back into its slot. The whole thing should slide off with the boot. |
 |
|
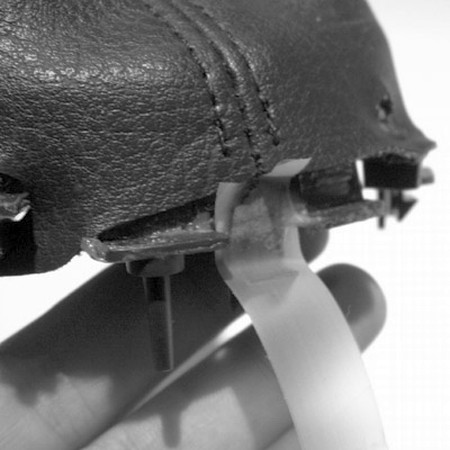
15. Remove old brake boot by gently pulling and unhooking from the plastic frame. Remember (or mark on a piece of tape where the double stitched side is). This will be important to know when you attach the new leather ebrake boot. There is also a tie wrap around the handle that needs to be cut. 501 382 307 |
 |
|
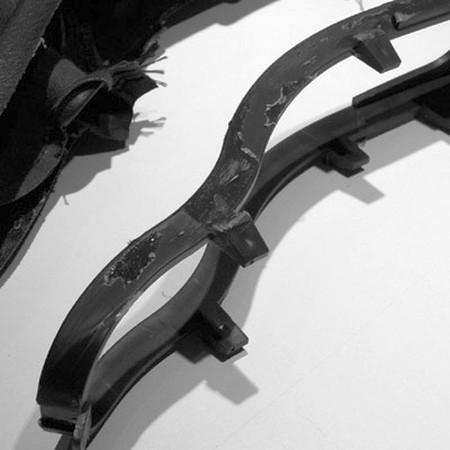
16. Here is what the frame loks like. |
 |
|
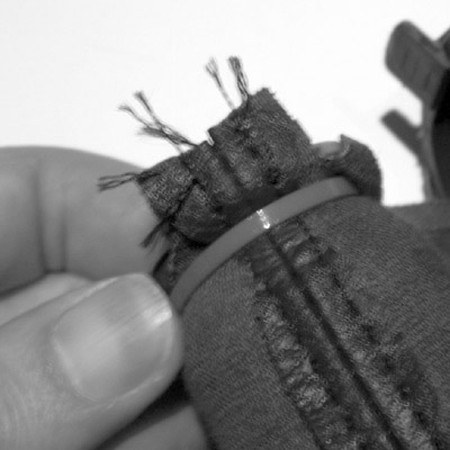
17. Place the new boot on the frame and start wrapping the leather tabs around the frame. |
 |
|
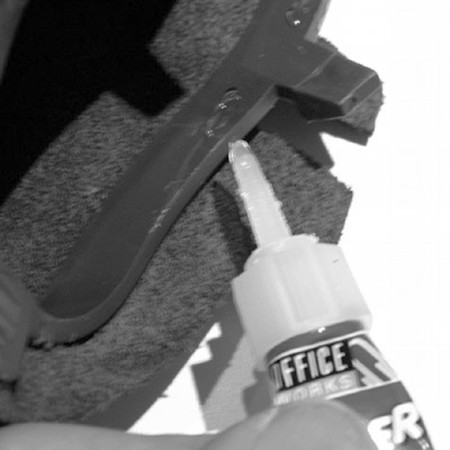
18. It helps to put a bit of fast drying super glue on the tabs and around the frame in a few locations to hold it in place while you work. |
 |
|
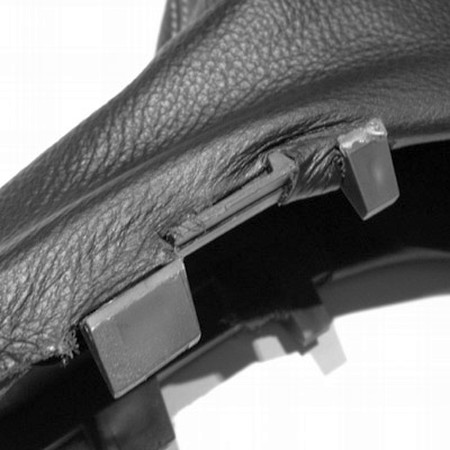
19. Here's what it should look like. Be careful to keep the leather away from the four tabs so it goes back in the car fine. |
 |
|
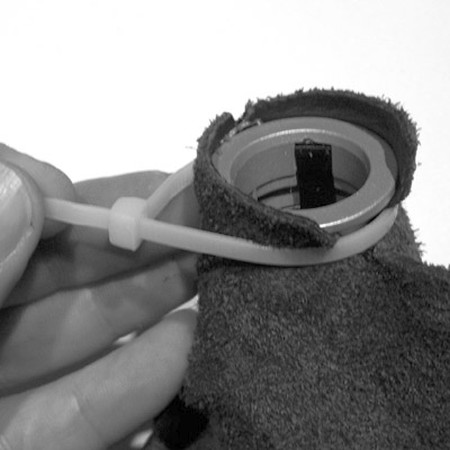
20. Place the main part of the handle back into the inside out boot and install a new tie. |
 |
|
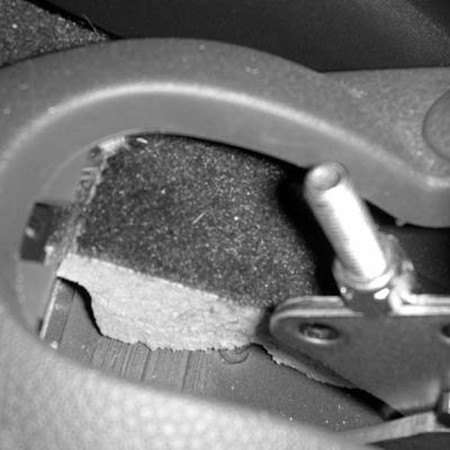
21. Place the whole unit back in your car and be careful to watch the four tab locations so the new frame fits snug. Replace the end cap and drive away! One thing we noticed is that there is a bolt sticking up in the car that could tear your new shift boot. Take a few minutes and wrap that mug up with some tape while you've got your car apart. |
 |
|
ENJOY YOUR NEW LEATHER BOOTS! |
|
|
Useful tip You have installed a product made out of genuine leather. As you know, to maintain a leather product in good condition, you should take care of it. We suggest occasionally (every 4-6 week for example) applying some leather conditioner/UV protector to keep your leather from drying up in the sun and cracking. |
|
Subscribe to our newsletter to get an instant 20% discount!