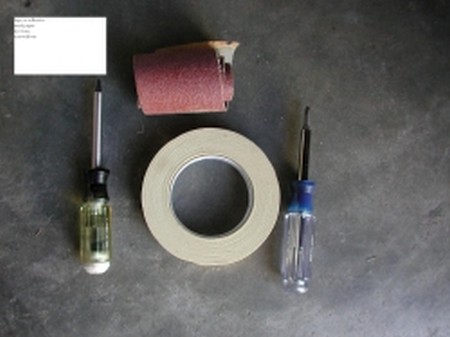
1) Make sure that you have the following items available.
1) Phillips and flat blade screwdrivers
2) t20 torx
3) Sandpaper (optional)
4) Tape or adhesive
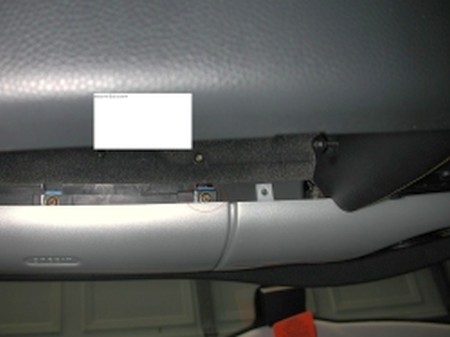
2) Remove these screws (it's the underside of the dash)
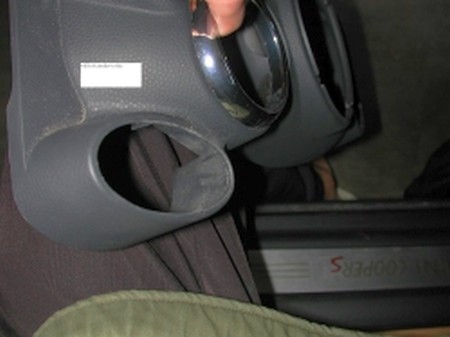
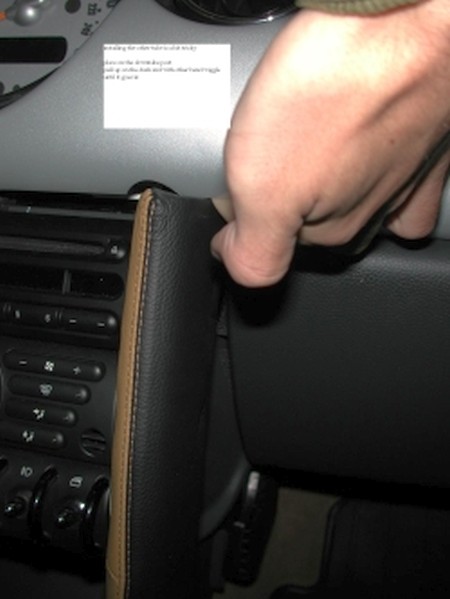
3) Grasp the dash and pull. It pops out but it's still in
place (it's OK if it comess of though).
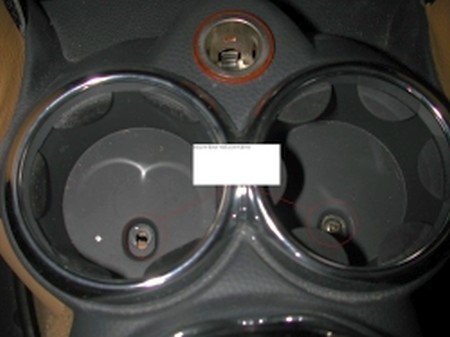
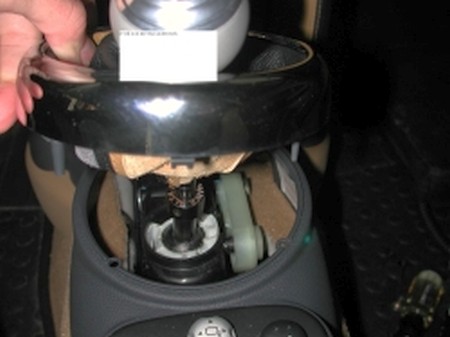
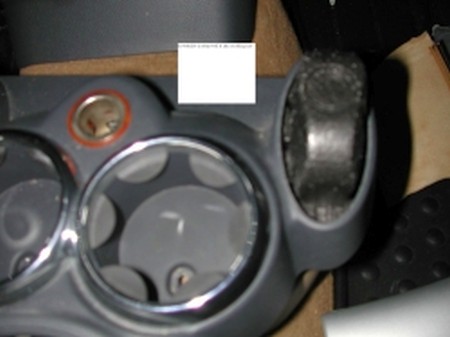
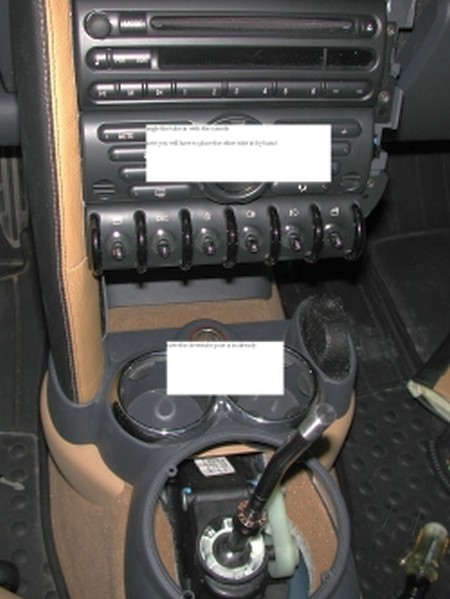
4a) Remove the screws at the bottom of the cupholders
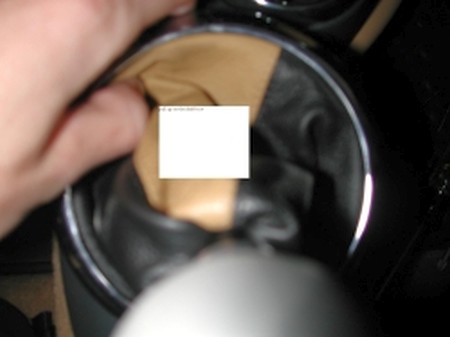
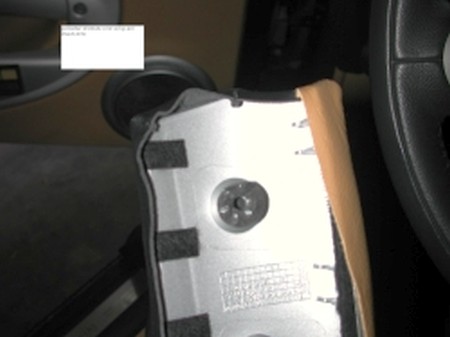
4b) Pull up on the shift boot
4c) That's what the underside
looks like
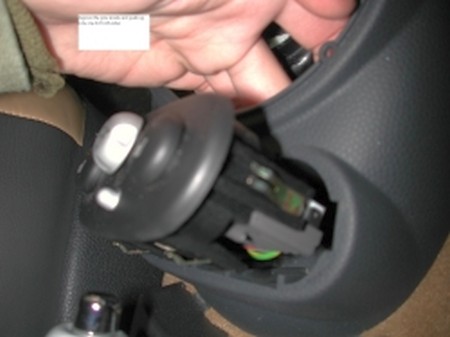
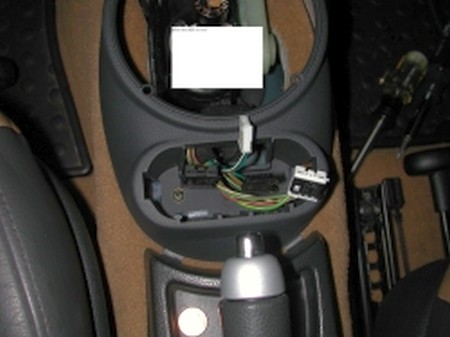
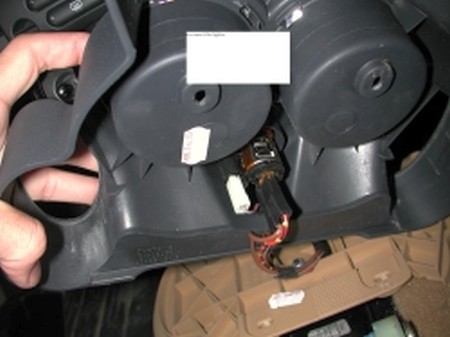
4d) Depress the pins (one per side)
inside out and remove the the mirror panel
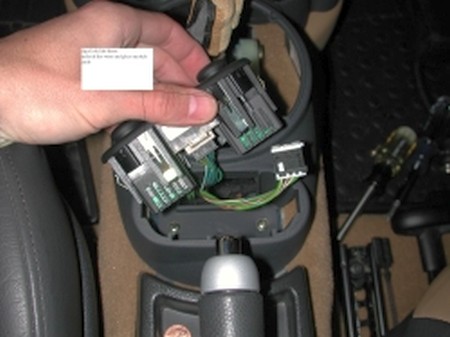
4e) More detail of the mirror panel.
Disconnect the wire and remove the module
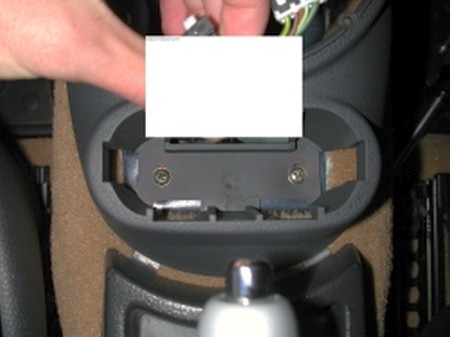
4f) After the module is taken out you
can see more screws underneath it
4g) Remove them
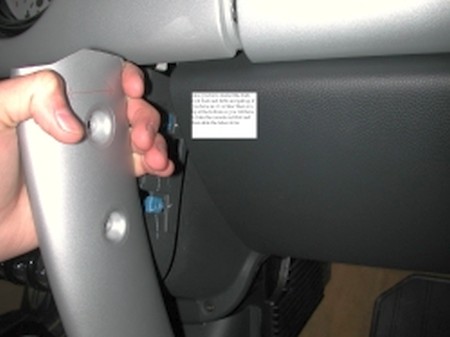
5) Remove the torx screws holding the side of the downtubes.
Once the console moves enough to let the top of the tubes clear the
dash pull up on them.
The 05+ models have their downtubes with a lip a the bottom so you need to
remove the entire console with the downtubes out of the car. An extra step is
disconnecting the lighter before it can be taken out.
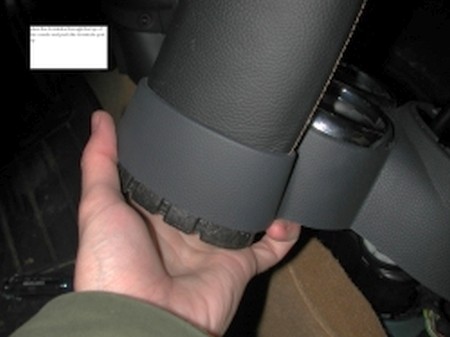
6) Earlier year downtubes sit on these little posts. Push the posts out.
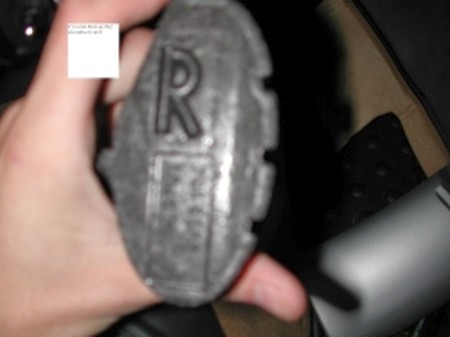
7) For ease the downtubes are marked on the inside with R and L.
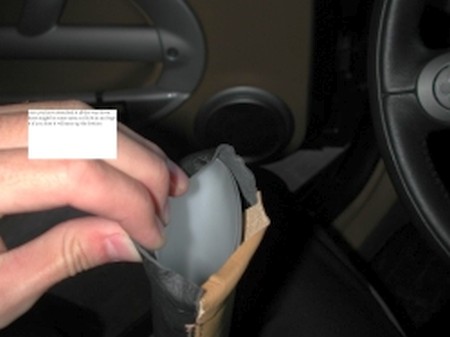
8) Put the top of the downtube cover on top and stretch it down. You
can use tape or adhesive to have it stay on, but the profided sewn corners
should do the job just fine.
9) The bottom fold of the downtube covers can be either folded and
glued inside the downtubes or simply trimmed.
10) Finished bottom of downtube cover (I chose to glue it
around the bottom edge of the downtube
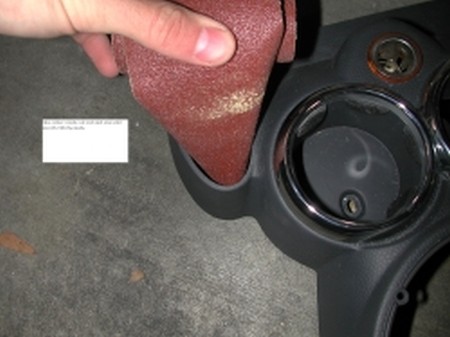
11) Disconnect the lighter
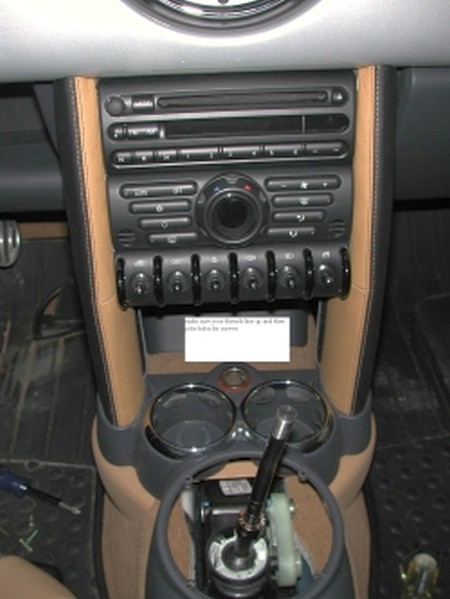
12) Take the center console out of the car (you have already if you have
a 05+) and sand the inside of the doorcup until the edge is smooth with the
inside. The leather cover changes the thickness of the downtube hence some extra
room in it's socket is necessary.
13) Here's what you want it to look like
14) Reconnect the lighter (not on the 05+) just yet
15) Place the downtube through the top of the console and push it up
(05+, do both of them at the same time) OR reinsert the posts from below and
either downtube from the top onto it's post post.
16) 01-04: Angle the tube in with the console and reinstall (without
screwing it back in) the center console. Note that the downtube post is in
already for the other downtube.
05+: reinstall (without putting the screws back in) the console with both
downtubes installed in it. Make sure to reconnect the lighter.
17) 01-04: reinstall the other downtube by seating it on the post,
pulling up on the dash until the top of the console goes into place.
All years:
Make sure your threads are aligned correctly. If they are, you have two options:
- installing the screws now (will be visible)
- removing partly the outside fold of the downtube so that you can reinstall the
screws underneath the leather
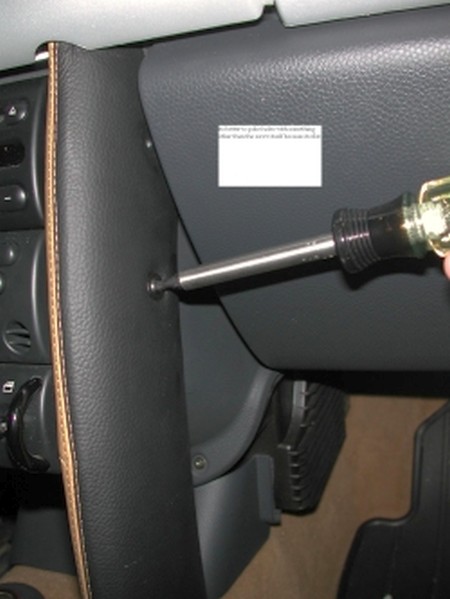
18) If you are using the first method, make sure to use a sharp tool for
poking the holes, not your screwdriver. Then use the screwdriver to reinstall
the screws.
If you are using the second method, reinstall the screws, realign the cover over
the screws.
Reinstall all the screws in the center console, reconnect mirror module and
lighter.
Congratulations, you're DONE!
Useful tip
You have installed a product made out of genuine leather. As you know, to maintain a leather product in good condition, you should take care of it. We suggest occasionally (every 4-6 week for example) applying some leather conditioner/UV protector to keep your leather from drying up in the sun and cracking.
Redline Automotive Accessories Corp. will not be held liable for any labor, incidental or consequential damages of any kind. Proceed at your own risk.