1995-99 SUBARU LEGACY |
||||||||||||||||||||||||||||||||||||||||||||||||||||||||||||||||||||||||||||
|
1. Begin by opening the lid to the center console. At the front of the center console you will see two screws holding on the plastic trim piece that surrounds the e-brake lever. Remove these screws. |
 |
|
2. Lift the loosened trim piece over the e-brake handle and set it aside.
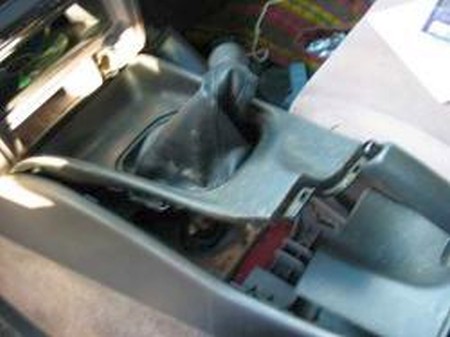
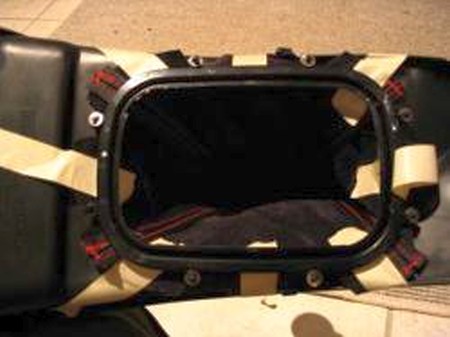
3. Grab the shifter surround from the rear (revealed by removal of the e-brake surround), and lift it out. It may be necessary to pry with a screwdriver from the sides to get it loose. The shift boot will still be attached to the shift lever, so don't try to remove the trim, just get it loose.
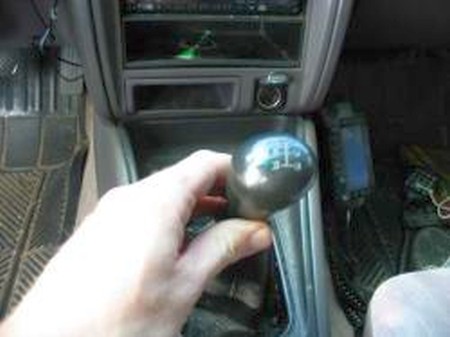
4. Twist the shift knob counter-clockwise. It should spin free of the boot and trim piece, but if it doesn't, spin the trim with it (as loosened in step 3). It will take a number of revolutions to remove it, so be patient. |
 |
|
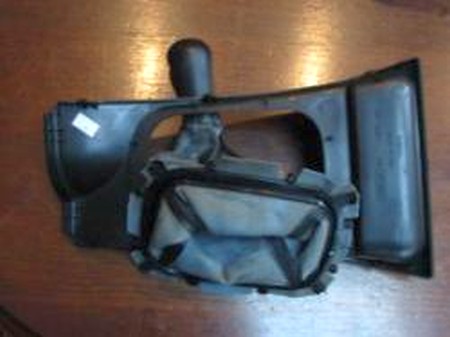
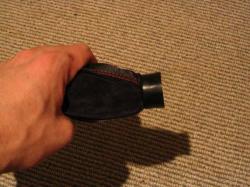
5. Lift the entire assembly from the shift lever (plastic trim, vinyl boot, and shift knob) as a unit. |
 |
|
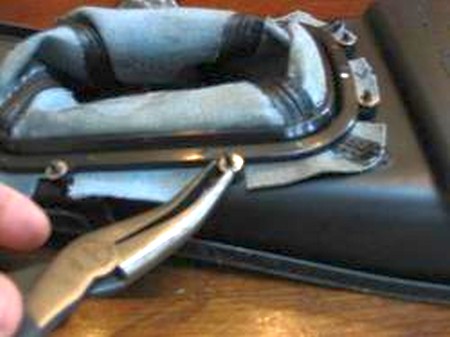
6. Flip the trim piece upside down. You will see a plastic ring holding the shift boot on, secured by small metal fasteners. To remove these fasteners, use a pair of needle nose pliers to lift them off. Expect to spend some time doing this, as they do not come off easily. However, they will be re-used, so remove them carefully (although don't worry about bending them, as you can bend them back if needed). Take care to not break off the plastic studs they fit over. |
 |
|
7. Remove the boot, knob, and plastic ring from the trim piece as a unit. |
 |
|
8. Remove the plastic trim piece from the boot. It is glued on very well, so it can be difficult to get it started, but will be much easier once it gets going. |
  |
|
9. Invert the boot. You will see a black plastic ring with the old boot sandwiched between this ring and the knob. Remove this ring by pulling it away from the shift knob. |
 |
|
10. Invert the new boot. |
 |
|
11. Insert the shift knob into the inverted boot, with the white end leading (so it will come out of the end of the inverted boot). |
 |
|
12. Align the end of the knob with the end of the boot, and then pull the knob back approximately 1/4 inch (~1cm) INTO the boot. This will ensure there will be no slits showing at the top of the boot. |
 |
|
13. Re-install the plastic ring, with the wider end facing away from the boot (as it was installed before). It may be stiff, but will go into place with some force. |
 |
|
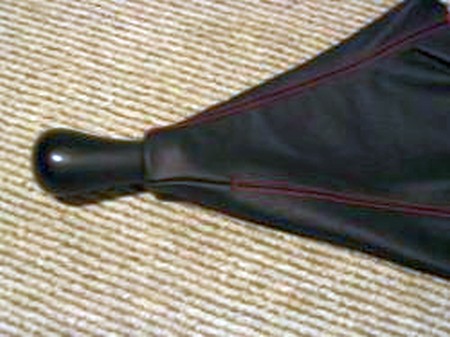
14. Flip the boot right-side-out. Inspect the area around the knob to ensure there are no visible openings in the leather. If so, repeat steps 11-13 as needed. |
 |
|
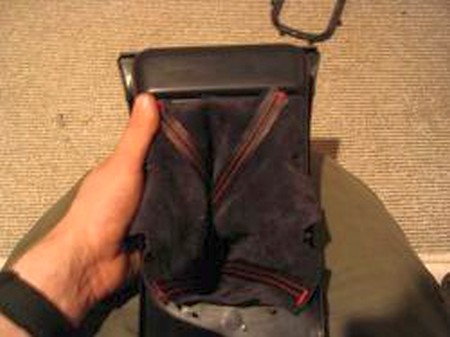
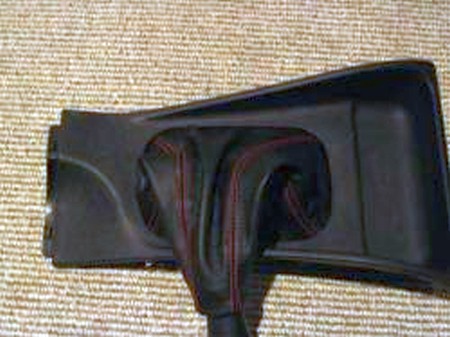
15. Slide the boot back into the plastic trim piece. Fan the boot out so it covers the entire space. The shorter threaded seam should point towards the passenger's seat when finally assembled. |
 |
|
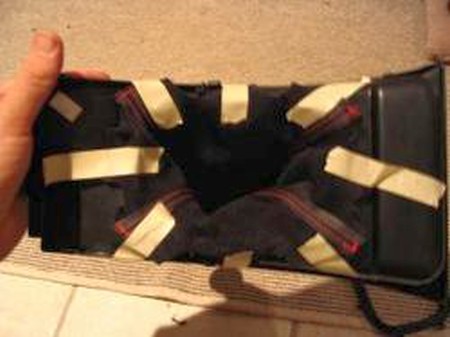
16. If working alone, you may find it necessary to tape the boot into place, as is shown below. With an assistant, this should not be necessary. Make sure there is not leather covering the plastic studs (there are spaces provided in the leather for the studs to come thru). |
 |
|
17. Re-install the plastic ring. It is not necessary to glue it, although you may if you desire a more secure fit. There is a small "F" on the front of the plastic ring, and it is directional, so pay close attention to this. Re-install the retaining metal clips, bending them as needed to achieve a secure fit. Once the ring is secure, remove any excess tape, if used. |
 |
|
18. Flip the assembly over and ensure the leather is evenly seated around the entire trim piece. If there are any creases or folds in the leather, flip it back over and pull them out gently. |
 |
|
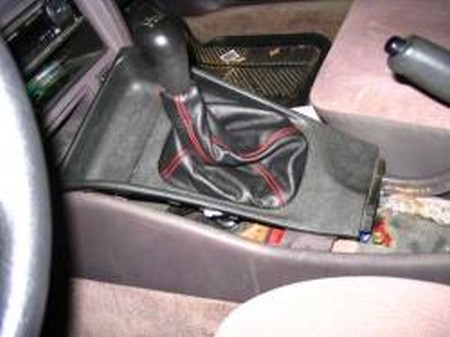
19. Loosely slip the trim and boot over the shift knob. Screw the knob onto the shift lever. Because the leather is so much thicker than the stock vinyl, it may be necessary to spin the entire trim piece with the knob and boot. Install the trim piece, reinstall the ebrake surround - if you are installing the ebrake boot as well, do not reinstall yet, proceed to 20 below. |
 |
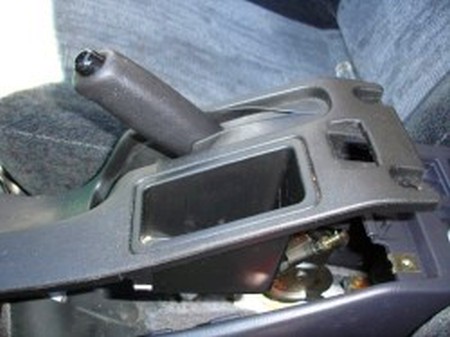
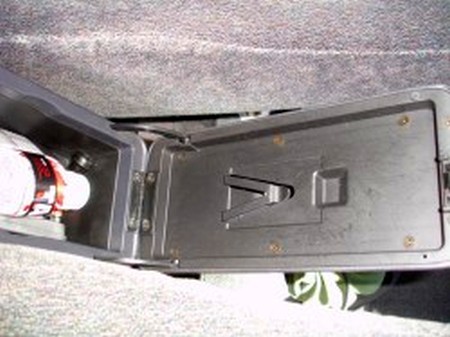
20. Pull the ebrake in the up position. |
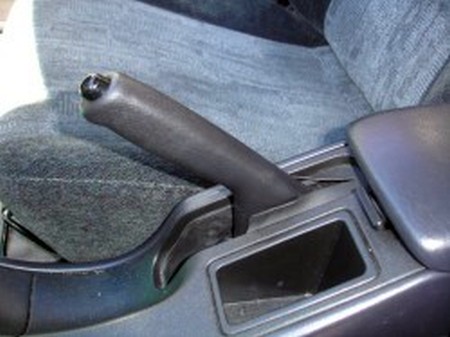 |
21. Remove the two screws at the front underneath the arm rest. |
 |
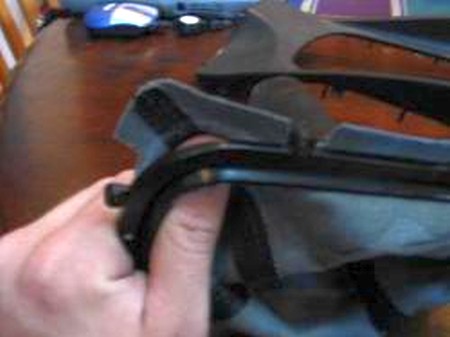
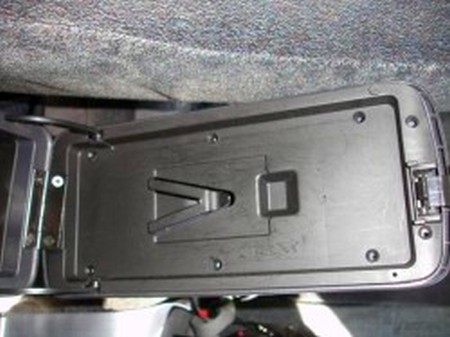
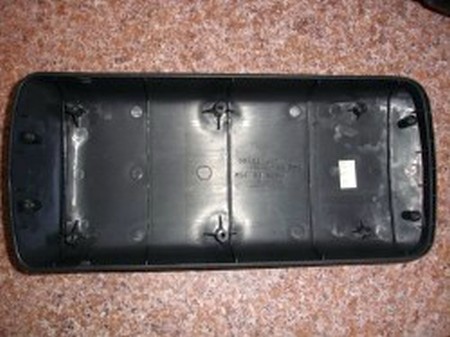
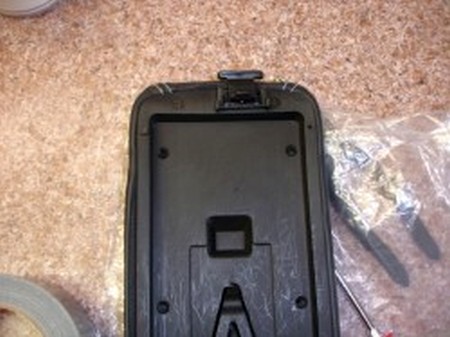
22. Carefully pop the ebrake plastic panel free and pull up and off of the ebrake. |
 |
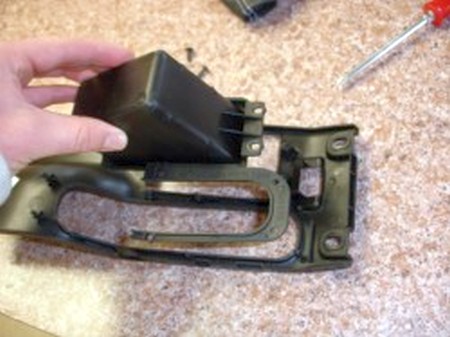
23. Turn the panel upside down and remove the tiny metal fasteners. |
 |
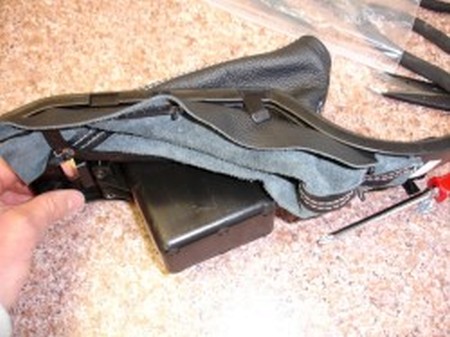
24. Remove the three screws holding the small cell phone tray to the panel. Remove the old boot. |
 |
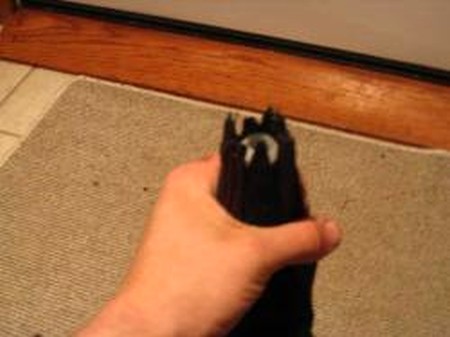
25. Get familiar with how the ebrake boot fits since the old piece wasn't really a boot to begin with. Make sure you leave a lot of slack for flexibility |
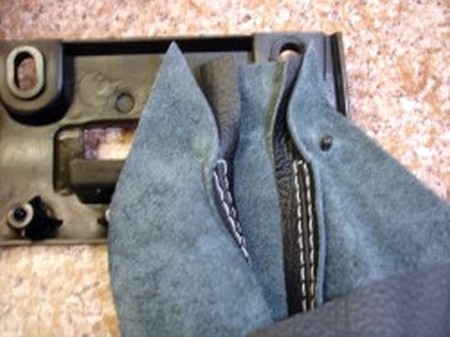 |
26. Tack down the boot by making a few holes for the plastic pins with a small hole punch or with the tip of a sharp knife.
NOTE: be careful when using the tip of a knife to make holes not to slip and cut a large slit in the leather. Just steadily pull the leather over the tip and stop when you see the tip pop out 2mm.) |
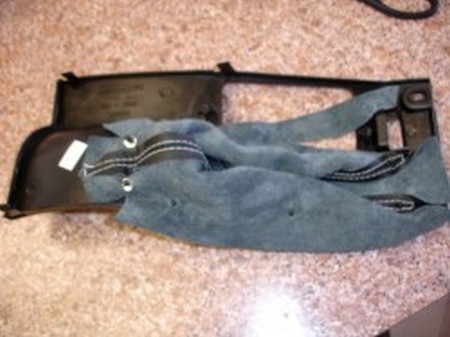 |
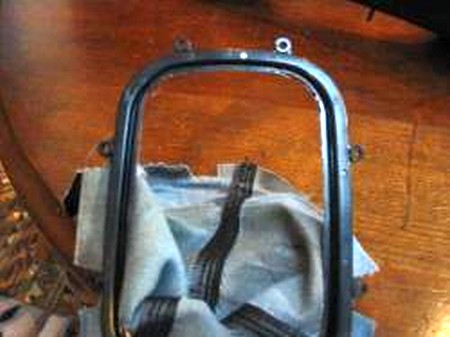
27. Set the panel back into the car and feed the ebrake through the leather boot and check for full travel.
NOTE: gently operate the ebrake and adjust the ebrake accordingly). Reinstall everything in the reverse order of removal. |
 |
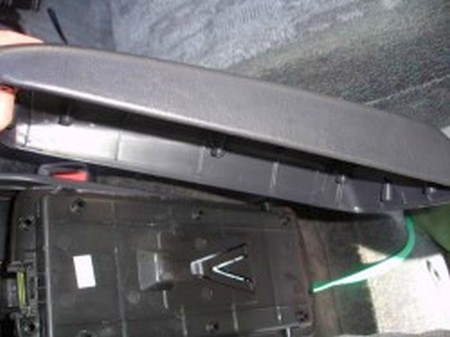
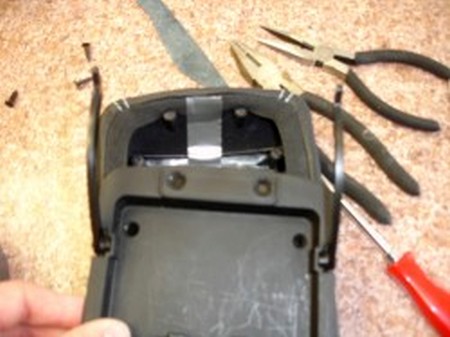
28. Lift the armrest up and remove the two bottom hinge screws. |
 |
29. Pull out the two curved plastic pieces still attached to the arm rest. Remove the two curved plastic pieces. |
 |
30. Separate the plastic lid by removing the eight screws on the inside |
 |
31. Wrap the new leather cover around the plastic lid. |
 |
32. Tape the front and back elastic edges down so they don't get in the way of the screw holes. Place the two curved plastic pieces back on their plastic pins on the lid before replacing the lid |
 |
33. Replace the wrapped plastic lid with the bottom piece. Make sure the lid fastens evenly with the leather cover over it. Insert the two curved plastic pieces into the slots and replace the two hinge screws.
Done! Since the leather arm rest is installed between the plastic pieces, the latch is a bit tougher to operate. Just take a metal key or knife and shave a very small amount of plastic off the latch and it will be easier to unlatch. |
 |
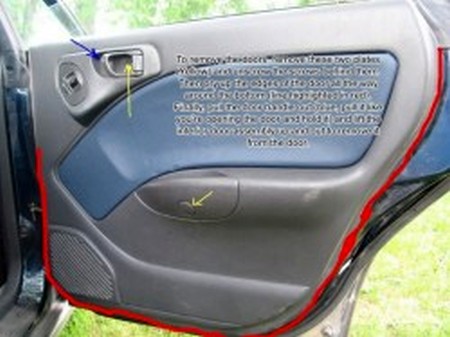
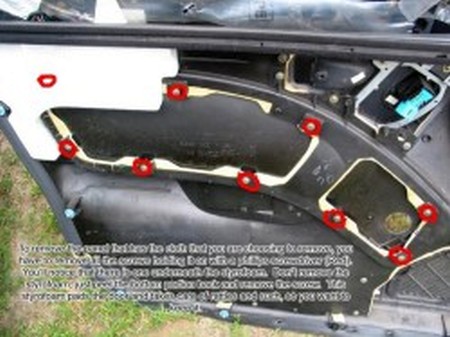
INSTALLATION OF DOOR INSERTS - REAR
34. Remove inside door panel by unscrewing the door lever screw and the door handle screw. There are plastic covers over the two screws.
35. Pop out the plastic pins around the bottom-outside edges of the door panel and pull the entire panel upward slowly to slide the top of the panel window sill
36. Unplug any wires that may get in your way (Note you don't have to unplug the window switches but it may help)
|
 |
37. Remove the screws surrounding the inside plastic door insert panel. There is one screw under the Styrofoam so you can either remove the foam or simply puncture the screw driver where the screw is underneath it (Note to put the foam back when you are finished because the foam reduces rattles).
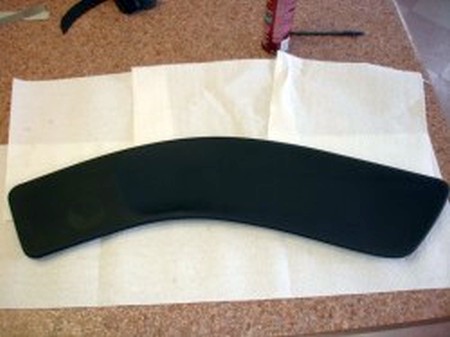
38. Take the door trim panel and separate the old door trim from it. |
 |
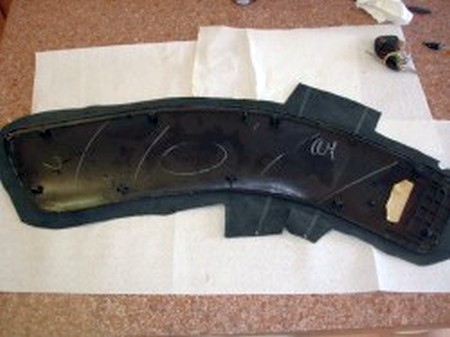
39. Clean the surface of the plastic door insert panel with some GooGone and a wash sponge to remove the old glue. Somewhat dry rubbing works best.
40. Make sure the surface is completely clean and dry before placing the leather inserts on it. Place some newspaper underneath the plastic and leather pieces if you have a spray on adhesive.
41. Line up the the leather door insert in the general location and cut perpendicular slits along the bottom inside curve so the leather can wrap around evenly. |
 |
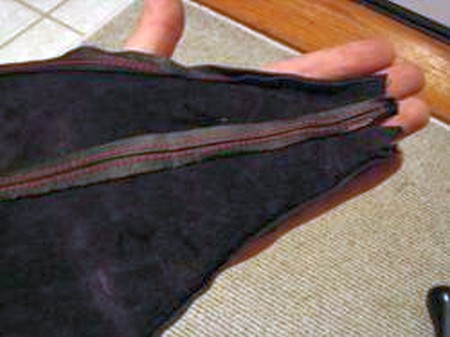
42. If you have the 2 stitched stripe pattern like the one shown, line up the front stitch line on top of the front edge of the concave indent section on the plastic insert panel).
43. Spray on a decent amount of adhesive in between the leather and plastic but don't completely wrap the leather around the panel because it may need adjusting.
The adhesive doesn't dry immediately so you have a good 10 min of time to adjust after you place the trim back in the door panel to check the alignment. |
 |
44. After verifying that the insert is in the right place on the plastic panel, trim up the outer edge of the leather insert and apply additional adhesive where necessary.
Don't cut off the edge of the stitches because they could unravel)
45. To install the door insert into the door panel, just install the screws for the insert. Remember the screw that is underneath the foam.
46. Plug in any wires, hang the door panel in the window sill, pop the plastic pins back into place, and replace the door handle and lever screws.
|
 |
|
Congratulations, you're DONE! |
|
|
Useful tip You have installed a product made out of genuine leather. As you know, to maintain a leather product in good condition, you should take care of it. We suggest occasionally (every 4-6 week for example) applying some leather conditioner/UV protector to keep your leather from drying up in the sun and cracking. |
|
Please subscribe to our newsletter.
Get an instant 20% discount and enter our montly $100 CASH sweepstakes!