2005-09 SUBARU LEGACY |
||||||||||||||||||||||||
|
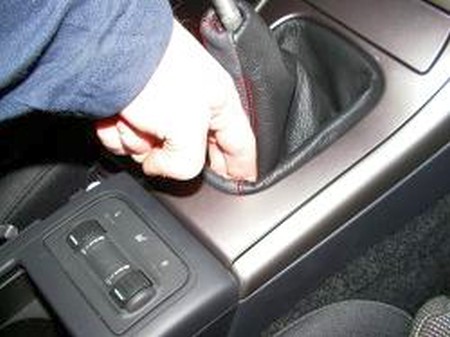
1. Remove the shift knob. It should twist right off, counter clockwise. If it's tight, use a towel wrapped on the shift boot to protect it from scratching and some vice grips for leverage.
Pull up on the shift boot by sliding your fingers underneath it, it will pop right out. |
 |
|
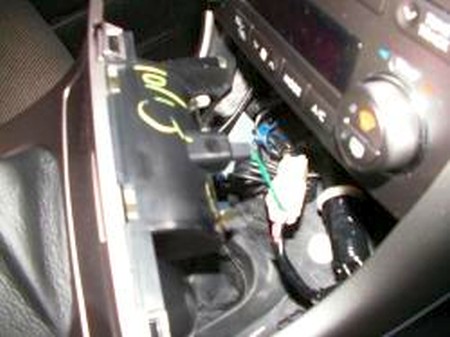
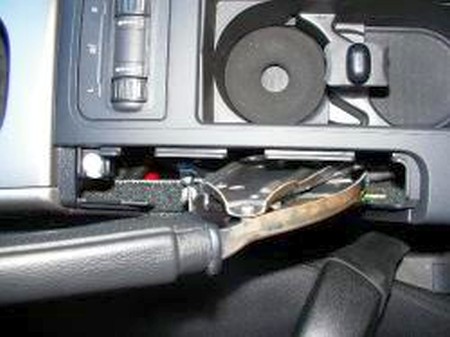
2. While removing the console from the car, make sure to pull the electrical connectors free. |
 |
|
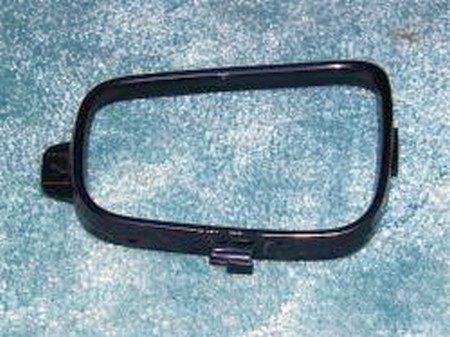
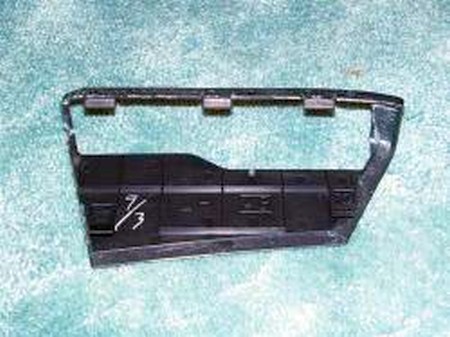
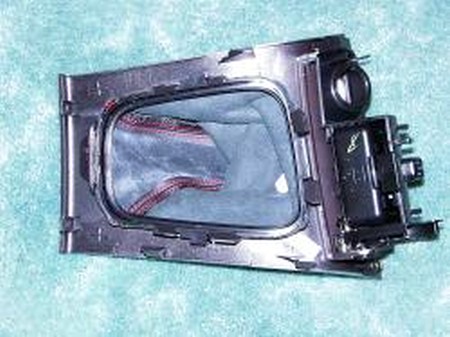
3. Unsnap the plastic bezel from from the trim piece, just use steady pressure to pry it free. Remove the bezel from the car. |
 |
|
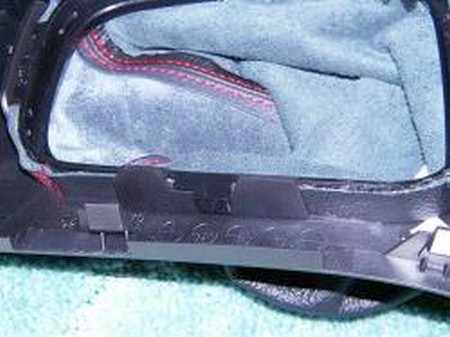
4. Remove the staples. Peel the old boot from the plastic bezel then pull the boot inside out and remove the shift knob retainer. |
 |
|
5. Apply adhesive to the both shift knob retainer and new shift boot and place the end of the boot inside the ring, it is easier to do this if the boot is inside out. With adhesive on both the ring and the boot pull it right side in and press together. |
 |
|
6. Apply adhesive to both new shift boot and plastic retainer ring and fit the boot around the retaining ring. |
 |
|
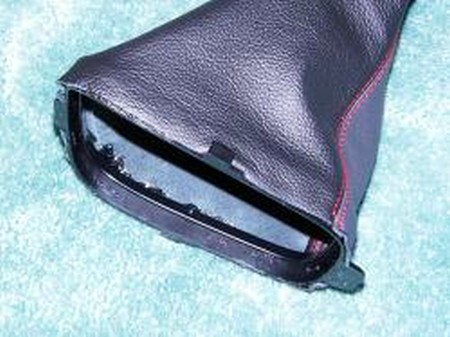
7. Remove old E- brake boot by pulling boot straight up, it is very tight but it will come off, just keep pulling. |
 |
|
8. Remove boot from plastic retaining piece. |
 |
|
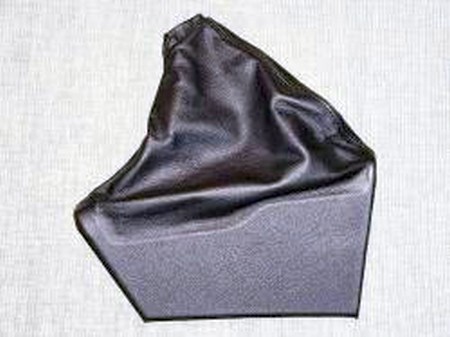
9. Apply adehesive to both new boot and retaining piece, fit boot around retaining piece and press together. Make sure to fit it exactly to the retaining pieces shape. |
 |
|
10. Reinstall the bezel with the new shift boot back in the center console piece. Reinstall everything else. |
 |
|
Congratulations, you're DONE! |
|
|
Useful tip You have installed a product made out of genuine leather. As you know, to maintain a leather product in good condition, you should take care of it. We suggest occasionally (every 4-6 week for example) applying some leather conditioner/UV protector to keep your leather from drying up in the sun and cracking. |
|
Please subscribe to our newsletter.
Get an instant 20% discount and enter our montly $100 CASH sweepstakes!