2000-04 SUBARU LEGACY |
||||||||||||||||||||||||||||||||||||||||||||||||||||||||||||||||||||||||||||||||||||||||||||||||||||||||
|
SHIFT BOOT INSTALLATION
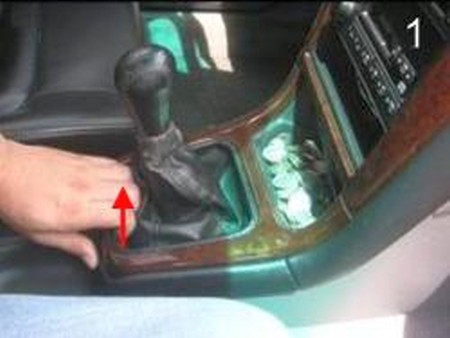
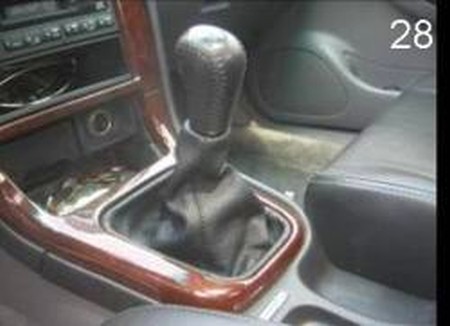
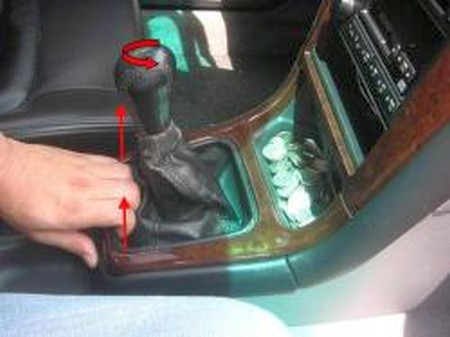
1. Begin by gently lifting the back side of the shift bezel to release the clips. Unscrew the knob and separate it from the boot by pulling upwards. |
 |
|
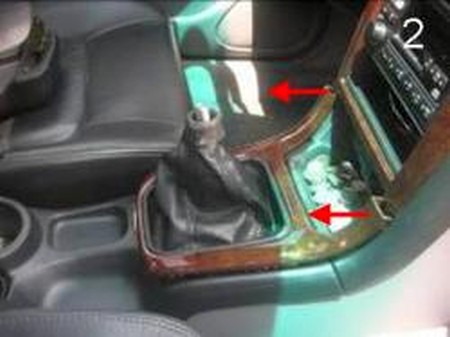
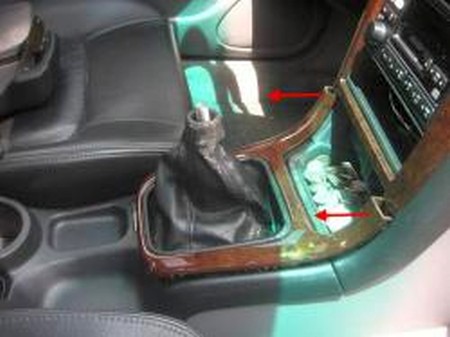
2. Pull the bezel towards the rear of the car to slide out the pins located at the red arrows. |
 |
|
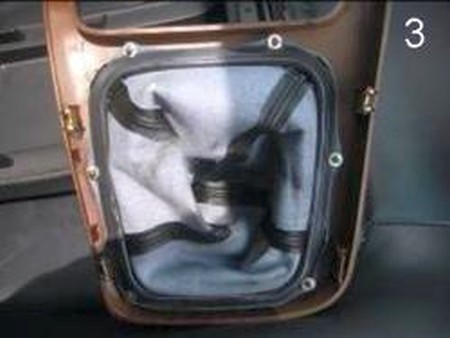
3. Here is a bottom view of the boot assembly. It is glued in and held by six small friction clips (silver circles). |
 |
|
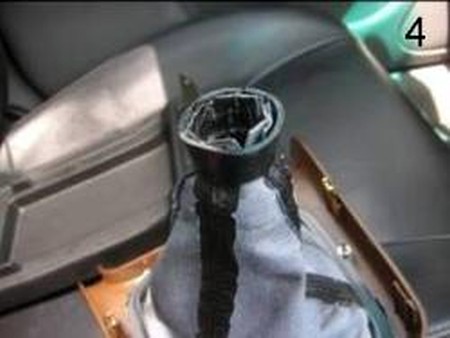
4. Invert the boot to reveal the factory shift knob collar. |
 |
|
5. Remove the factory collar and save it for reinstallation of the knob and the new boot. |
 |
|
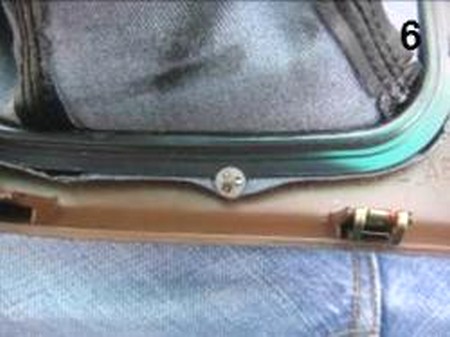
6. These are the clips that need to be removed before the glue can be separated. |
 |
|
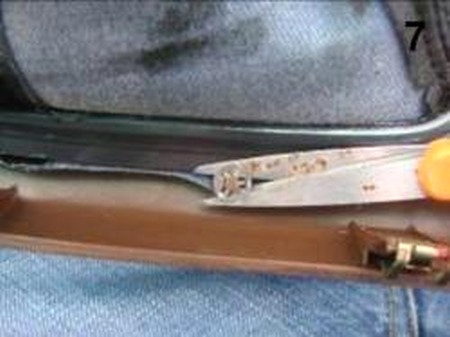
7. Using a small pair of scissors, get underneath the clip and “shimmy” it out by twisting the scissors along the blade axis (tilt, don’t spin). |
 |
|
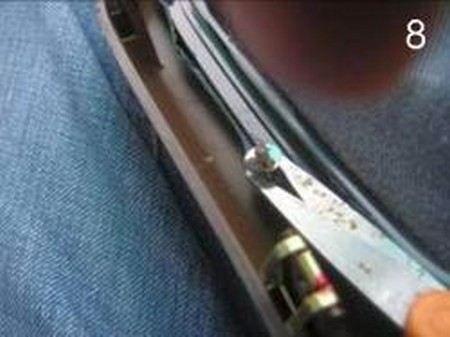
8. The clip should lift up and off. Be patient and do not force these, the plastic pins are delicate. |
 |
|
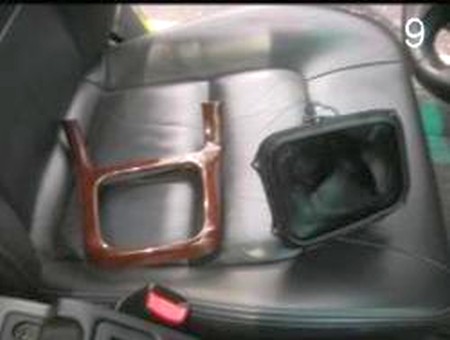
9. The boot assembly should now be easily separated from the bezel. |
 |
|
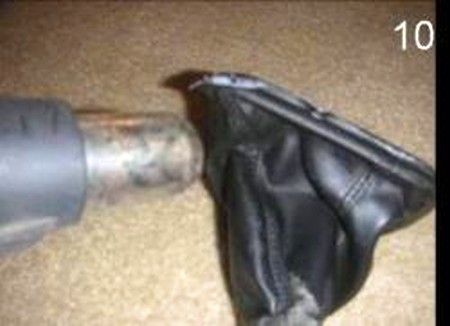
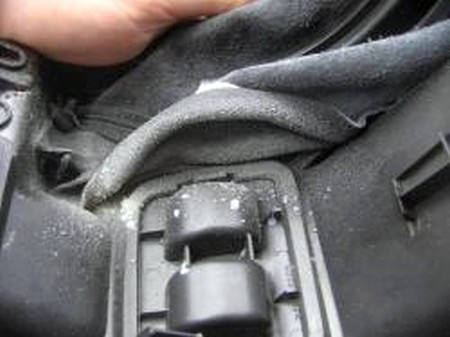
10. Using a heat gun (low) or a hair dryer heat a small area of where the boot meets the plastic ring. |
 |
|
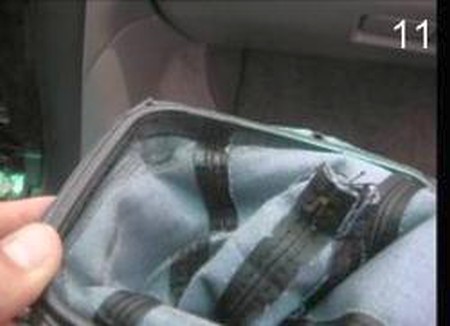
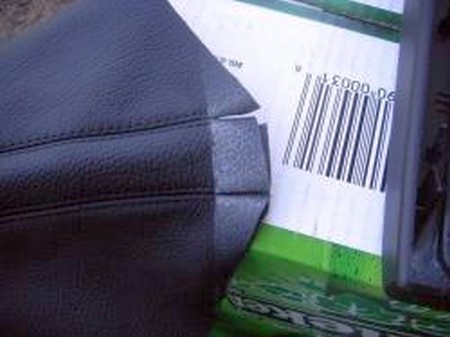
11. Begin separating the boot from the ring along the inside first. |
 |
|
12. Then continue out to the top of the ring. |
 |
|
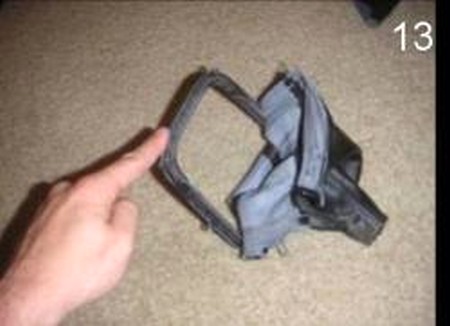
13. Slowly continue to lift the boot until it is removed completely. |
 |
|
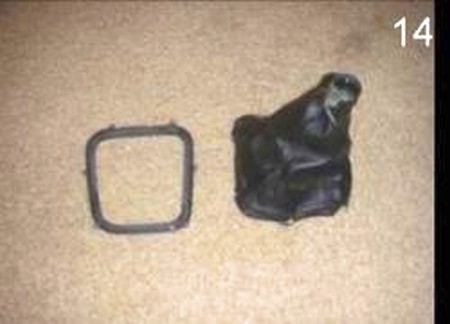
14. Here’s the separated factory boot and the factory ring used for reinstall of the new boot. |
 |
|
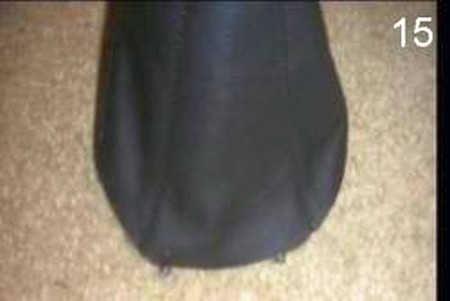
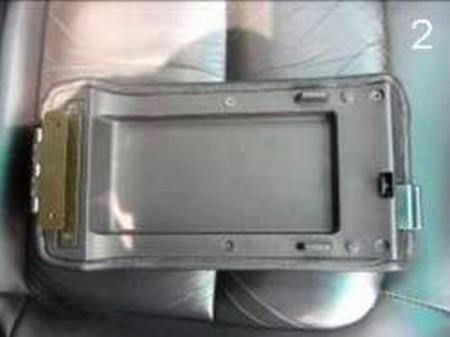
15. The boot only fits the ring one way. Be sure that the holes at the base of the boot line up with those on the ring. |
 |
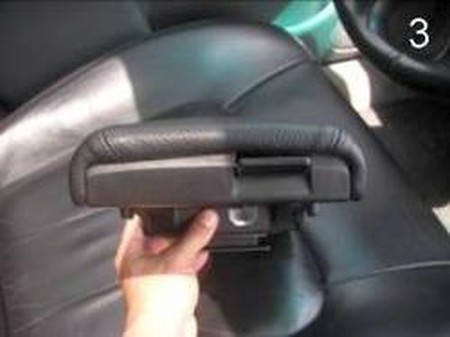
|
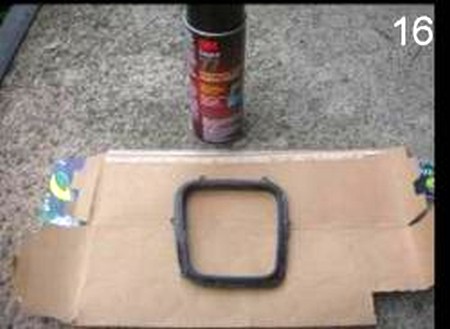
16. Using a spray adhesive, coat the top of the ring and the inside of the base of the boot. |
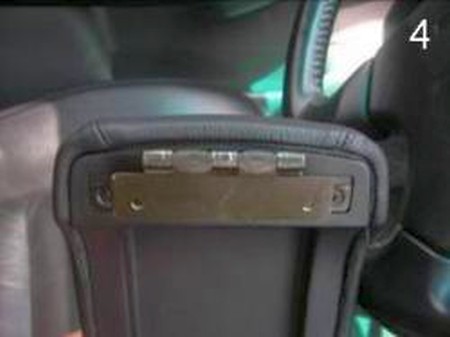
 |
|
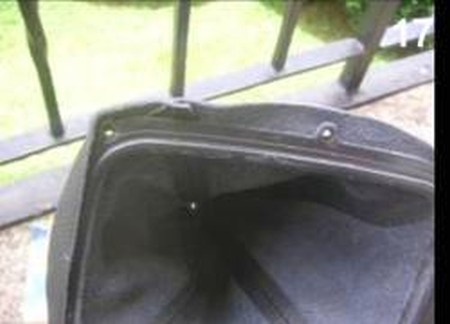
17. Being certain to line up the holes, adhere the boot to the ring (start with one and work your way around). |
 |
|
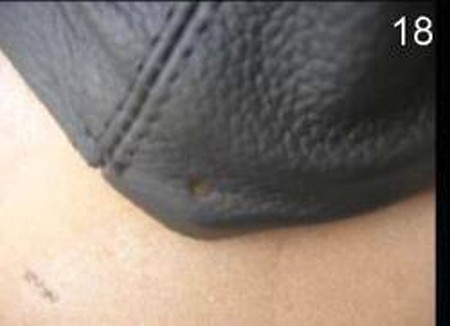
18. Here we see the holes in the boot and ring matching up properly. |
 |
|
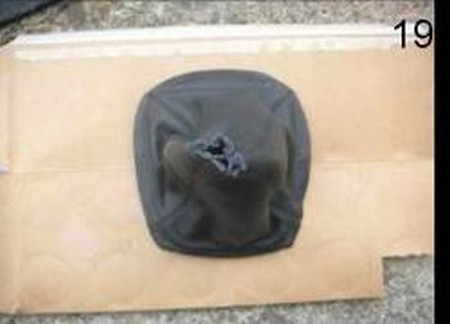
19. Here’s what it should look like at this point. |
 |
|
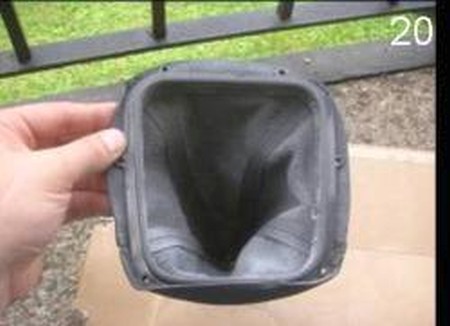
20. Next coat the inside of the ring and the base of the boot with the spray adhesive. |
 |
|
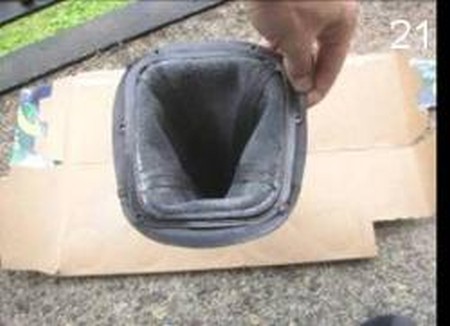
21. Next, carefully lay the boot into the ring so that it adheres into the proper shape. |
 |
|
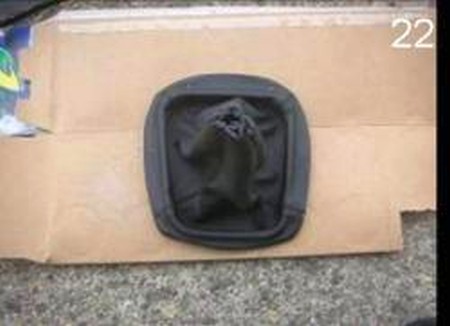
22. This is how it should look when the boot is completely set to the ring. |
 |
|
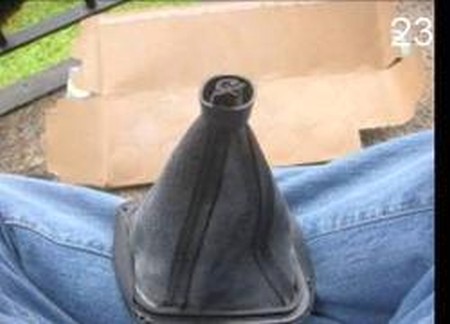
23. Invert the new boot and place the collar with the large side up (as shown). |
 |
|
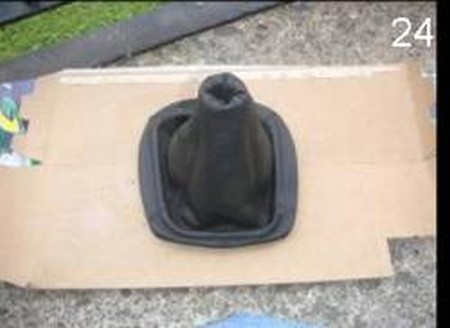
24. Return the boot to the correct configuration, being certain that the collar has not slipped out of place. |
 |
|
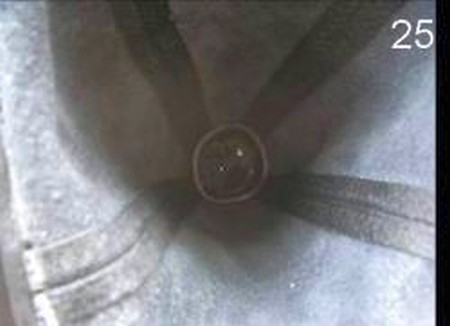
25. Here is how the inside of the boot collar combination should look. |
 |
|
26. Now reattach the new boot, ring and collar combination to the bezel. Be sure to reinstall the silver circles. |
 |
|
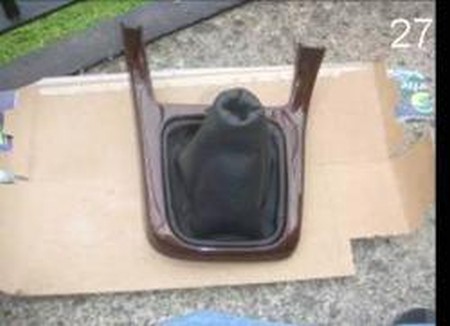
27. Here is the new boot assembly reattached to the bezel. |
 |
|
28. Finally, reinstall the entire assembly into the vehicle and you’re done (be sure to take care when rejoining the knob into the collar, be patient). |
 |
|
EBRAKE BOOT INSTALLATION
29. Begin by gently lifting the back side of the shift bezel to release the clips. Unscrew the knob and separate it from the boot by pulling upwards. |
 |
|
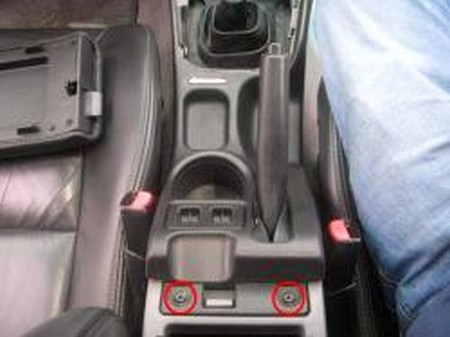
30. Pull the bezel towards the rear of the car to slide out the pins located at the red arrows. |
 |
|
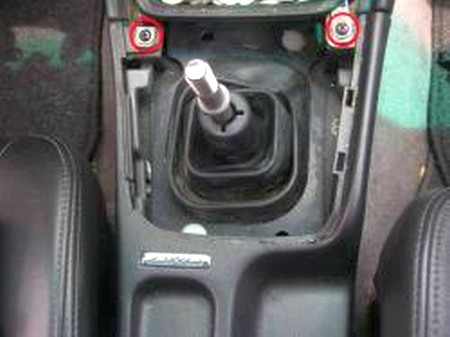
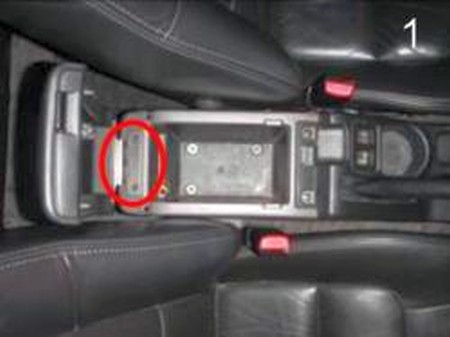
31. Remove the highlighted screws. |
 |
|
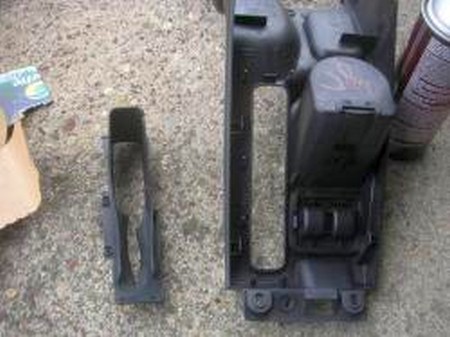
32. Remove the highlighted screws and lift out the center console panel. |
 |
|
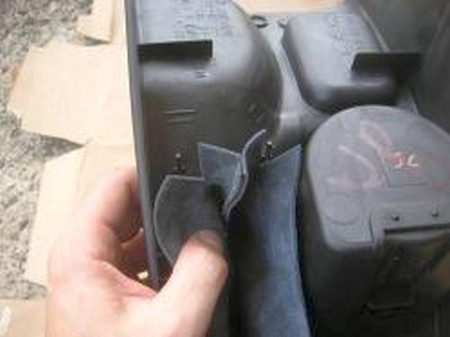
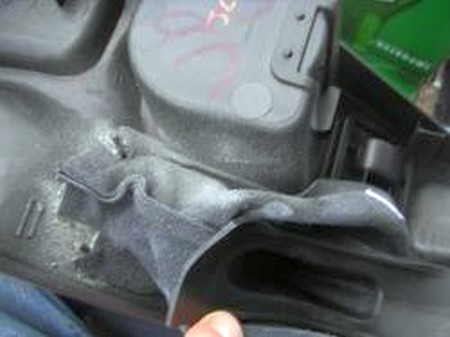
33. Remove the rubber insert from the console panel. |
 |
|
34. The boot should be placed with the visible stitching closest to the armrest |
 |
|
35. Slide the rubber insert in from the top (to protect the visible side of the panel from adhesive). Spray the area at the top of the boot opening. |
 |
|
36. Spray the top of the boot up to where the slits end (cover with a straight edge). |
 |
|
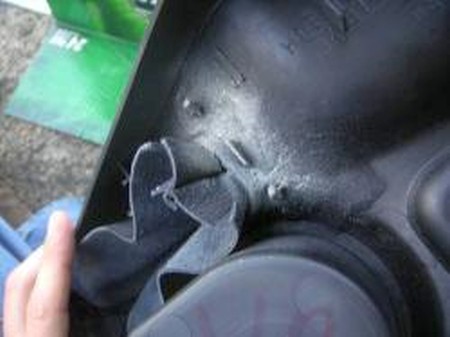
37. Using the plastic pins as a reference, adhere the topside of the boot so that the pins fit in to the crooks of the slits. |
 |
|
38. Repeat 36 + 37 for the bottom of the boot. |
 |
|
39. Repeat 36 + 37 for the bottom of the boot. |
 |
|
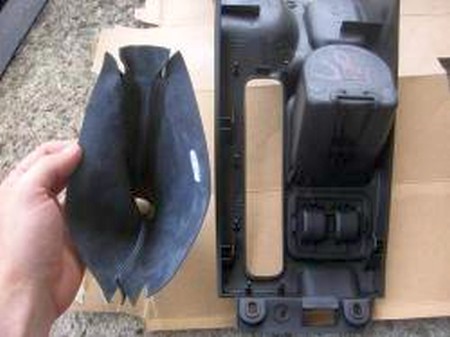
40. Remove the factory rubber e-brake cover. |
 |
|
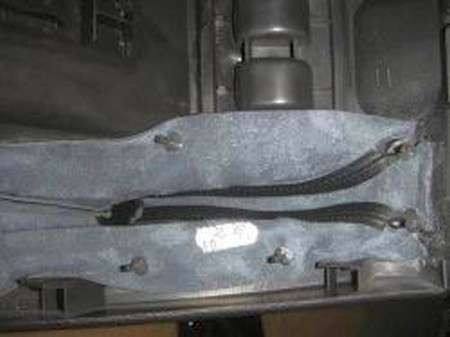
41. Insert the e-brake cover into the boot (should look something like this). |
 |
|
42. Work your way around the sides of the boot, adhering the boot around the opening. |
 |
|
43. Adhere it to the cupholder and around the opening as close to the edge as possible (it will fold in when the brake is engaged. |
 |
|
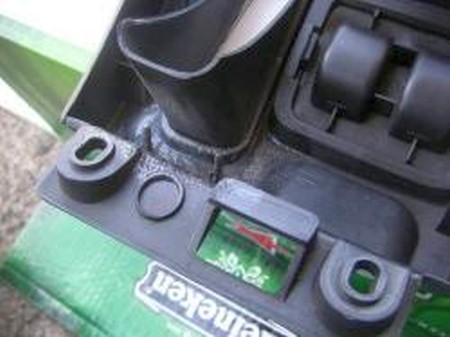
44. Poke holes in the boot where the remaining plastic pins are and rplace the friction clips (silver circles). |
 |
|
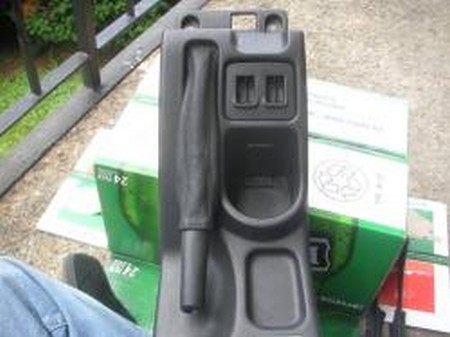
45. The final install should look something like this. Install the panel and boot assembly back in to the vehicle and your done. |
 |
|
ARMREST COVER INSTALLATION
46. Remove the two highlighted screws at the hinge of the cover. |
 |
|
47. Remove the six screws that connect the two halves of the lid. Wrap the cover over the top of the lid and screw the two pieces back together. |
 |
|
48. The cover should wrap all the way around the lid and be tucked in between the two pieces (screws will keep the cover in place). |
 |
|
49. Be sure that the cover is firmly between the two pieces all the way around. |
 |
|
50. Reinstall the lid with the two screws at the hinge. Here is the final product. |
 |
|
Congratulations, you're DONE! |
|
|
Useful tip You have installed a product made out of genuine leather. As you know, to maintain a leather product in good condition, you should take care of it. We suggest occasionally (every 4-6 week for example) applying some leather conditioner/UV protector to keep your leather from drying up in the sun and cracking. |
|
Please subscribe to our newsletter.
Get an instant 20% discount and enter our montly $100 CASH sweepstakes!