2000-06 HONDA INSIGHT |
||||||||||||||||||||||
|
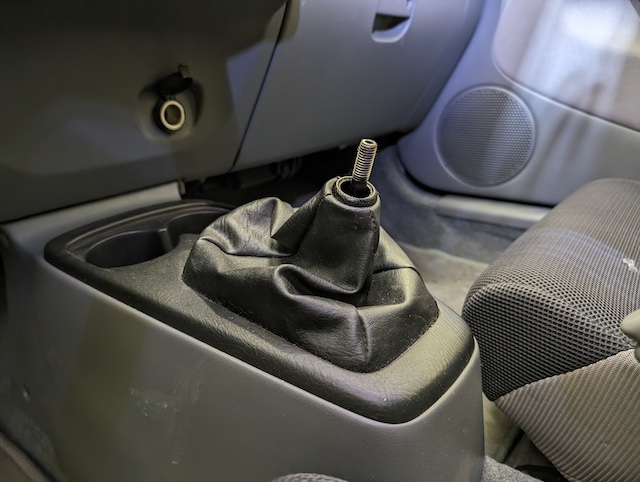
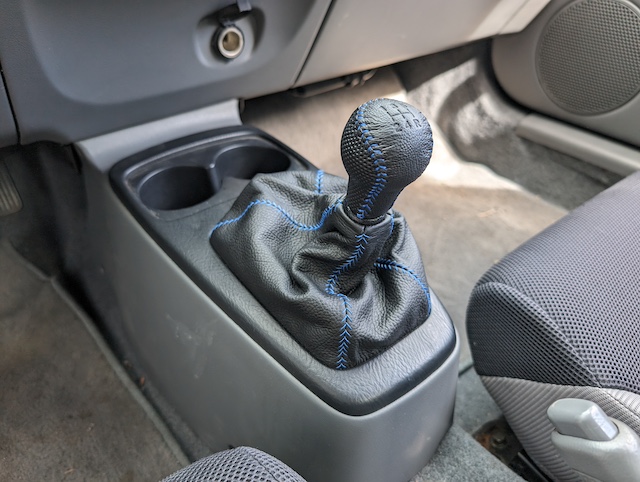
1. Unscrew shift knob by turning counterclockwise. |
|
|
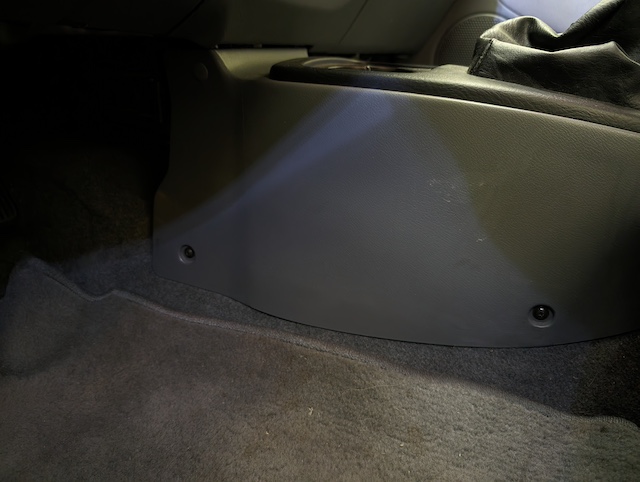
2. Remove two screws at the bottom of the center console from each side. |
 |
|
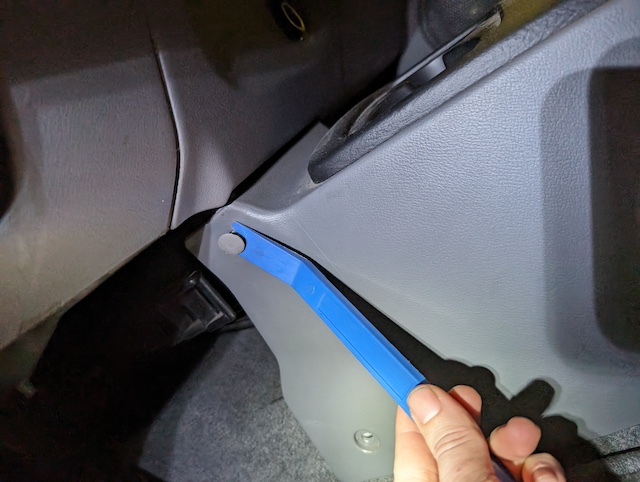
3. Using a pry tool, remove the clip at the front of the center console on each side. |
 |
|
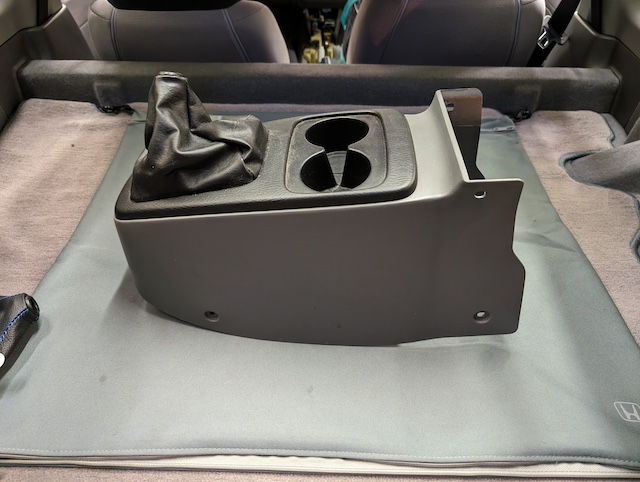
4. Lift up the console from the rear to separate it from the car. |
 |
|
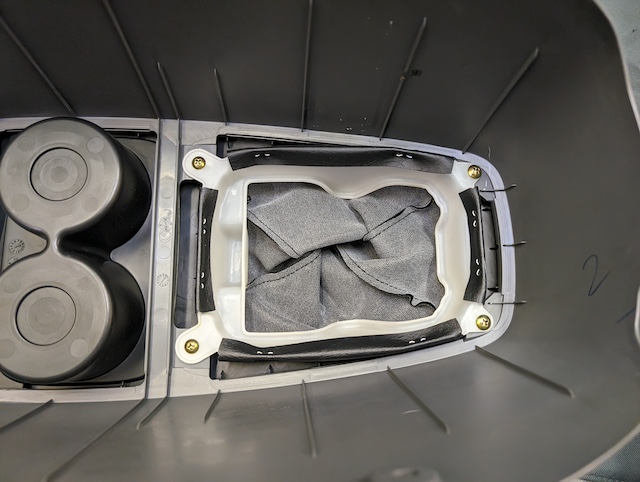
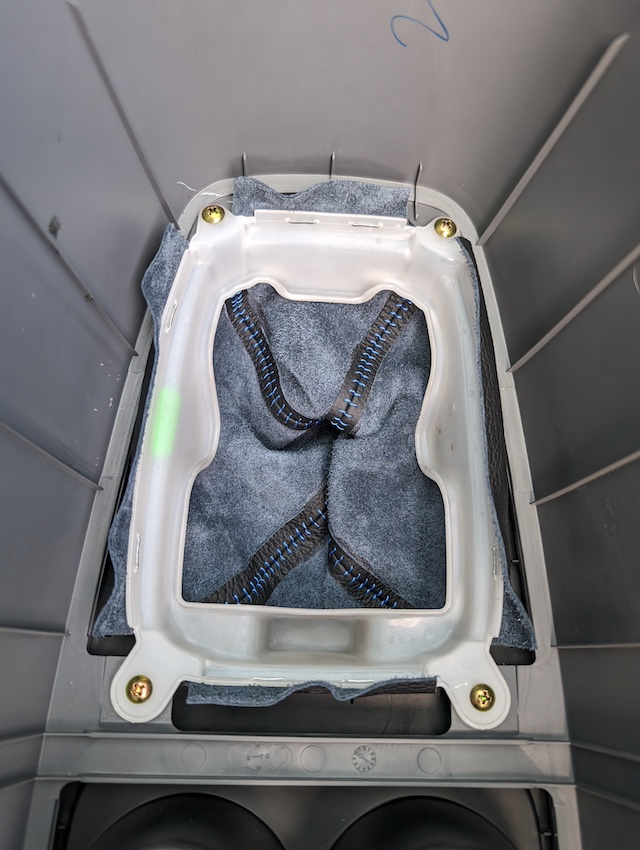
5. Remove the 4 bolts holding the shift boot frame to the console. |
 |
|
6. Using pliers, remove the 8 staples (2 per side) holding the original shift boot to the frame. | 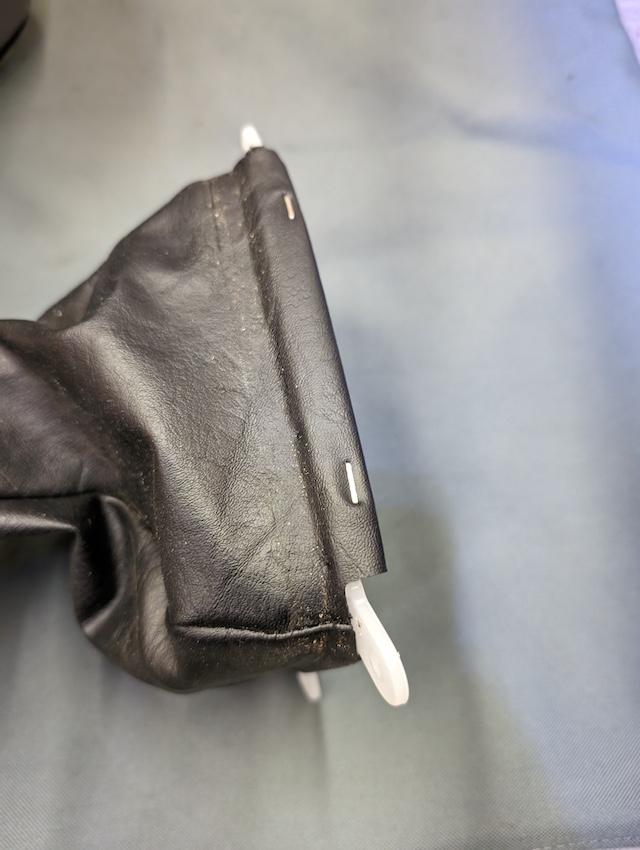 |
|
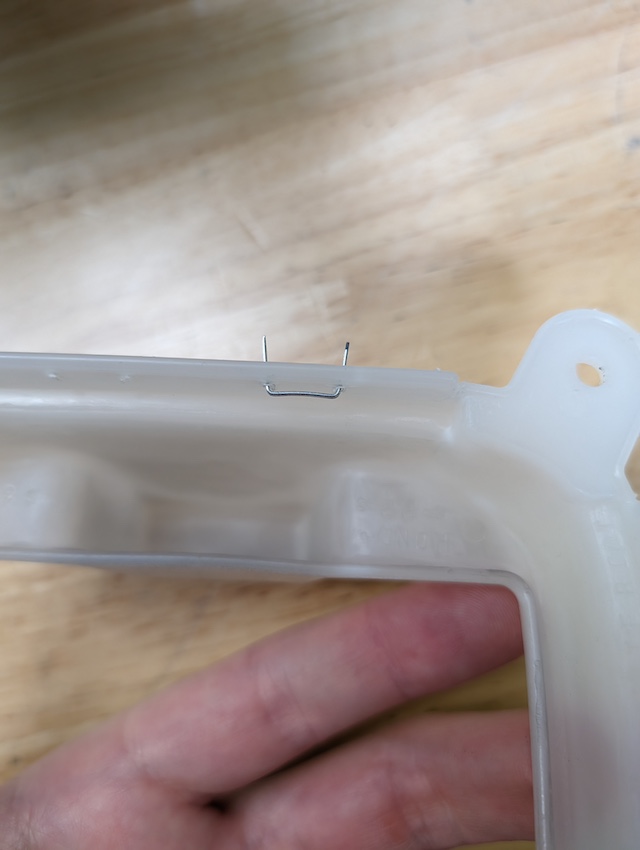
7. To install the new boot, press new staples through the old staple holes in the frame with pliers. |
 |
|
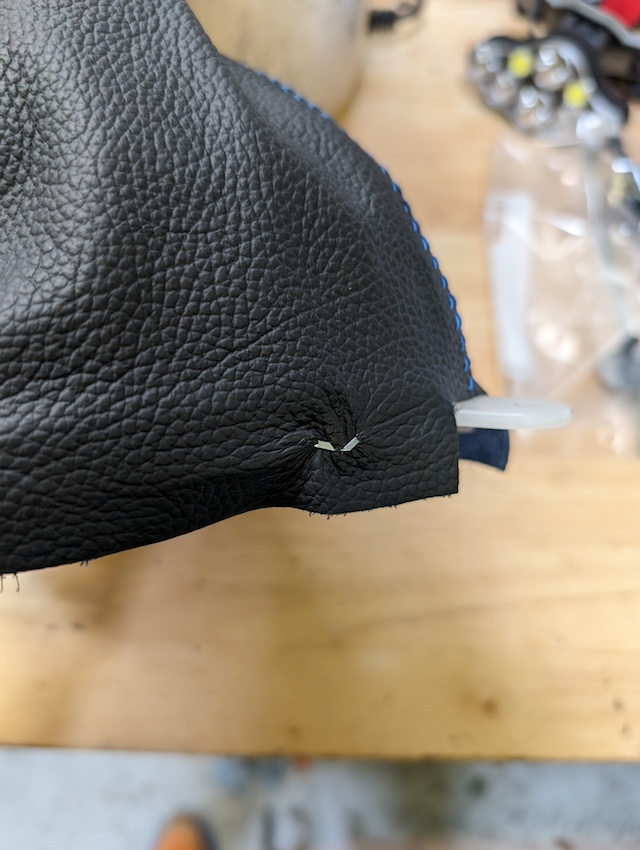
8. Ensure the shift boot is aligned to the correct side, as one is longer than the other. With the shift boot aligned and pulled against the frame, press the staples through the new boot, using the pliers if necessary. Fold the staples over to secure the boot. |
 |
|
9. Reinstall the boot in the center console bracket. |
 |
|
10. Reinstall everything in reverse order of removal. |
 |
|
CONGRATULATIONS - YOU HAVE SUCCESSFULLY INSTALLED YOUR NEW LEATHER BOOTS!
Useful tip You have installed a product made out of genuine leather. As you know, to maintain a leather product in good condition, you should take care of it. We suggest occasionally (every 4-6 week for example) applying some leather conditioner/UV protector to keep your leather from drying up in the sun and cracking. |
|
Please subscribe to our newsletter.
Get an instant 20% discount and enter our montly $100 CASH sweepstakes!