2009-14 FORD F-150 |
||||||||||||||||
|
Tools needed: Philips screw driver, T-20 bit, adhesive
|
 |
|
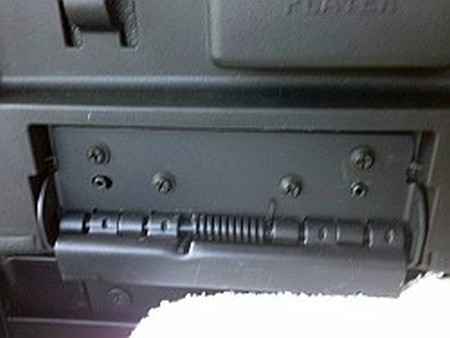
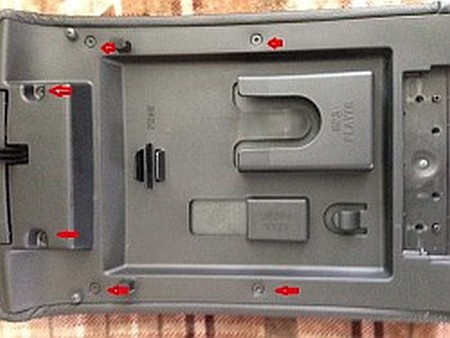
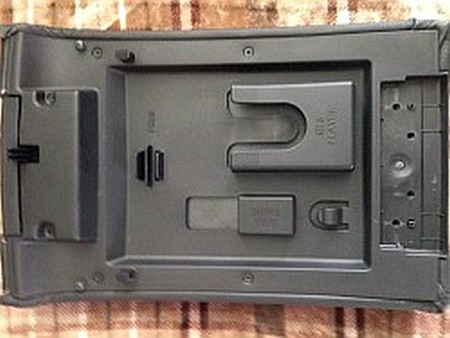
2. Remove back cover plate useing a t-20 bit (six screws), then remove the one screw holding the latch in place. |
  |
|
3. If you opted for the extra padding then use adhesive to attach the padding to the top of the armrest and trim to fit. Lay out cover (if needed use hair dryer set on low to remove and folds or wrinkles). |
|
|
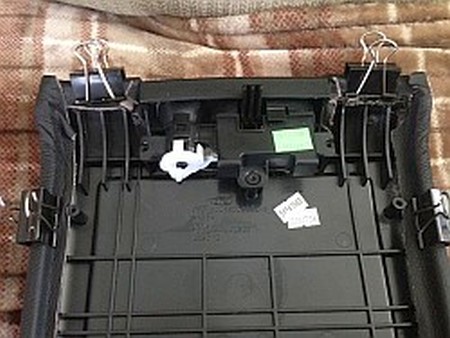
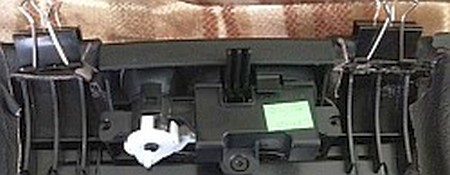
4. Align new cover with your armrest cover (get it centered) then use binder clips to hold in place (if you have the extra padding you will need to push down to compress the padding while attaching the clips). |
  |
|
5. Use some adhesive on the front area where the latch goes and install latch to hold in place. |
 |
|
6. Remove one binder clip at a time and use adhesive and then reinstall binder clip to hold in place while adhesive settles 7. remove all binder clips and re-install back cover plate (make sure to tuck corners in) |
 |
|
8. Re-install on to your truck and enjoy :-) |
|
|
Useful tip You have installed a product made out of genuine leather. As you know, to maintain a leather product in good condition, you should take care of it. We suggest occasionally (every 4-6 week for example) applying some leather conditioner/UV protector to keep your leather from drying up in the sun and cracking. |
|
Subscribe to our newsletter to get an instant 20% discount!