2001-07 MITSUBISHI LANCER EVO 7/8/9 |
||||||||||||||||||||||||||||
|
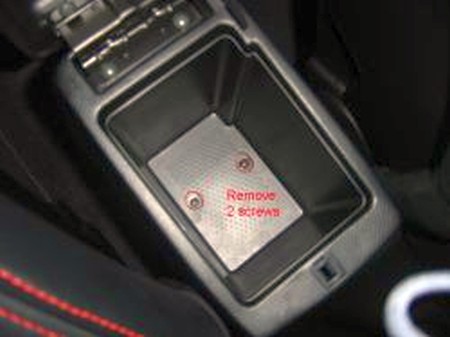
1. Take out your armrest console by unscrewing the 2 screws inside storage area. Just pull up on the front where there are two snaps and pull the whole console evenly straight up. |
|
|
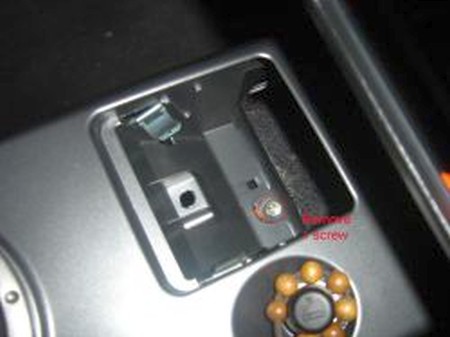
2. Remove 1 screw from inside the ashtray hole. |
 |
|
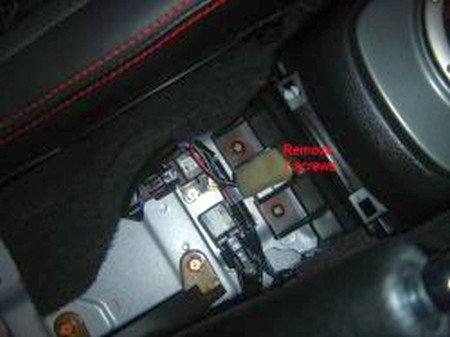
3. Unscrew the 2 screws holding the shifter console to the floor. |
 |
|
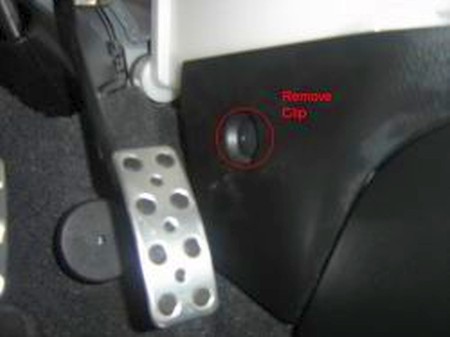
4. Remove plastic screw near gas pedal. Unsnap the paneling from the passengers floorboard, pull firmly and it should pop loose(white plastic screw held behind floorboard).
Pull the shifter console, it will come out with no problem...
Flip the console over and you will see bracket holding shift boot. Remove the 4 screws holding the bracket to the console. Then pull it out, the boot will come out with it too.
Replace with new shift boot and re-install everything (reverse previous steps). Install ebrake boot first (if installing one!) |
 |
|
5. Remove all screws from underneath the armrest to access top section.
|
 |
|
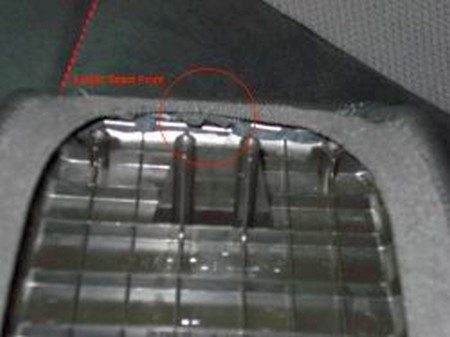
6. Wrap existing cover with Redline leather cover. For reference use the elastic seam to locate front of the armrest.
|
 |
|
7. Make sure to align it nice and smooth.
|
 |
|
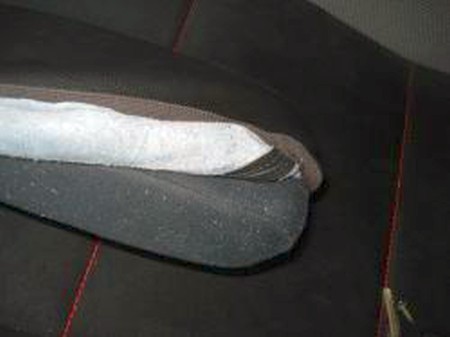
8. Place top of armrest onto lower section. Use prongs to lock armrest in place.
|
 |
|
9. Align and tighten all lower screws first. Then place and tighten top screws through elastic band.
|
 |
|
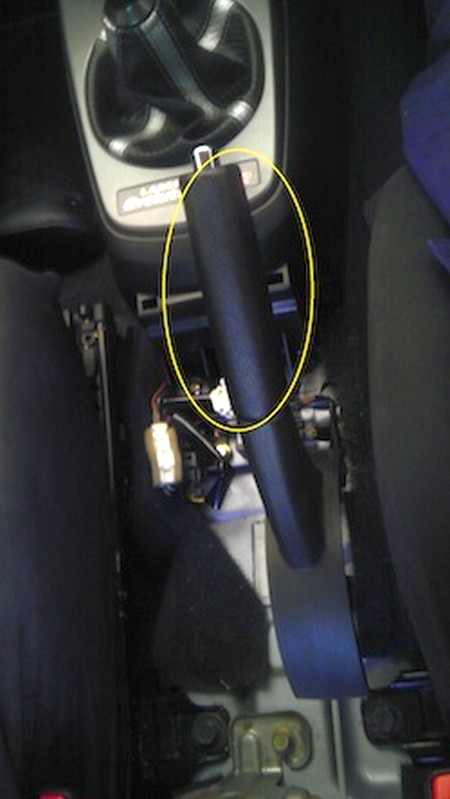
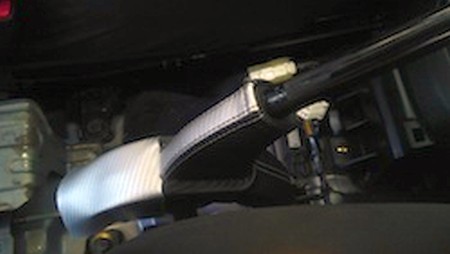
10. Remove the stock Handbrake as shown. If it is extremely tight a hair dryer or heat gun will help loosen the glue. (Careful not to hold in one spot for too long or you will burn the handbrake handle.)
|
 |
|
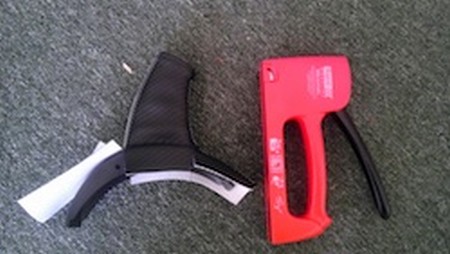
11. Remove the Stock handbrake boot as shown. (If this is tight try twisting left to right to break the glue. Careful not to damage this as you need it to install your new handbrake Boot.) Once removed place your new handbrake boot over the stock boot. You will need a stapler or staple gun preferably with 4-6mm staples as they dont penetrate the full depth of the boot. Staple your new Handbrake boot.
|
 |
|
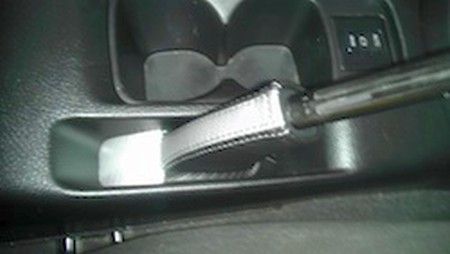
12. Replace the Handbrake boot.
|
 |
|
13. Replace the center console.
|
 |
|
CONGRATULATIONS - YOU HAVE SUCCESSFULLY INSTALLED YOUR NEW LEATHER BOOTS!
Useful tip You have installed a product made out of genuine leather. As you know, to maintain a leather product in good condition, you should take care of it. We suggest occasionally (every 4-6 week for example) applying some leather conditioner/UV protector to keep your leather from drying up in the sun and cracking. |
|
Please subscribe to our newsletter.
Get an instant 20% discount and enter our montly $100 CASH sweepstakes!