2000-02 TOYOTA ECHO |
||||||||||||||||||||||||||
|
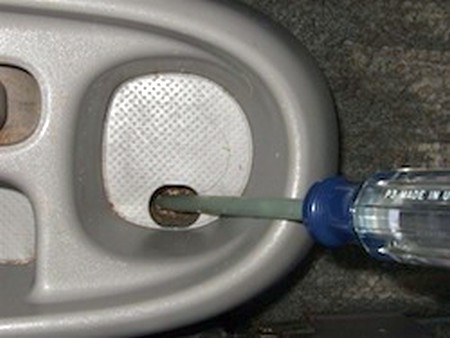
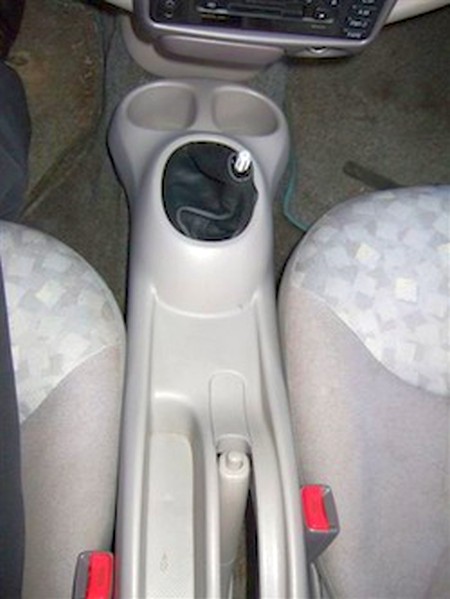
1. Identify the single screw on console. It is located in the base of the rear cup holder. Debris may have collected in the hole so may require cleaning to find the screw. A number 3 Phillips screwdriver is needed. The screw is slightly offset of center within the hole, so be patient. Use a flashlight to get your orientation if needed. |
 |
|
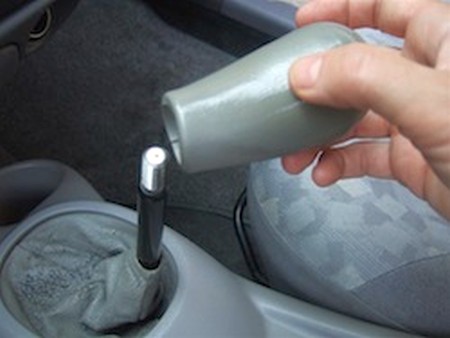
2. Remove the shift knob. Just unscrew, counterclockwise. |
 |
|
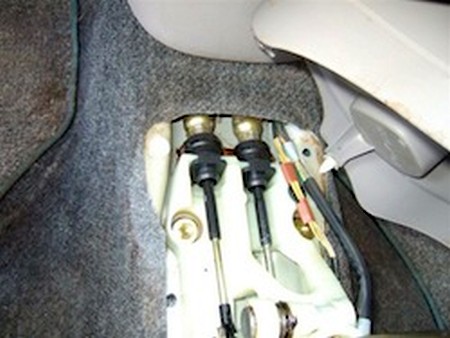
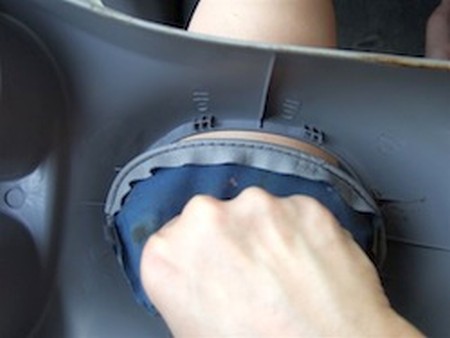
3. Lift the console from back to front. Make sure the hand brake is on to facilitate this maneuver. When resistance is felt on the forward side, continue to lift firmly with even pressure, to release the trim fasteners. |
 |
|
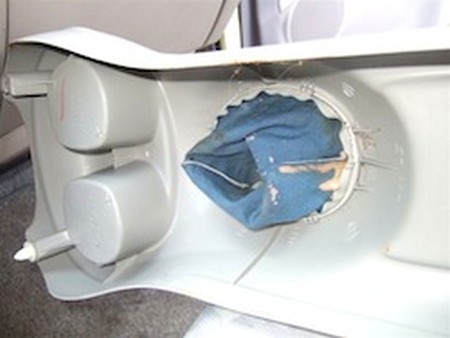
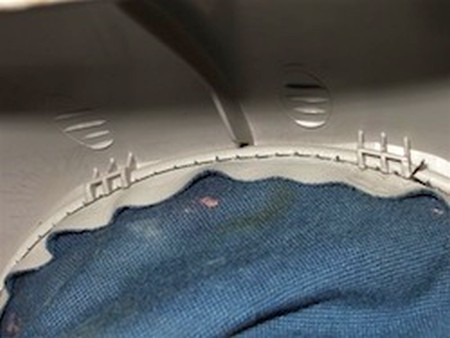
4. The console is now removed. Turn upside down. Identify the tabs holding the shift boot in place. |
 |
|
5. Invert the shift boot, grip firmly and tug on 1 side against the tabs. |
 |
|
6. Boot is now removed. |
 |
|
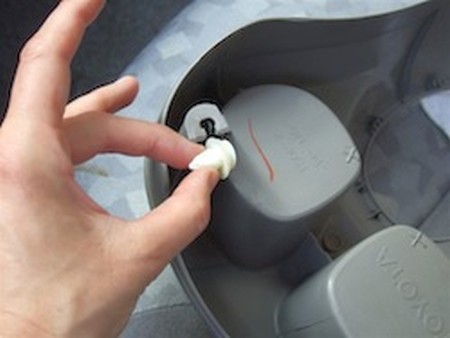
7. Trim fasteners that have remained with the car should be removed gently by prying up with a flat head screwdriver... |
 |
|
8. ... and slid into place on the console before re-installing console. |
 |
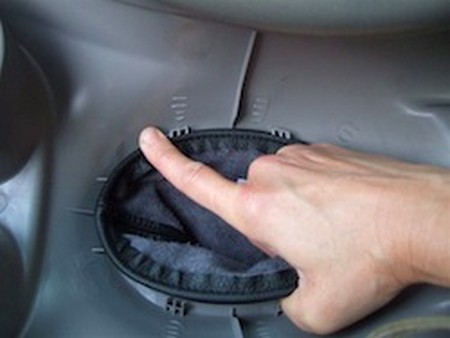
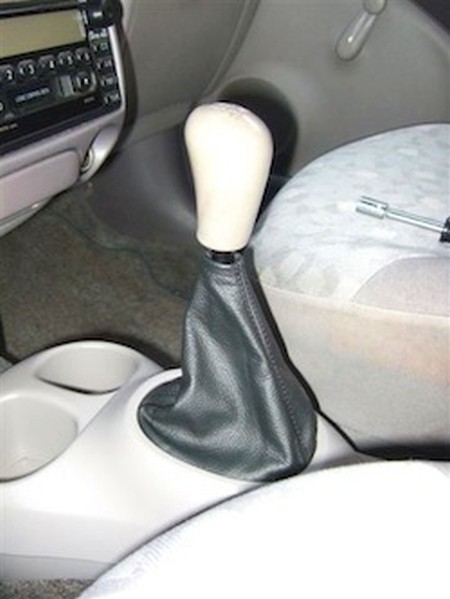
9. Install new boot. Insert from underneath console. Align boot rim first by firmly pushing underneath clips on 1 side then the other. If alignment of boot rim is not even as judged by uneven exposition of fins in front or rear of the boot, simply remove and repeat to adjust for a perfect fit. |
 |
10. Re-install console by sliding console into position over stick and brake. |
 |
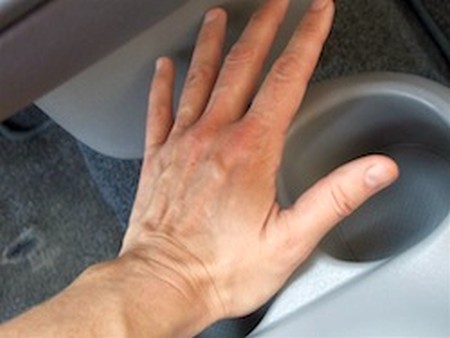
11. Gently agitating trim fasteners into position and firmly striking down with your palm over cup holder center to seat the trim fasteners into place. |
 |
12. Follow with installation of the screw in the rear cup holder, replace shift knob and you are done. Not necessary for shift boot installation, but for cleaning or upgrading the brake lever: Your brake lever boot can be removed simply by lift the lips of the boot located under the brake lever and sliding the whole boot over the lever. The reverse is similar but be sure the press the lips back into the channel under the brake lever to seat the boot into position. Additionally on the console and extra trim piece can be removed by prying the 4 tabs on the underside of the console and lifting up; replacement, just pop back into position. |
 |
|
|
Subscribe to our newsletter to get an instant 20% discount!