1999-05 BMW 3-SERIES |
||||||||||||||||||||||||||||||||||||||||||||||||||||||||||||||||||||
|
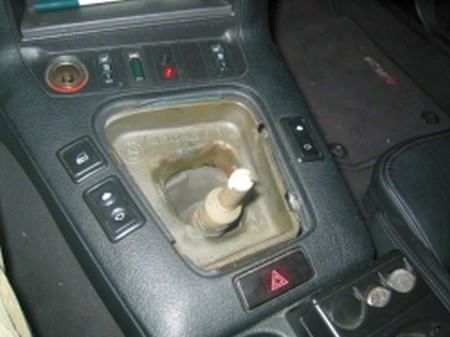
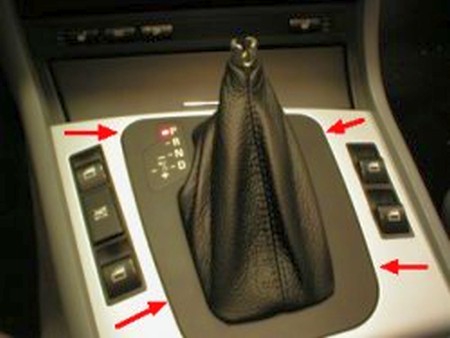
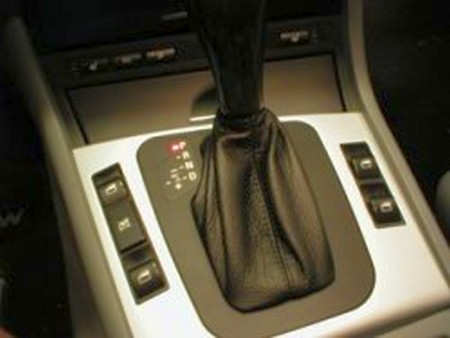
1. First unscrew the shift knob to take the shift boot out.
2. Carefully pry along the trim along the edges of the boot to take it off, you can either use your hands (which I did) or a screw driver with towel wrapped around it. |
 |
|
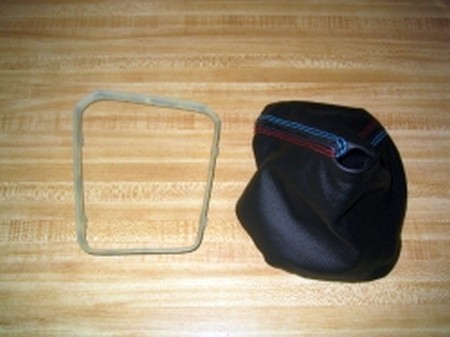
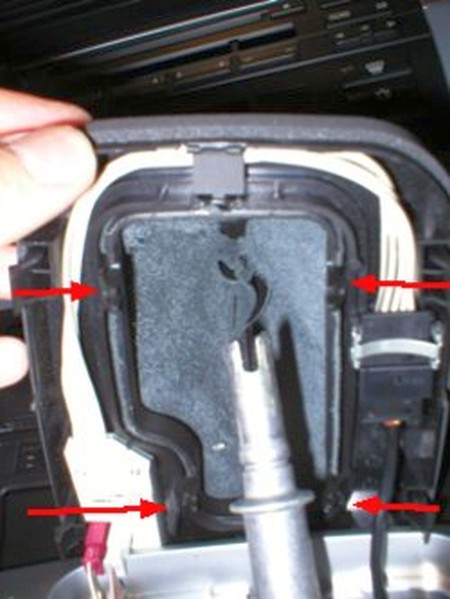
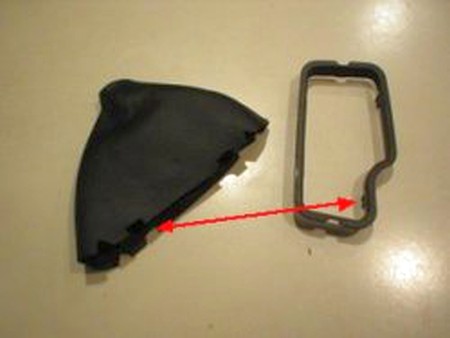
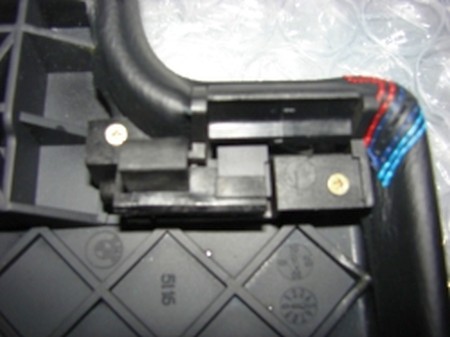
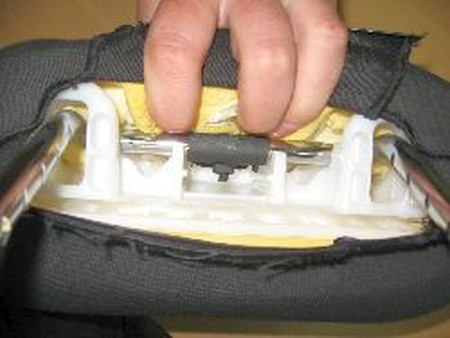
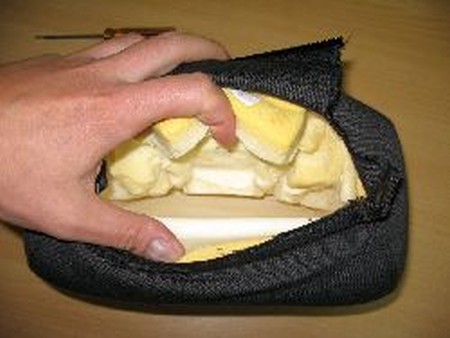
3. Now that the shift boot and its trim are out, carefully remove the vinyl boot from the frame (an x-acto knife will work great for that purpose). Clean the frame carefully with sandpaper of any glue/vinyl residue. |
 |
|
4. To install the shift boot you must glue the boot in the plastic frame. Any epoxy-based glue (3M makes some great glues for that purpose) will work perfectly. Just glue the boot in (make sure the shorter stitching is facing towards the front of the car). |
 |
|
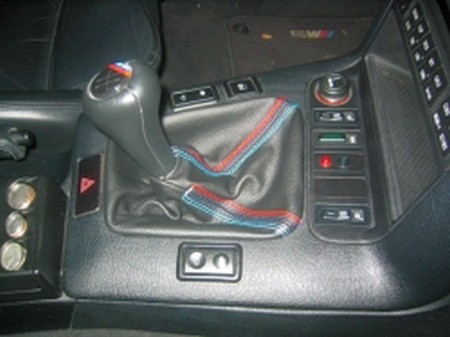
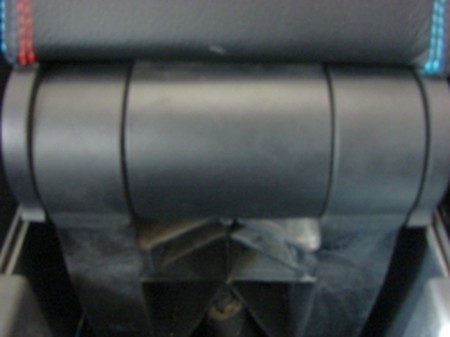
5. Then reinstall the boot and frame assembly (it will latch into place once you squeeze it in). |
 |
|
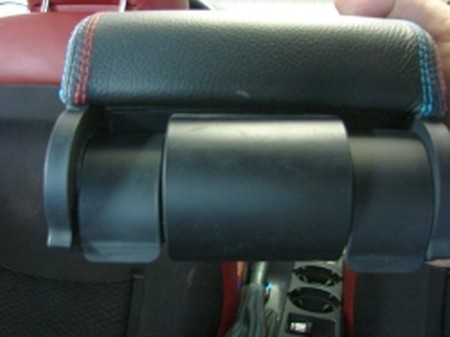
6. The same principle applies to installing the ebrake boot - pry the boot and frame out of the car... |
 |
|
7. ... cut off the old boot, glue the new one and re-install. |
 |
|
Install for the SMG is not pictured, but it is directly equivalent to the STEPTRONIC.
Materials needed: - Glue (super glue works fine) - Xacto Knife - Flathead Screwdriver
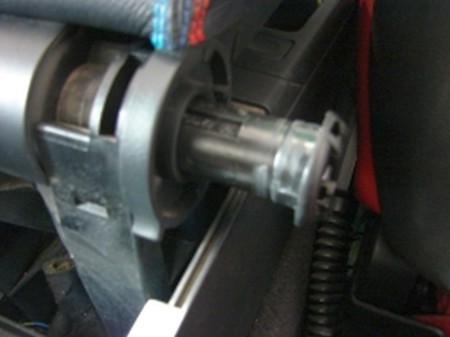
1. First unscrew the shift knob to take the shift boot out. This is achieved by pulling straight up. (Hint: The knob requires A LOT of force to remove it.)
2. Next, remove the Steptronic Faceplate from the center console trim. You can pry it out with a screwdriver. |
 |
|
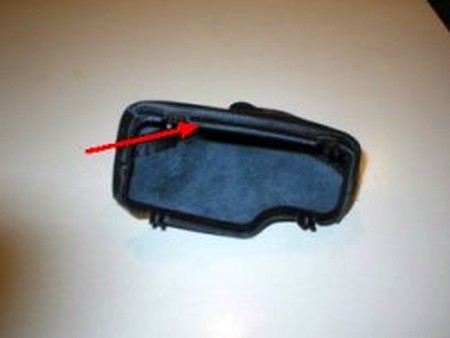
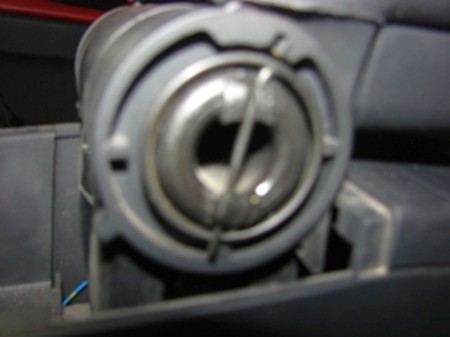
3. Remove the Steptronic Boot by squeezing the tabs together, allowing it to pop out. |
 |
|
4. Once the boot is out we have to remove the old leather from the frame. Use the Xacto knife to help separate. |
 |
|
5. Discard the old boot. Now we must attach the new boot to the frame. Be sure the cutouts in the leather line up with tabs in the frame. Glue the leather to the frame. |
 |
|
6. Once the leather and frame are attached, it is time to reassemble. Pop the Steptronic Faceplate back into place, and then pop the new boot into place.
Then reattach the shift knob by pressing firmly down. |
 |
|
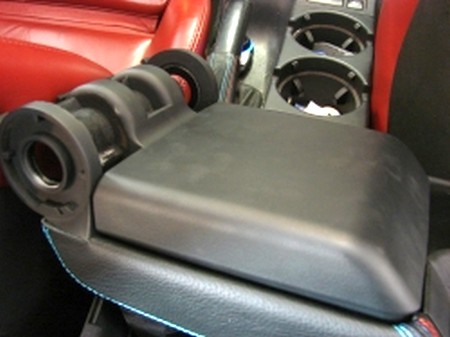
Materials needed: - Philips screwdriver
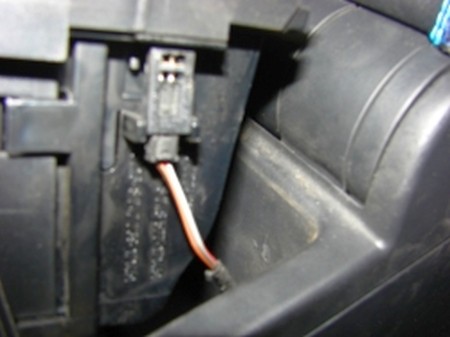
1. First pull out the rear ash-tray. Just grab and edge and pull it up. Don't rip it out of the car yet, disconnect the connector first.
|
 |
|
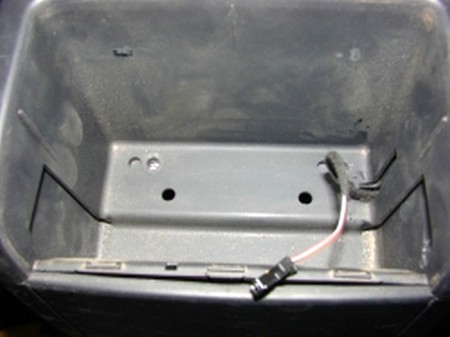
2. The ashtray cavity will reveal two philips screws - remove them (removed in picture here). |
 |
|
3. Use the philips scredriver to remove the spring, just dislodge it from the catches and it will come off easy. |
 |
|
4. Remove the two hinges, they need to be pulled out. Note the way they go out, you will have to put them in the same way. |
 |
|
5. Wriggle the armrest a bit to dislodge it, might help to remove the two trim pieces visible on this picture (narrow one is armrest, then there's the trim piece, then the center wide piece that stays - thus far, then the other trim piece you need to dislodge). Wedge them with a screwdriver slightly to make them disengage. |
 |
|
6. This entire part should come off the car. Remove the two trim pieces you dislodged in step above and note the way they came in. |
 |
|
7. Dislodge the center, wide trim piece. |
 |
|
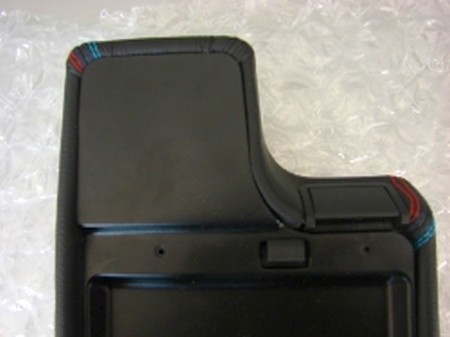
8. The armrest top and bottom lids will now separate. |
 |
|
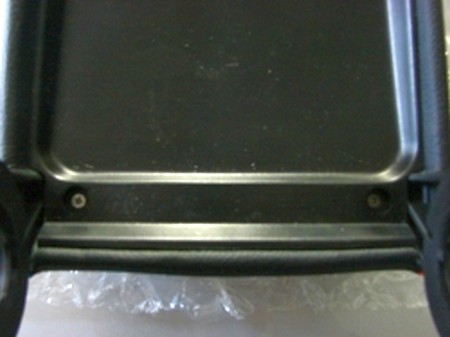
9. Remove the upper lid's inner trim, there are two plastic prongs you need to remove... |
 |
|
10. ... two screws near the hingest (hidden under little plastic circles you need to pry off)... and a bunch of latches. Wedge the inner trim with a flathead or small philips screwdriver to get it to disengage. |
 |
|
11. Remove the hinge by taking out the two screws.
12. Using an X-acto knife cut off the old armrest cover (vinyl factory one).
13. Using glue install the new cover instead. You might want to ask somebody to help you hold it down after you position it and while you glue it on, or you might want to consider using clamps.
Either way, just take your time but don't let the glue set before you get the armrest on right.
14. Reinstall the armrest in the reverse order of removing it. |
 |
|
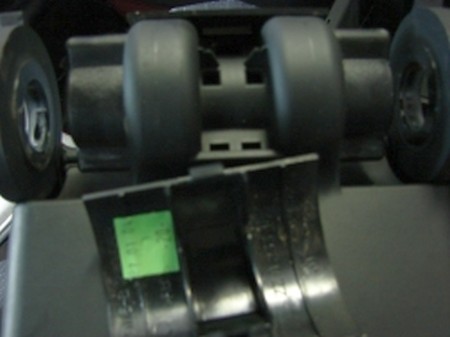
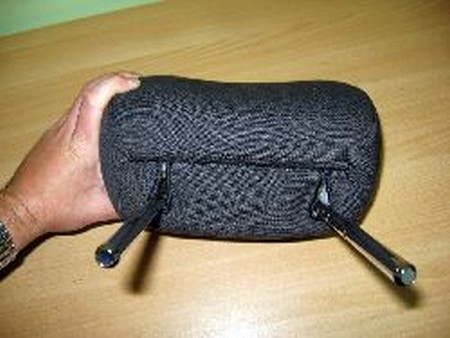
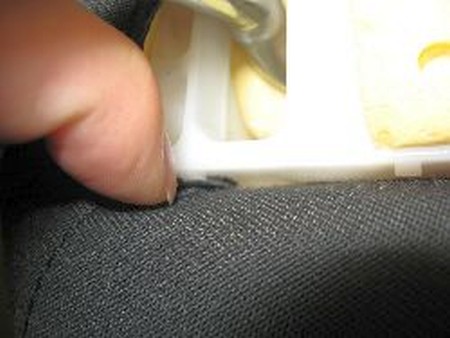
1. Remove the headrests from the car. |
 |
|
2. Look from below. These are latched with a plastic strip. |
 |
|
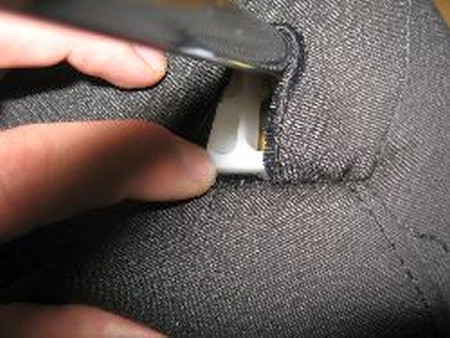
3. Unlatch the strip with a flat screwdriver. |
 |
|
4. This is what you are going for. |
 |
|
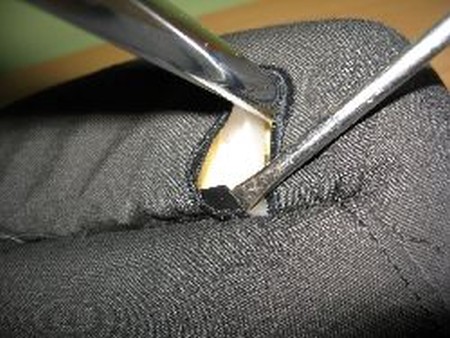
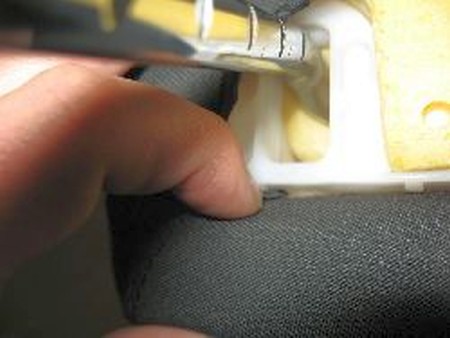
5. Similar but shorter strips secure the sides. |
 |
|
6. Healthy fingernails will suffice to remove them. |
 |
|
7. Make sure to open up both sides. |
 |
|
8. Then remove the last, inner, fourth lacing strip. |
 |
|
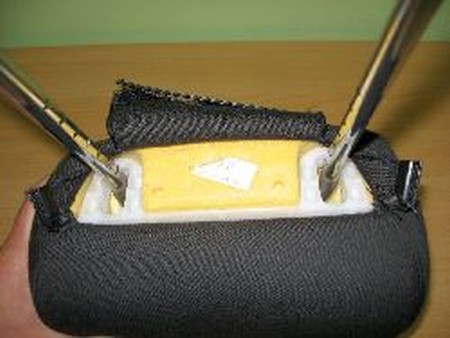
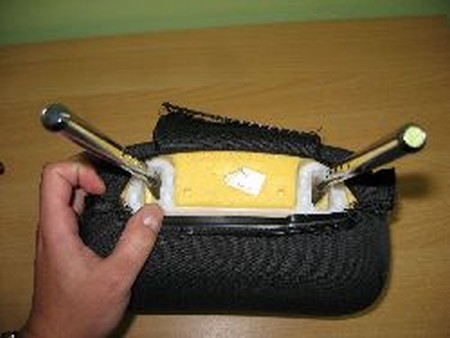
9. This is what you will end up with when properly done. |
 |
|
10. .Pull the stock headrest ALONG WITH THE FOAM off the structure. This will require moderate force. |
 |
|
11. Your further steps are thus: removing the cover from the foam (which will now be very flexible and easy to work with since the rigid structure from within had been removed), installing the new cover on the foam and reinserting the structure into the foam now in the new cover. |
 |
|
Useful tip You have installed a product made out of genuine leather. As you know, to maintain a leather product in good condition, you should take care of it. We suggest occasionally (every 4-6 week for example) applying some leather conditioner/UV protector to keep your leather from drying up in the sun and cracking. |
|
Subscribe to our newsletter to get an instant 20% discount!