1990-98 BMW 3-SERIES |
||||||||||||||||||||||||||||||||||||||||||||||||||||||||||||
|
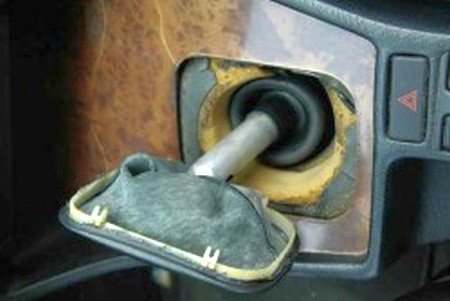
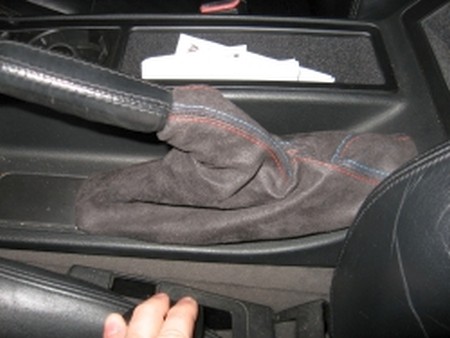
1. First remove the shift knob by pulling straight up on the knob.
2. Carefully pry along the trim along the edges of the boot to take it off. It is best to just use your hands. If your existing boot is soft you may be able to reach through it and grab the edge of the boot frame and pull the middle of it towards the middle slightly to release it. |
 |
|
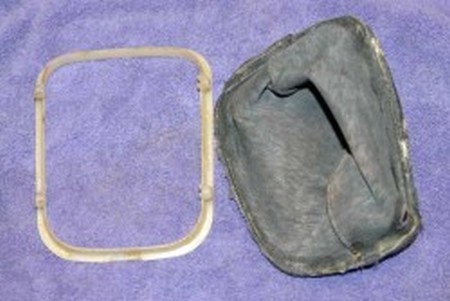
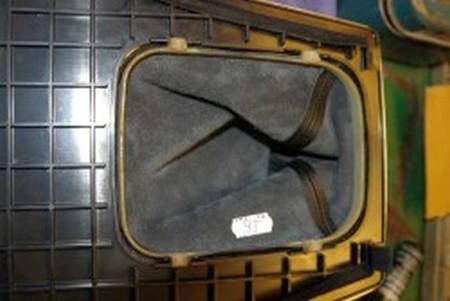
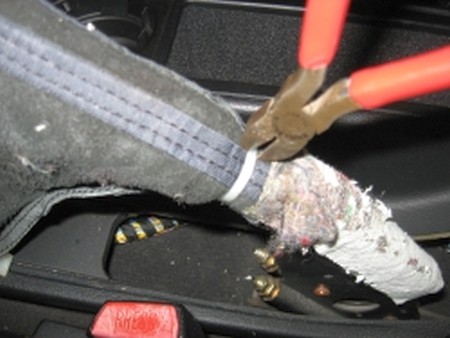
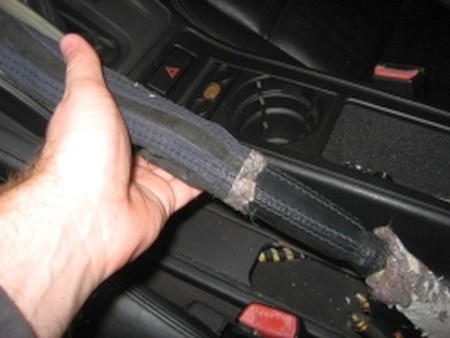
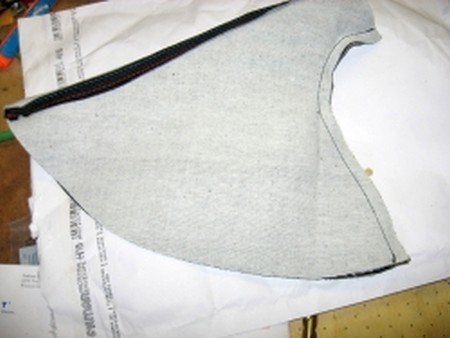
3. Now that the shift boot and its trim are out, carefully remove the vinyl boot from the frame (an x-acto knife will work great for that purpose). Clean the frame carefully with sandpaper of any glue/vinyl residue. |
 |
|
4. To install the shift boot you must glue the boot in the plastic frame. You can use epoxy-based glue (3M makes some great glues for that purpose). You can also use contact cement (I found contact cement to be better because it is easier to keep the boot in position on the frame as you stretch it on). If using contact cement coat the inside edge of the leather boot with glue and the outside of the frame (follow the instructions with the cement for how long to let it set before proceeding.) |
 |
|
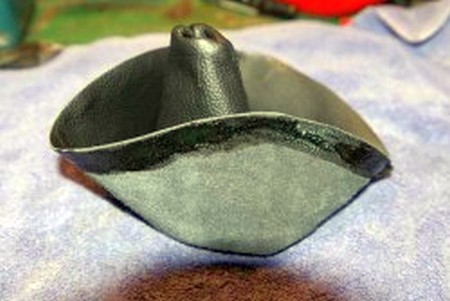
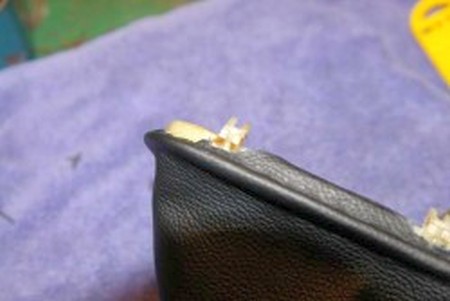
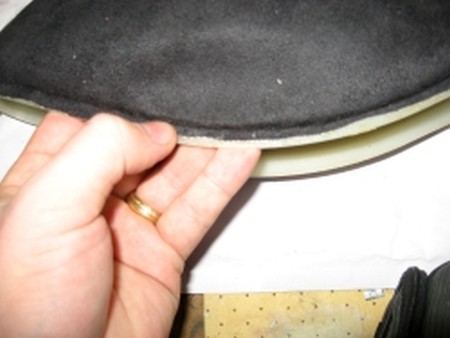
5. Make sure the shorter stitching is facing towards the front of the car. Next, stretch the boot over the frame slowly working your way around and lining up the stitching at the four corners of the frame. With contact cement you will have to press the leather to the frame several times to make sure it is set. After the glue has dried (immediately with contact cement), be sure to trim the leather around the clips on the frame to make sure they will seat correctly. |
 |
|
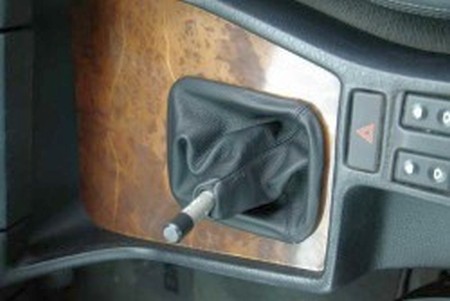
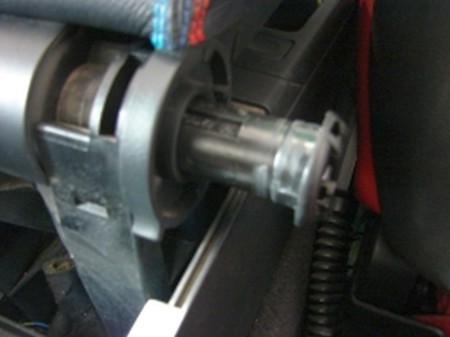
6. Slip the frame and boot over the shift rod and carefully press the frame down until it snaps in place. You may have to squeeze slightly in on the sides of the frame where the clips are to make it go down easier. |
 |
|
6. Slip the frame and boot over the shift rod and carefully press the frame down until it snaps in place. You may have to squeeze slightly in on the sides of the frame where the clips are to make it go down easier.
7. Press the shift knob back on to the shift rod until it snaps into place. You may have to turn it slightly to line up the slot in the top of the shaft with the knob. |
 |
|
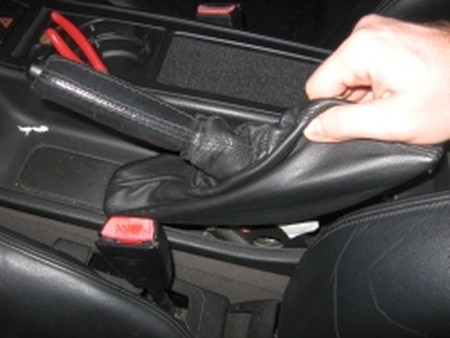
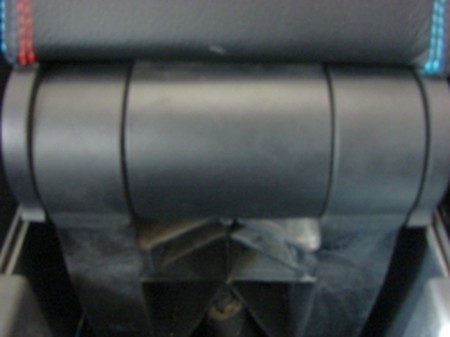
8. Pinch the boot and pull straight up. The boot is held in place by a snap-in plastic ring, which should come right out. |
 |
|
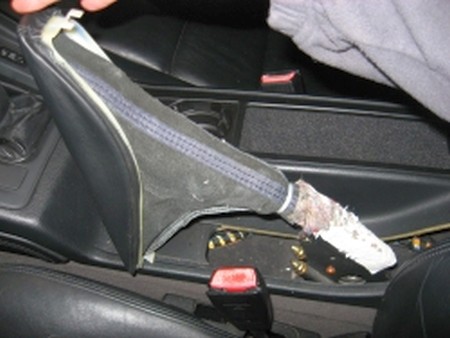
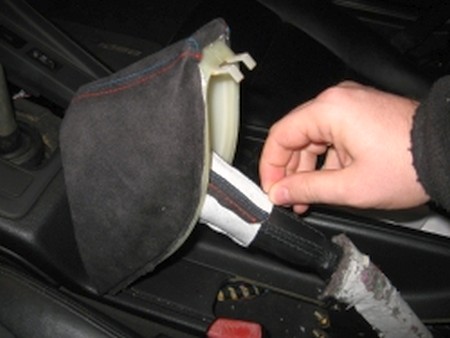
9. Pull the boot over the handle to reveal a zip-tie. |
 |
|
10. Cut the zip tie off. |
 |
|
11. The boot should slide right off the handle now. |
 |
|
12. Peel the boot off the plastic ring with your fingers. |
 |
|
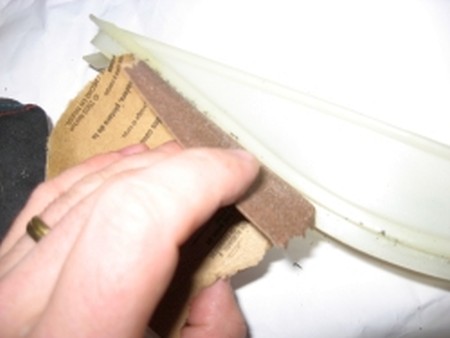
13. Sand down the surface of the plastic ring to remove any remaining fibers or glue. |
 |
|
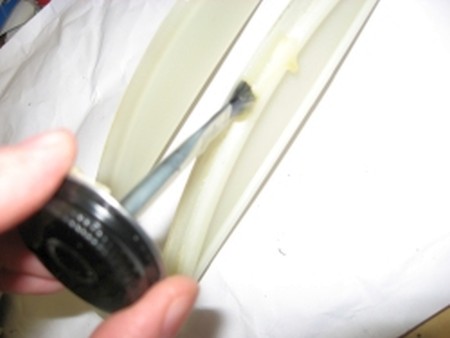
14. Apply contact cement to the rim of the ring, exactly where the old boot was attached. |
 |
|
15. Turn the new boot inside out. |
 |
|
16. Apply glue to the bottom edge of the boot. Be careful not to get glue on the finished side. Follow the directions supplied with your glue, which may include a waiting period before you attach the boot.
Stretch the boot around the rim of the ring. Be sure to line up the side of the boot with two seams with the back of the ring, which has two tabs rather than one. Press the edge of the boot into the glue on the plastic ring, ensuring thorough contact. |
 |
|
17. Allow the glue to dry; again, follow the directions supplied with your glue. When dry, pull the top of the boot down through the bottom, and slide it back over the brake handle. |
 |
|
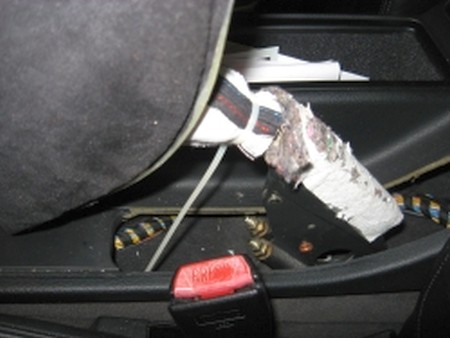
18. Pull it all the way to the end of the handle, then attach with a zip-tie. |
 |
|
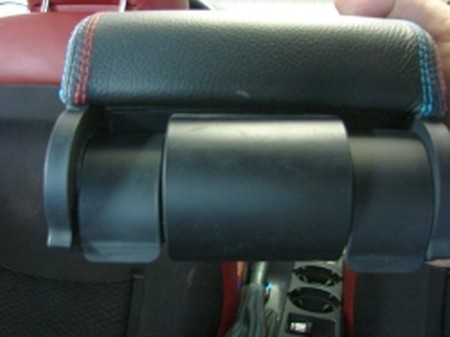
19. Cut off the excess zip-tie. Pull the boot down into the original position, then snap in the front first and the back second.
DONE! |
 |
|
Materials needed: - Philips screwdriver
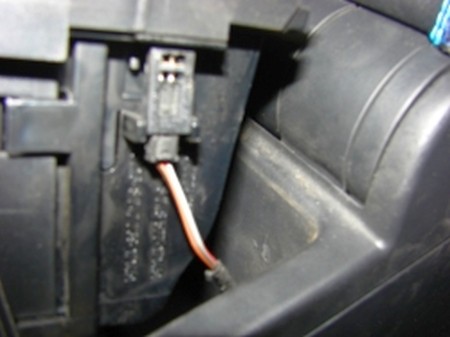
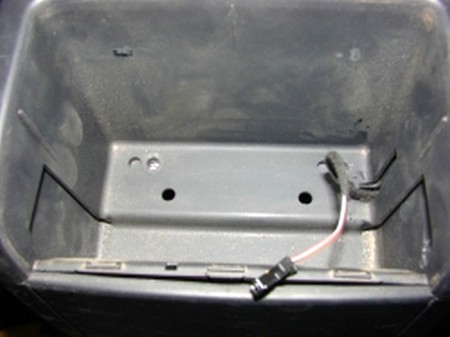
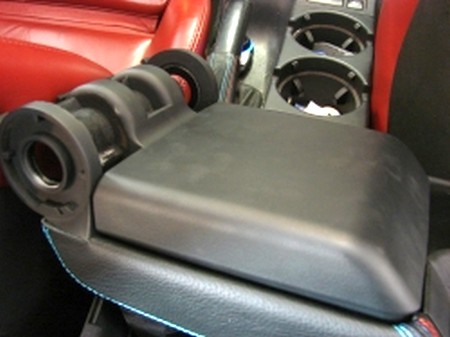
1. First pull out the rear ash-tray. Just grab and edge and pull it up. Don't rip it out of the car yet, disconnect the connector first.
|
 |
|
2. The ashtray cavity will reveal two philips screws - remove them (removed in picture here). |
 |
|
3. Use the philips scredriver to remove the spring, just dislodge it from the catches and it will come off easy. |
 |
|
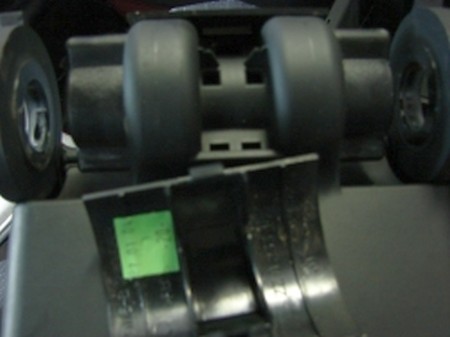
4. Remove the two hinges, they need to be pulled out. Note the way they go out, you will have to put them in the same way. |
 |
|
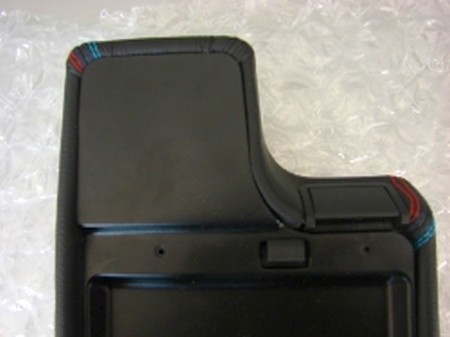
5. Wriggle the armrest a bit to dislodge it, might help to remove the two trim pieces visible on this picture (narrow one is armrest, then there's the trim piece, then the center wide piece that stays - thus far, then the other trim piece you need to dislodge). Wedge them with a screwdriver slightly to make them disengage. |
 |
|
6. This entire part should come off the car. Remove the two trim pieces you dislodged in step above and note the way they came in. |
 |
|
7. Dislodge the center, wide trim piece. |
 |
|
8. The armrest top and bottom lids will now separate. |
 |
|
9. Remove the upper lid's inner trim, there are two plastic prongs you need to remove... |
 |
|
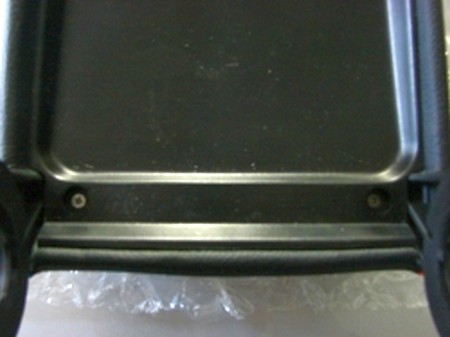
10. ... two screws near the hingest (hidden under little plastic circles you need to pry off)... and a bunch of latches. Wedge the inner trim with a flathead or small philips screwdriver to get it to disengage. |
 |
|
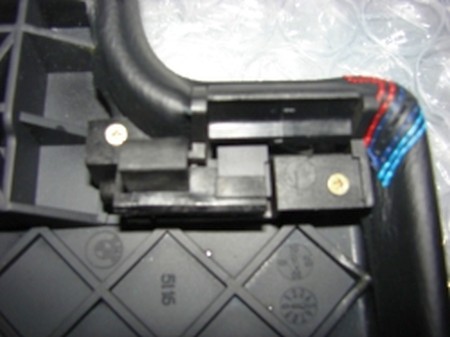
11. Remove the hinge by taking out the two screws.
12. Using an X-acto knife cut off the old armrest cover (vinyl factory one).
13. Using glue install the new cover instead. You might want to ask somebody to help you hold it down after you position it and while you glue it on, or you might want to consider using clamps.
Either way, just take your time but don't let the glue set before you get the armrest on right.
14. Reinstall the armrest in the reverse order of removing it. |
 |
|
Useful tip You have installed a product made out of genuine leather. As you know, to maintain a leather product in good condition, you should take care of it. We suggest occasionally (every 4-6 week for example) applying some leather conditioner/UV protector to keep your leather from drying up in the sun and cracking. |
|
Please subscribe to our newsletter.
Get an instant 20% discount and enter our montly $100 CASH sweepstakes!