2005-10 CHEVROLET COBALT |
||||||||||||||||||||||||||||||||||||||||||
|
If you are installing a MOMO handle, download this one.
For automatic shift boot installation, please click here.
1. Remove plastic bezel that surrounds e-brake by pulling up on the sides gently. |
 |
|
2. Remove plastic piece that surrounds the underside of the steering column. |
 |
|
3. Remove plastic piece of trim behind windshield wiper lever by pulling gently on the sides. |
 |
|
4. Remove plastic piece of trim over glove compartment by pulling gently on the sides. |
 |
|
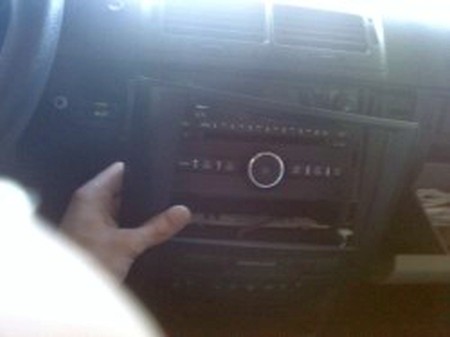
5. Remove plastic trim from around stereo and A/C controls by pulling gently on the sides. |
 |
|
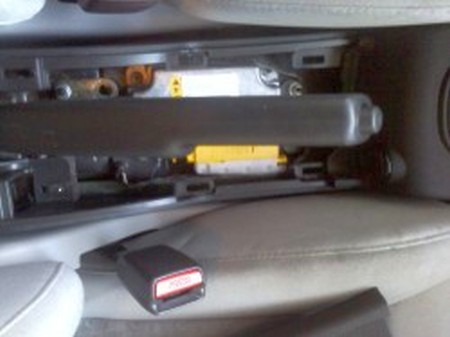
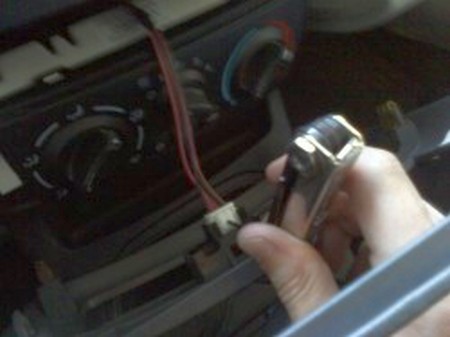
6. Remove air bag sensor from plug on trim by using either a screw driver or a small Allen wrench. |
 |
|
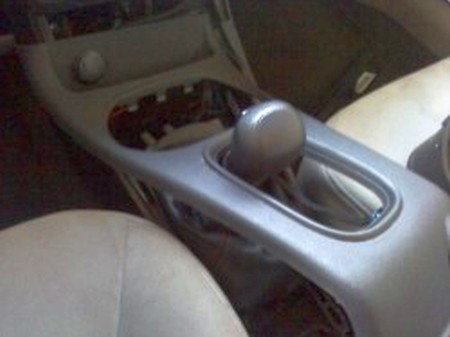
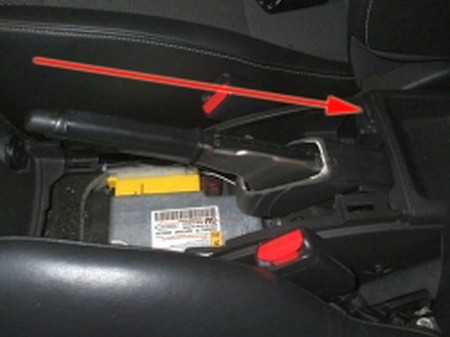
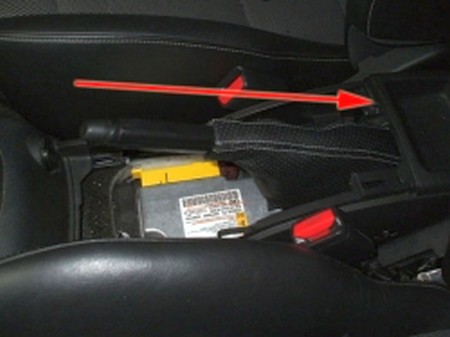
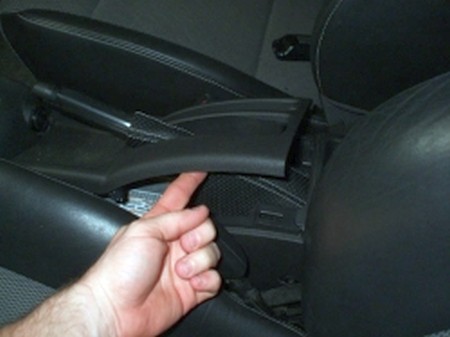
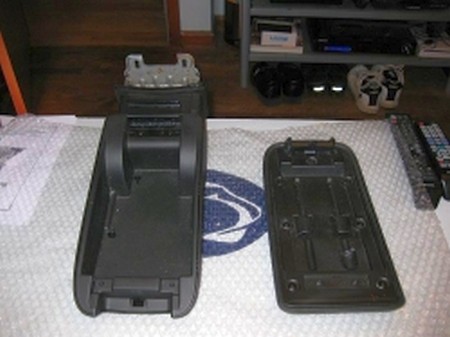
7. Remove plastic piece surrounding shifter and cup holder. Also remove the cup holder as the piece will not come out with it in place.
8. Release chrome piece under shift lever by pulling down. You may have to twist it a little.
9. Once you have pulled the chrome piece down, locate the small, black, circular socket on the back of the shifter knob.
10. Use an Allen wrench to loosen the screw on the shifter knob, and then pull it off.
11. Pull shifter boot over shift lever and begin stretch it around shifter plate until it is snug.
12. Make sure that the shifter is able to go from P to 1 with the shifter boot still in place. The shifter boot will essentially be sandwiched in between the plastic piece of trim that you removed from around the shifter and the shifter plate.
13. Reassemble interior trim pieces and make sure they are all firmly in place, replacing them in reverse order of which you took them off.
14. Once everything is reassembled do another check on the shifter to make sure it can go from P to 1 without pulling the shifter boot out of place. |
 |
|
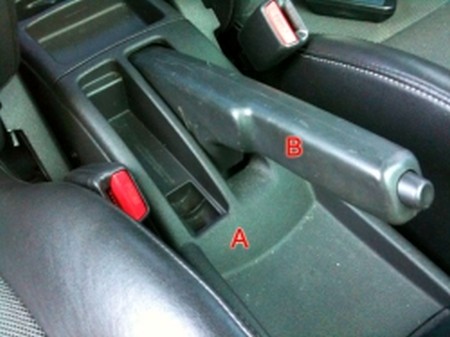
15. Lift the e-brake in its upright position and begin this installation by removing the e-brake bezel (A) as well as the handle cover (B). The bezel is held in place by metal snap fittings. A light tug and the panel will pop up. Push the manual shifter (if applicable) forward to provide enough space to slide the e-brake bezel forward and up. The e-brake handle cover can be removed by pressing the plastic tab on the bottom and sliding the cover off. |
 |
|
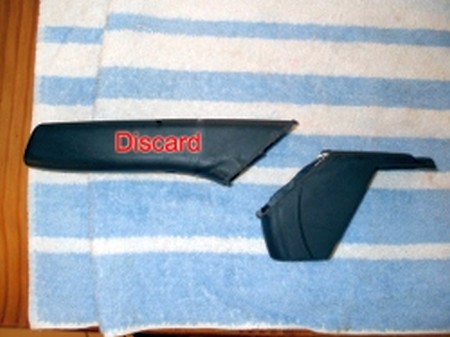
16. Cut the e-brake handle cover as shown and discard the front portion as it will not be needed for this installation. |
 |
|
17. Slide the portion of the e-brake handle cover that we just cut onto the e-brake handle as shown. |
 |
|
18. Slide the new e-brake boot onto the e-brake handle as shown. The boot will cover the plastic e-brake handle cover that we installed in the previous step. |
 |
|
19. Re-install the e-brake bezel by sliding it over the handle and boot and secure it by pressing down. Ensure that you hear the metal clips snap into place. That’s it! Test that the e-brake boot doesn’t snag by extending and releasing the e-brake a couple of times. Also ensure that the operation of the e-brake is not restricted. Make necessary adjustments accordingly. |
 |
|
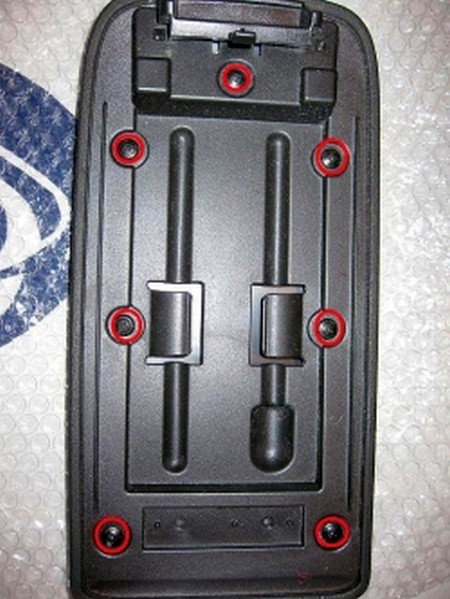
20. Remove arm rest lid by the 2 Philips screws on the hinge. |
 |
|
21. Remove the 7 philips screws holding the lid to the plastic under cover. |
 |
|
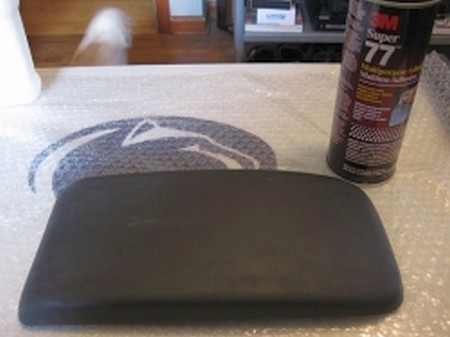
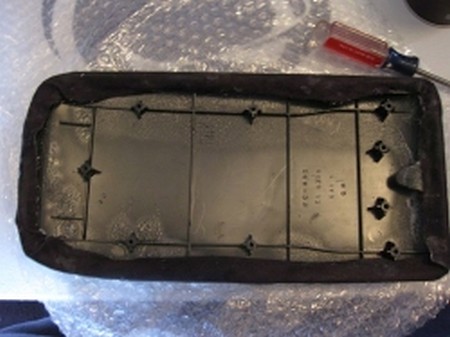
22. Using spray adhesive, I used 3M super 77 adhesive, cover the top of the lid completely with 2 coats.
BE AWARE!!! this stuff is sticky as hell and gets on everything so use a garbage bag or something to cover your work area. |
 |
|
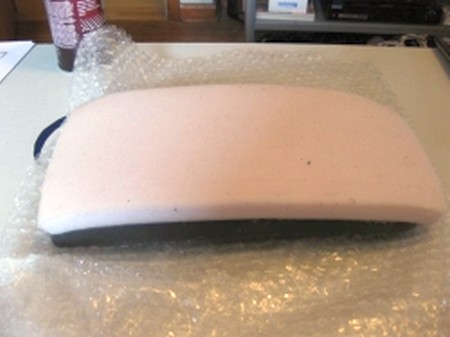
23. Place the padding on top the the deck lid lining it up as you press down. I worked from front to back. |
 |
|
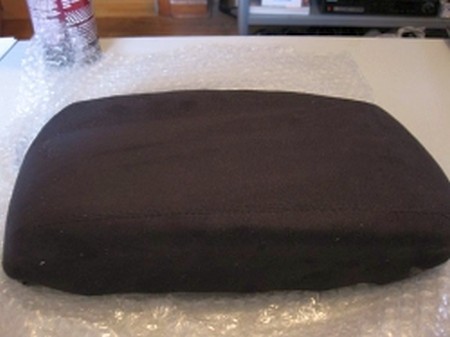
24. Place the cover over the padding lining up the stiching on the sides so its even. NOTE*** let the glue from step 3 dry for appox 30 mins so it doesnt stick to the material and get everywhere. |
 |
|
25. Once you have the cover aligned where you want it, use the 3M super 77 adhesive again and spary the underside of the material and some of the underside lid. Then pull the material over the lip of the lid and press it on the adhesive. It make take a few times till the adhesive becomes tacky enough to hold by itself.
26. Work out all the wrinkles (I had none) and folds in the corners and press down on the material assuring a firm bond between material and lid.
27. Reinstall in reverse order of removal |
 |
|
ENJOY YOUR NEW LEATHER BOOTS! |
|
|
Useful tip You have installed a product made out of genuine leather. As you know, to maintain a leather product in good condition, you should take care of it. We suggest occasionally (every 4-6 week for example) applying some leather conditioner/UV protector to keep your leather from drying up in the sun and cracking. |
|
Subscribe to our newsletter to get an instant 20% discount!