1977-82 CHEVROLET CORVETTE C3 |
||||||||||||||||||||||||
|
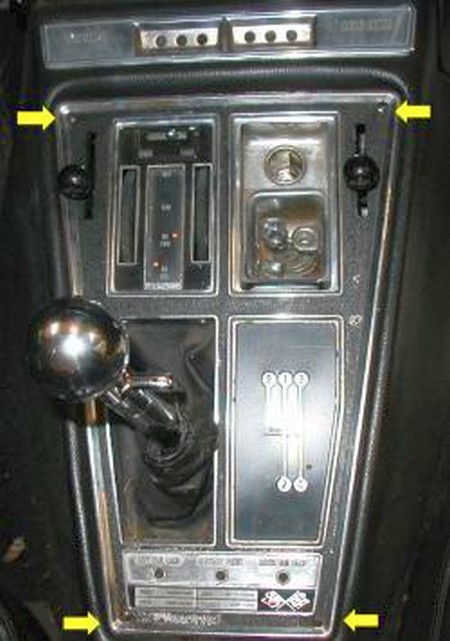
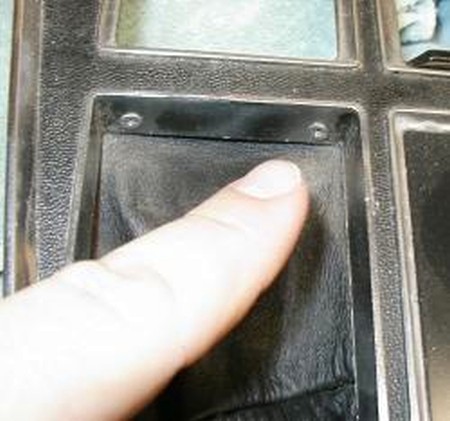
1. Remove 4 phillips screws at the corners of the shift plate. |
|
|
2. Use a 1/16" allen wrench to loosen the set screws holding the Astro Vent knobs in place. It is not neccesary to remove the said screws completely. Put the knobs and screws in a safe place. |
 |
|
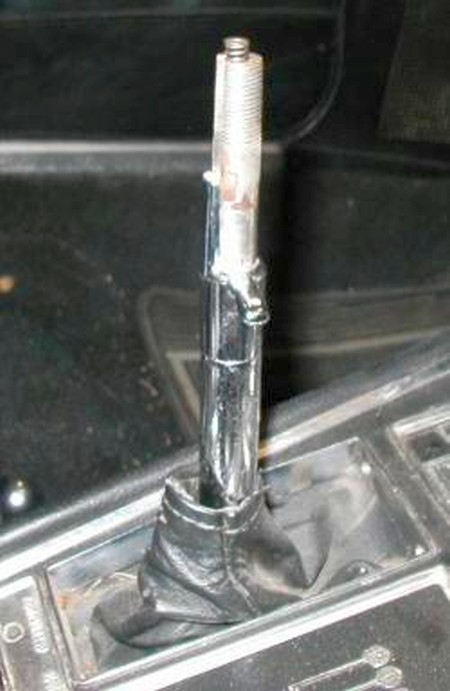
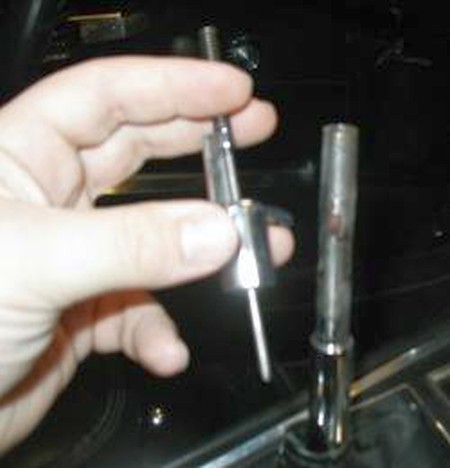
3. To remove the shift knob, simply unscrew counterclockwise. |
 |
|
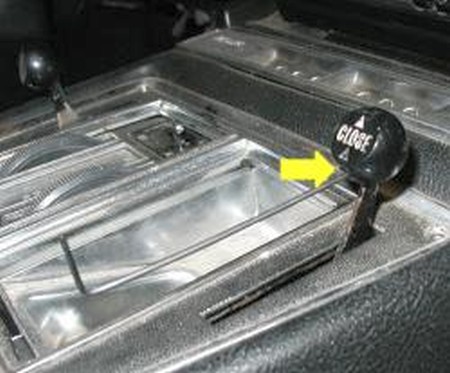
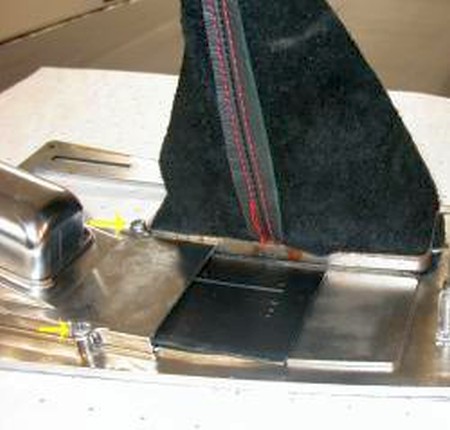
4. Pull the reverse actuator straight up, be careful not to lose the spring. |
 |
|
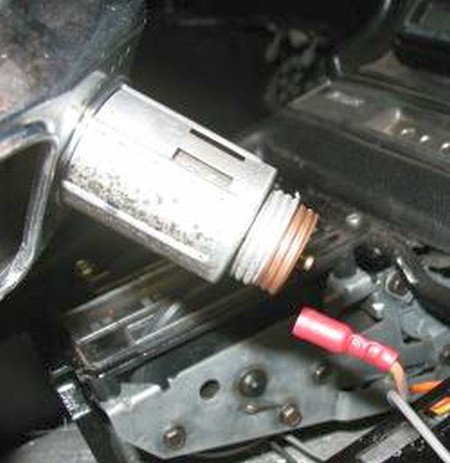
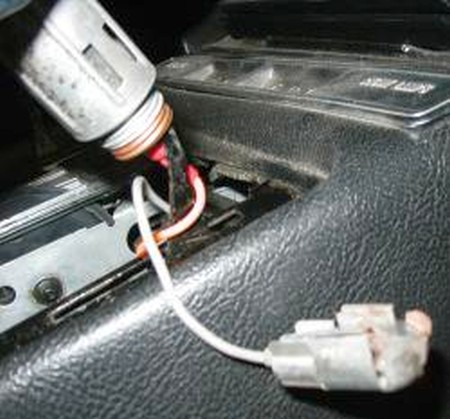
5. Remove the light from the ashtray lighter by squeezing the sides together gently. |
 |
|
6. Pull the power feed straight off of the lighter. (On some cars, it may be necessary to unscrew the lighter assembly to remove the grounding ring). |
|
|
7. Lift the shift plate out of the car, remove the 4 small screws holding the shift boot on, and pull the shift boot off. |
 |
|
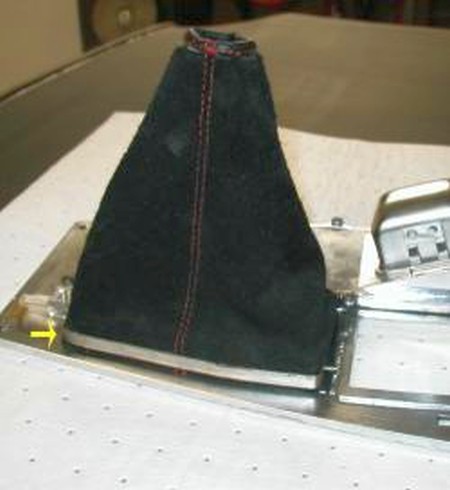
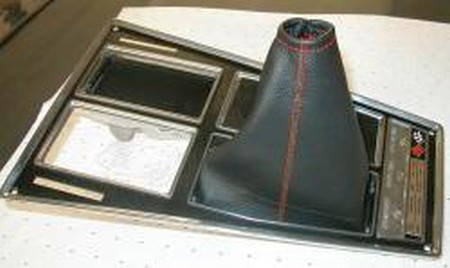
8. Turn the new boot inside out, pull it over the shift plate, and pull the collar over it. |
 |
|
9. On some vehicles, it may be neccessary to remove the 4 screws holding the ashtray in place to get the shift boot over the shift plate. Replace the ashtray as soon as the boot is installed. |
 |
|
10. Reinstall the 4 screws hold ing the boot and collar on. |
 |
|
11. Congratulations! Your new shift boot is installed. To reinstall the shift plate, simply reverse steps 1-6. |
 |
|
CONGRATULATIONS - YOU HAVE SUCCESSFULLY INSTALLED YOUR NEW LEATHER BOOTS!
Useful tip You have installed a product made out of genuine leather. As you know, to maintain a leather product in good condition, you should take care of it. We suggest occasionally (every 4-6 week for example) applying some leather conditioner/UV protector to keep your leather from drying up in the sun and cracking. |
|
Please subscribe to our newsletter.
Get an instant 20% discount and enter our montly $100 CASH sweepstakes!