2012-21 SUBARU BRZ |
||||||||||||||||||||||||||||||||||||||||||||||||||||||||||||||||||||||||||||||||||||||||||||||||||||||
|
SHIFT BOOT INSTALLATION |
|
|
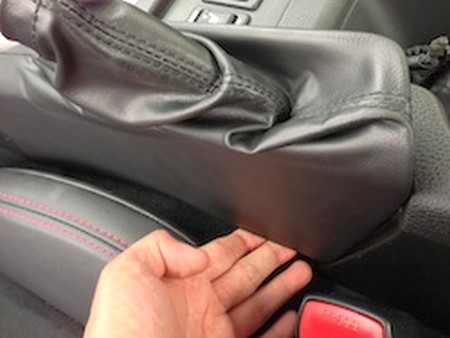
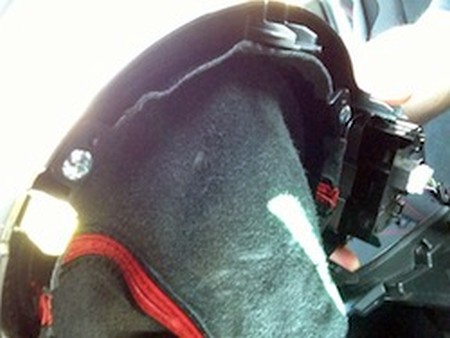
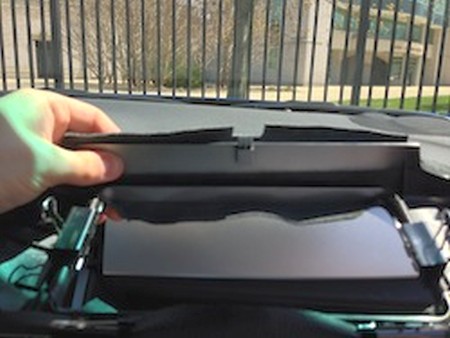
2. Lift up carefully to release all of the clips. Pull the bezel up. |
 |
|
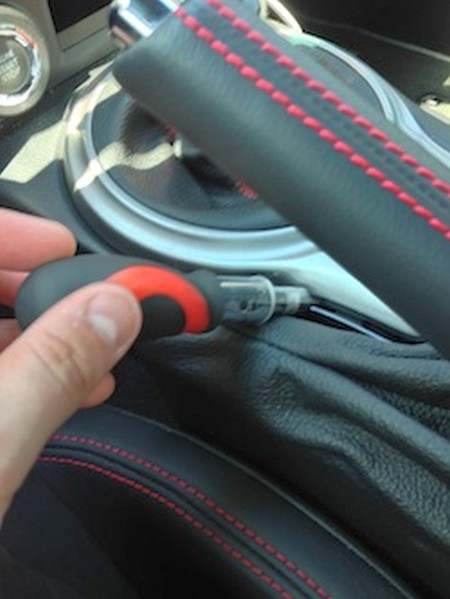
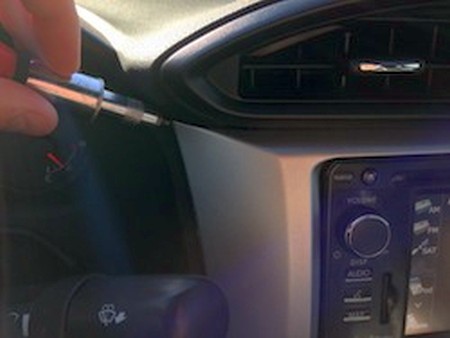
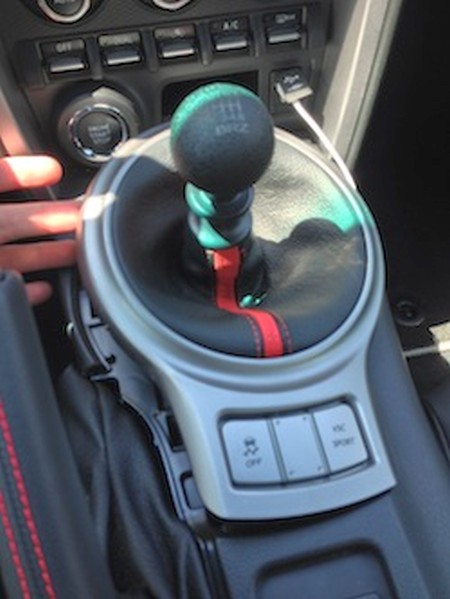
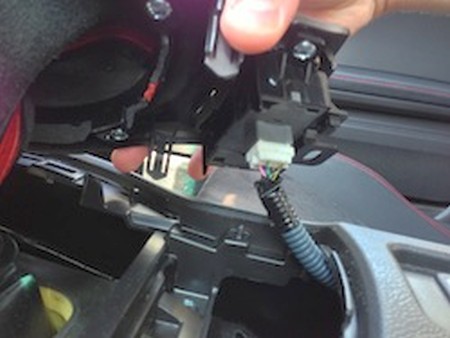
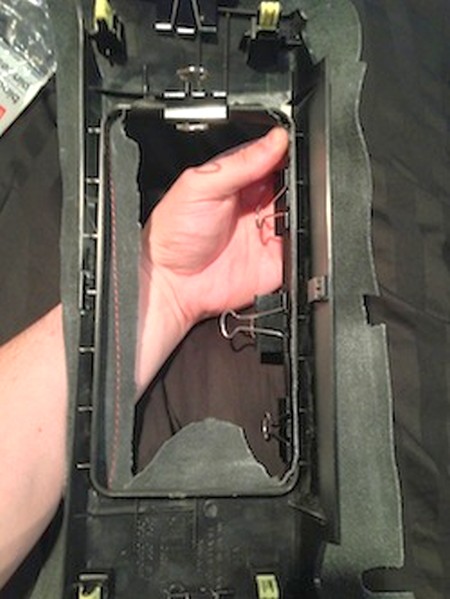
3. Using a flat head screwdriver, release the clip holding the traction control button harness into the bezel.Unscrew and remove the shift knob. |
 |
|
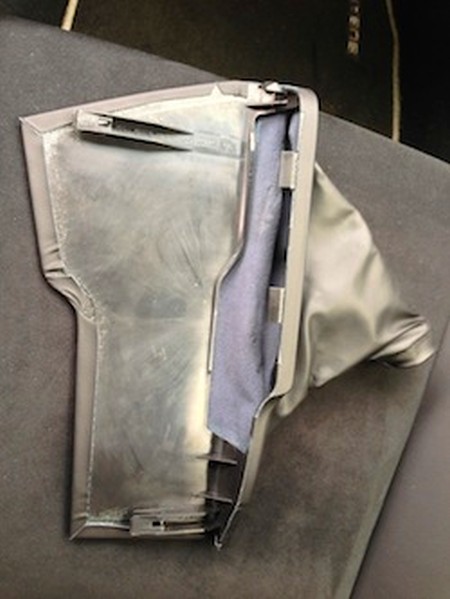
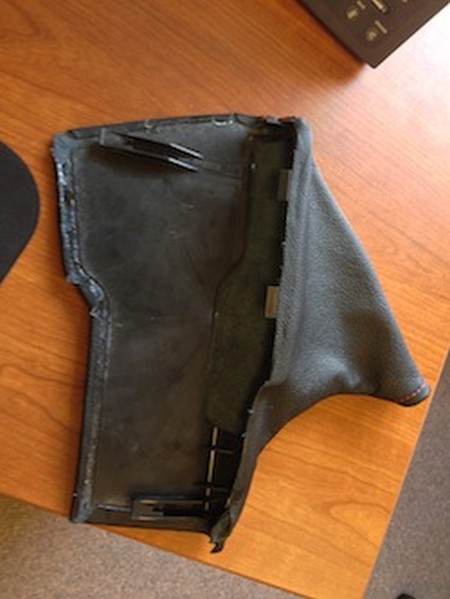
4. Unscrew and remove the shift knob. Carefully pull the stock shift boot up and over the reverse lockout to remove the assembly. Remove the 4 screws holding the boot frame to the bezel to and remove it |
 |
|
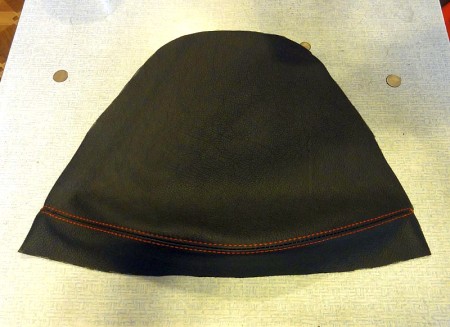
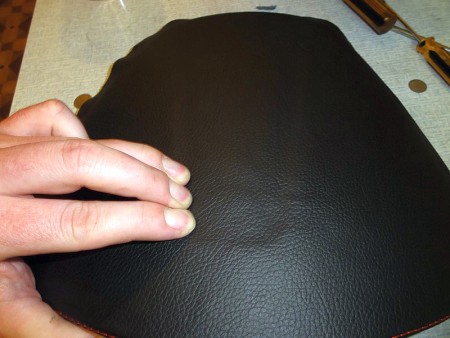
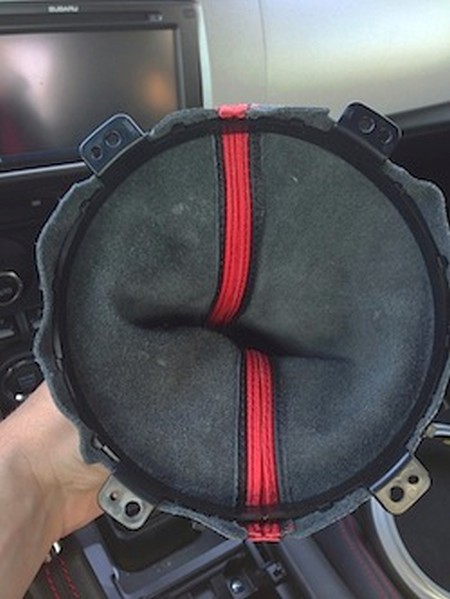
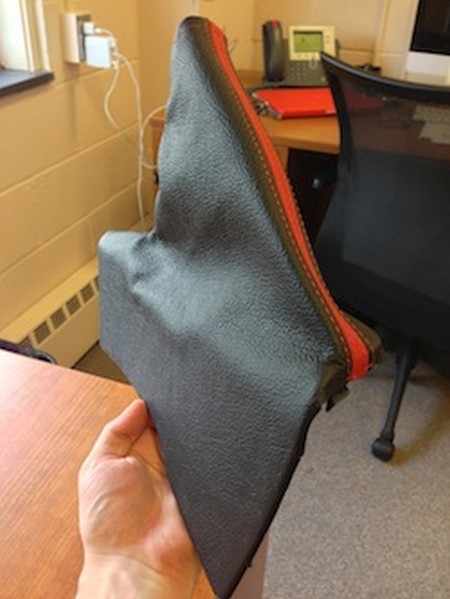
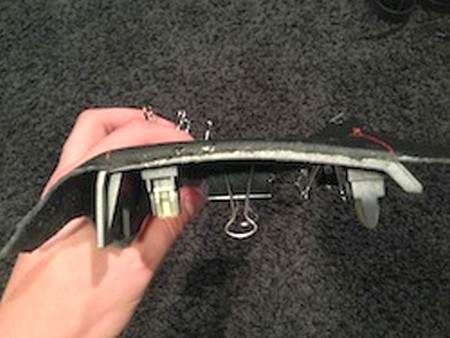
5. There are multiple hooks holding the shift boot down around the bottom edge of the frame. Carefully lift the fabric off of these clips and it will come off. Line up the new shift boot and put the hooks through the precut holes |
 |
|
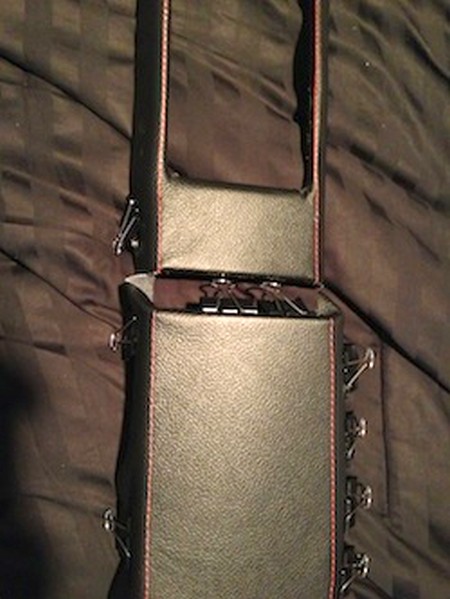
6. Re-install everything in reverse order of removal. | 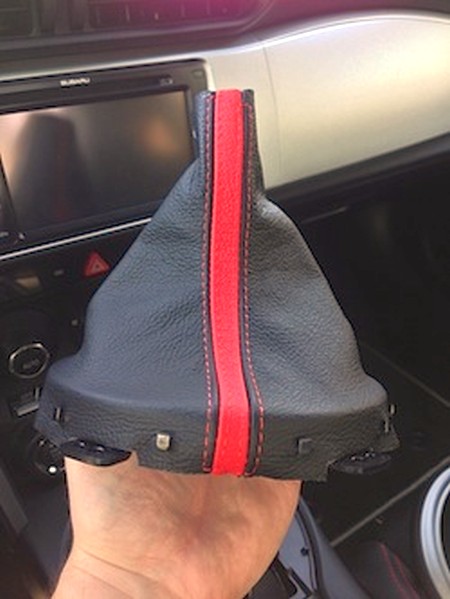 |
|
EBRAKE BOOT INSTALLATION |
|
|
2. Continue pulling the assembly up until all of the clips are released. |
 |
|
3. Lift the assembly up and slide the fabric up and over the brake handle. It will slip over it and the boot assembly will now be free. |
 |
|
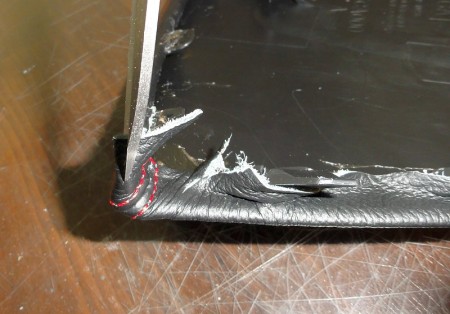
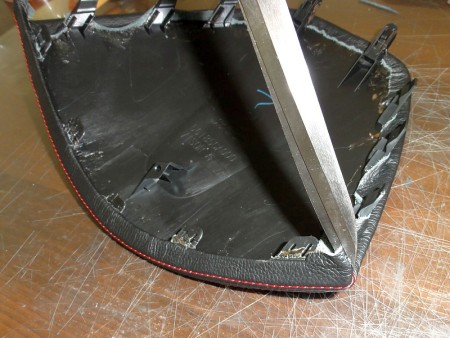
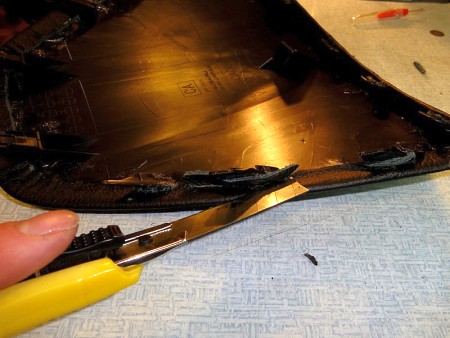
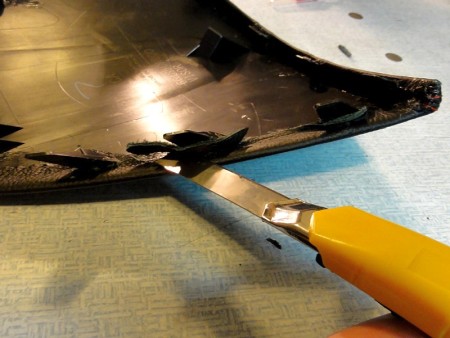
4. The stock vinyl is glued to the plastic frame. |
 |
|
5. Carefully peel the stock vinyl from the plastic frame by lifting it up from the corners. The stock adhesive is not too strong and it should come off fairly easy without tearing. |
 |
|
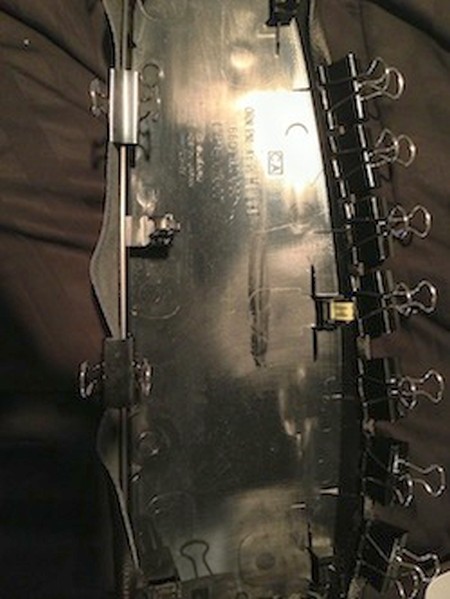
6. Apply contact cement or any industrial adhesive to the front and the edges of the plastic frame on the back side. | 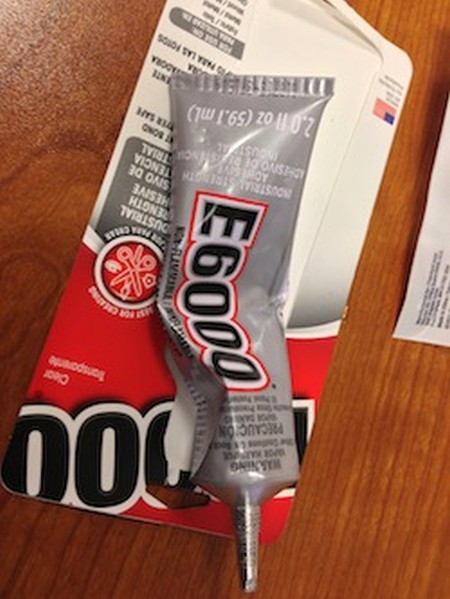 |
|
7. Line up the new boot and press down on the front side to adhere it and make sure it is flat against the plastic. Fold the edges of the new boot over the plastic and press down onto the adhesive. |
 |
|
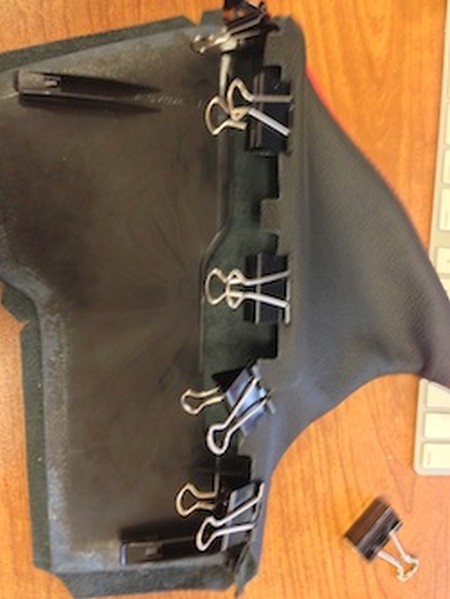
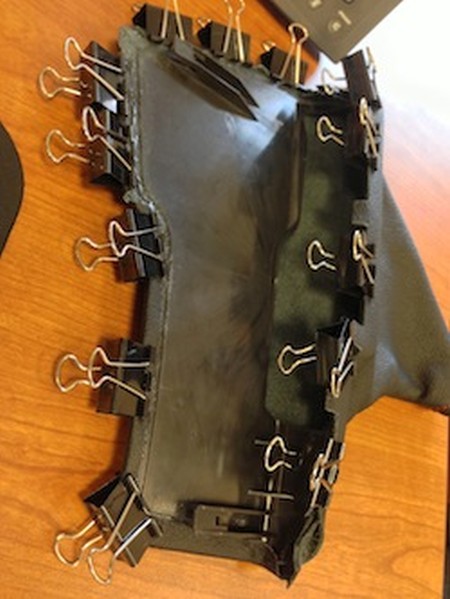
8. Use clips to hold the new boot down while the adhesive dries. |
 |
|
9. When the adhesive has dried, remove the clips. |
 |
|
10. Inspect the boot to make sure all edges are properly secured. To reinstall into the car, reverse steps 1-3, slipping the new boot over the handle and pushing the clips down into place (this may require some added force with the leather option as it is now a bit thicker overall.) |
 |
|
DASH COVER INSTALLATION |
|
|
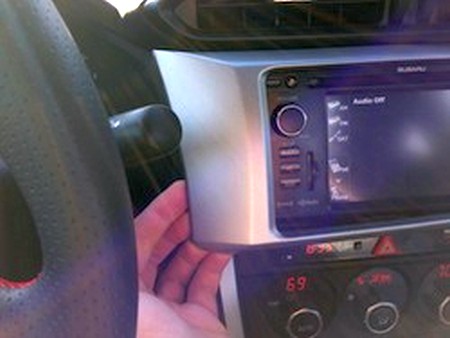
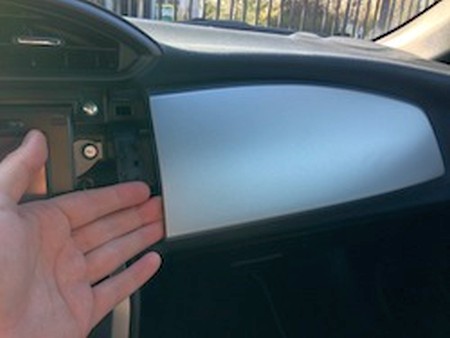
2. Unclip the stereo trim |
 |
|
3. Starting from the left side of the right dash trim, lift up and unclip from the dash. |
 |
|
4. Line up the fabric for the stereo trim on the trim piece and clip it down in place. |
 |
|
5. Make incisions to the stereo space up towards the corners. |
 |
|
6. Make sure you have cut far enough so that the fabric will be able to fold back and wrap around. |
 |
|
7. Clip the fabric down so you can now see the opening for the stereo. |
 |
|
8. Cut a notch out of the fabric to allow for it to wrap around the clips in the middle of the trim piece. |
 |
|
9. If you have leather, you may want to trim the leather so that it will not wrap around the edge where the 2 trim pieces meet to avoid thickness issues |
 |
|
10. Make sure everything is clipped in place for reference before gluing. |
 |
|
11. Begin gluing the edges of the fabric to the trim piece using industrial adhesive or contact cement. You may need to cut small pieces of fabric off to allow for it to wrap around curves as you go. replace the clips as you glue to create a good bond. |
 |
|
12. Clip the fabric to the passenger side dash piece and line it up with the stereo trim to be sure the stitching lines up. |
 |
|
13. Begin gluing the fabric to the passenger side trim and hold in place with clips while it dries. Again, you may have to trim small pieces of fabric as you go to avoid folding and gathering. Remove your clips after the glue dries and clip back into place in the dash. |
 |
|
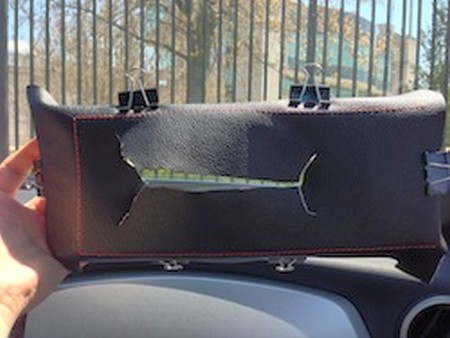
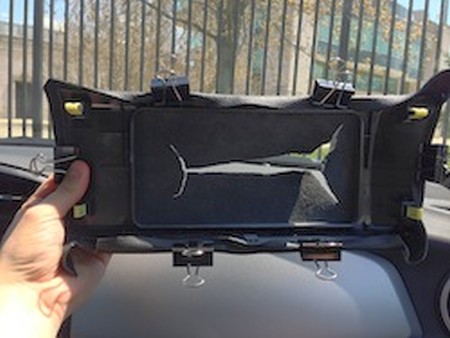
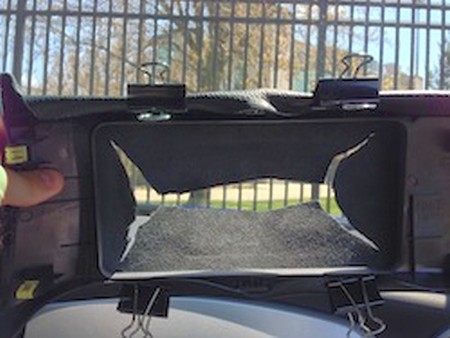
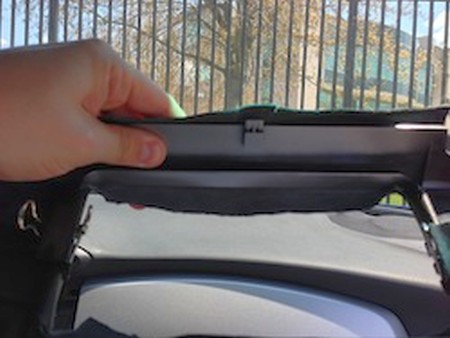
GAUGE HOOD COVER INSTALLATION |
|
|
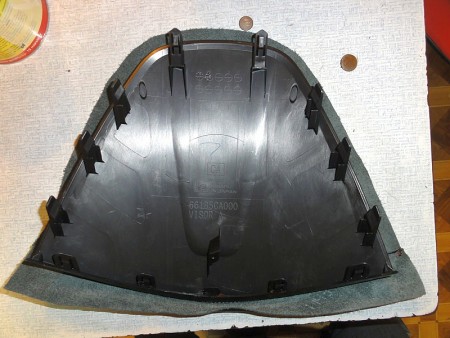
2. Test-align the cover on the gauge hood, make sure it fits perfectly before you even start glueing |
 |
|
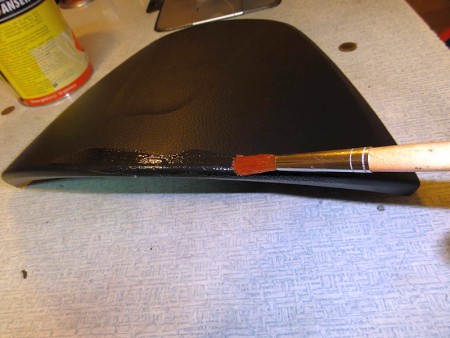
3. First glue the driver-facing edge of the hood - apply the glue along the edge with a brush - approx. 1-2cm to both sides of the edge. |
 |
|
4. You can consider using clamps to help you hold the rest of the cover in place while you do it. |
 |
|
5. Make sure it's nice and tight, seam properly aligned to the edge and let the glue settle a bit. |
 |
|
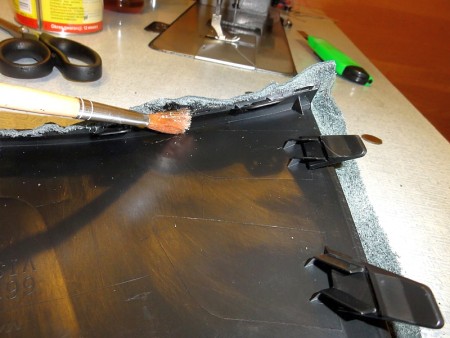
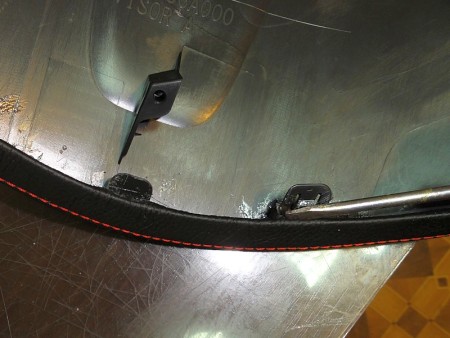
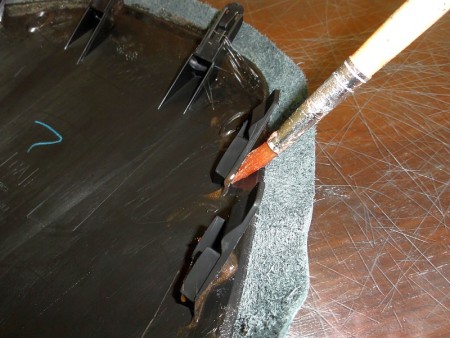
6. Then apply the glue to the bottom surface of the hood cover along the front edge, fold the leather and pres it strong to make it stick to the glue. Make sure the leather holds tight especially at the clips areas | 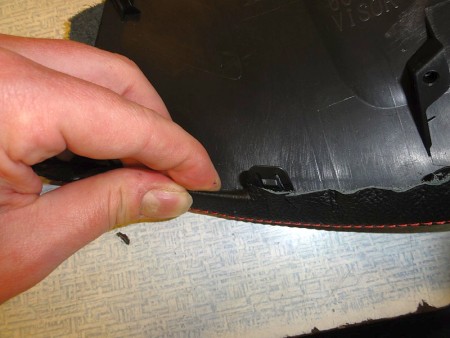 |
|
7. Pay attention to clip areas... | 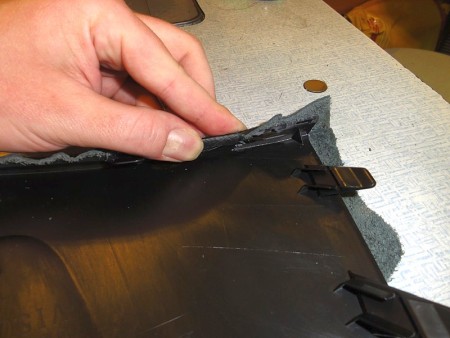 |
|
8. .. adjust them if neessary... | 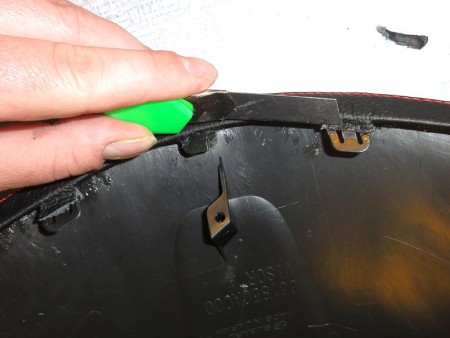 |
|
9. ... including trimming the leather just a bit to make it sit flush. | 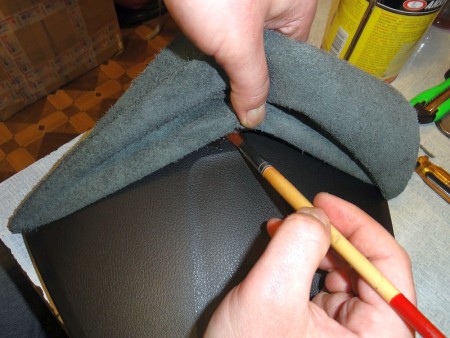 |
|
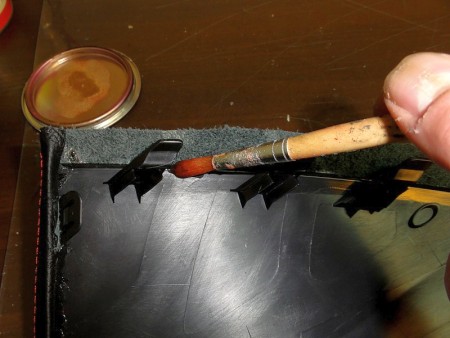
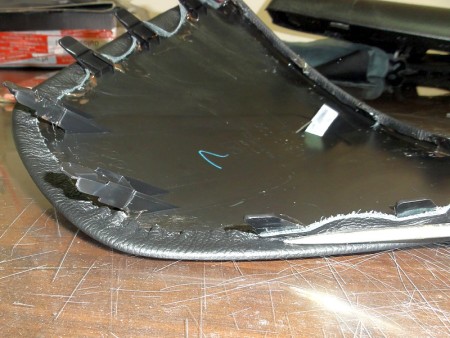
10. Then proceed with applying the glue to the upper surface of the hood making sure you apply the glue to the whole surface - lift the leather a bit and slide the brush under it to spread the glue in there. You can glue the whole surface at once making sure to spread the leather evenly. Do not stretch the leather too much. | 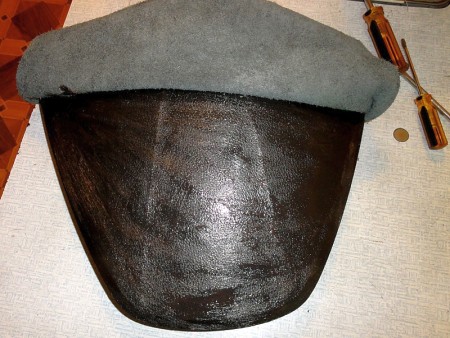 |
|
11. Instead, before you lay it on the whole surface, press it strongly into the hollow to make the leather stick there, (otherwise it may lift there after some time) and then press the leather firmly all over the surface till the edges. |
|
|
12. Let the glue settle and then apply the glue to the bottom of the hood along the edges, fold the leather and press firmly to make it stick. |
 |
|
13. It mmight help to use a screwdriver, putty knife or even a ruler to make the glue hold the leather along the clips. |
 |
|
14. Details seem here... |
 |
|
15. ... and here. |
 |
|
16. You will need to make small cuts in the leather on both sides of every clip to make it lay properly. | 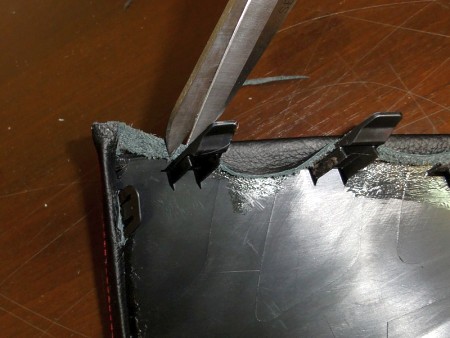 |
|
17. After the glue settles firmly cut the excess of the heather that lies on the clips in order to make the clips snap back into the dashboard. |
 |
|
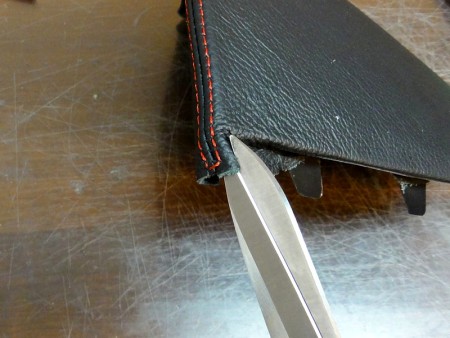
18. Let the glue settle and proceed with the front corners Ð make cuts along the seam to enable the seam to be folded under the hood. |
 |
|
19. Here you will have to be a bit creative and see for yourself how much you need to cut in order to make the leather lay properly and not make the cuts visible. Remember it is better to cut too little and then extend the cut again and again than to cut too much at first. :) |
 |
|
20. Once you are sure you cut enough, apply the glue to the bottom of the hood around the corners and fold the leather there. You should work with one corner at a time because you'll have to hole the leather folded with your fingers pressing it for some time until the glue settles. Then proceed to the other corner. |
 |
|
21. Now you should be able to install the hood back into the dashboard Ð press it from the top to make the clips snap, screw it back and enjoy your good work. :) |
 |
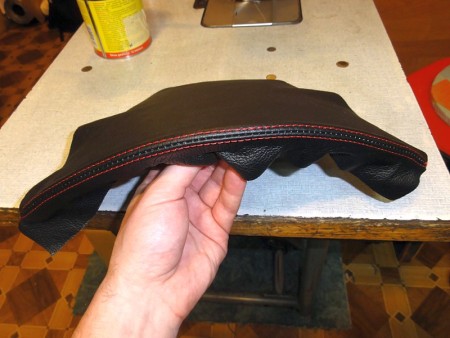
ENJOY YOUR NEW LEATHER BOOTS!Useful tip You have installed a product made out of genuine leather. As you know, to maintain a leather product in good condition, you should take care of it. We suggest occasionally (every 4-6 week for example) applying some leather conditioner/UV protector to keep your leather from drying up in the sun and cracking. |
|
Subscribe to our newsletter to get an instant 20% discount!