2004-13 BMW 1-SERIES |
||||||||||||||||||||||||||||||||||||||||||||||||||||||||||||||||||||
|
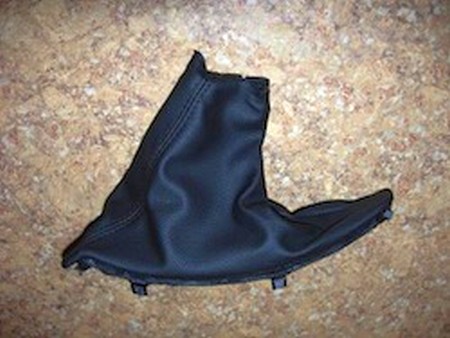
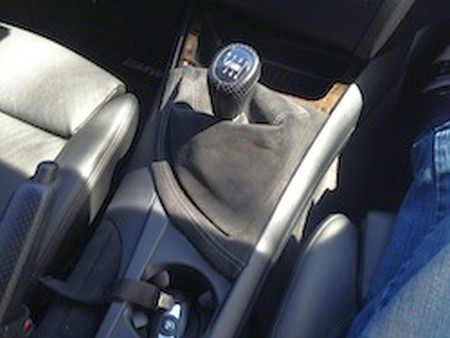
SHIFT BOOT |
 |
|
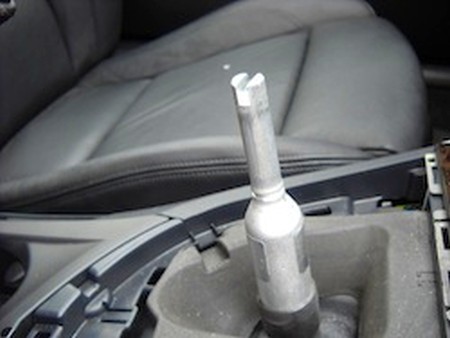
2. Now the shift boot should be free from the knob and the center console trim. Put the car in 2nd or 4th gear and pull the shift knob straight up. With some force the knob will come off, its only held on by some RTV like epoxy. Be careful because some people have punched themselves in the face doing this. With the knob removed, the boot will slip off the shifter. |
 |
|
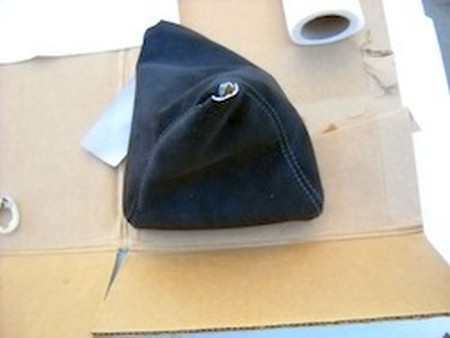
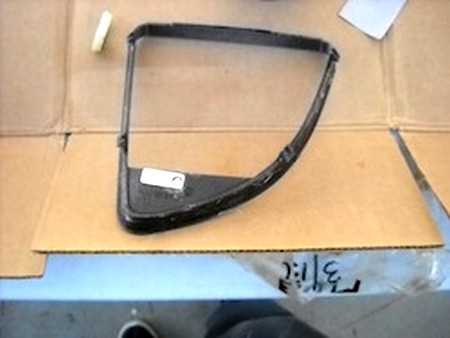
3. To get the old boot off, you are going to have to separate the glue from the ring around the bottom. Use a small screwdriver or even an Exact-o knife. This is what you are left with after the boot is off |
 |
|
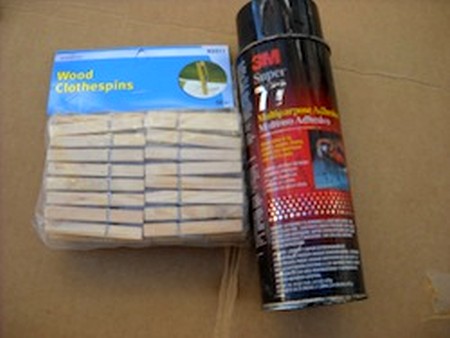
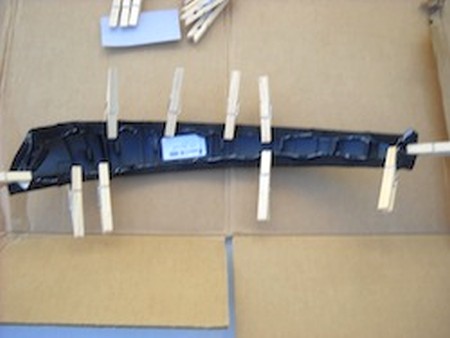
4. Now stretch the new Redline Shift Boot over the ring. Make sure to put small slits in the fabric and get it over the tabs for the clips. Once you are satisfied with the way the boot looks, use some contact cement on the edges and glue the boot down to the trim ring. Use clothes pins to hold the fabric in place while the glue dries |
 |
|
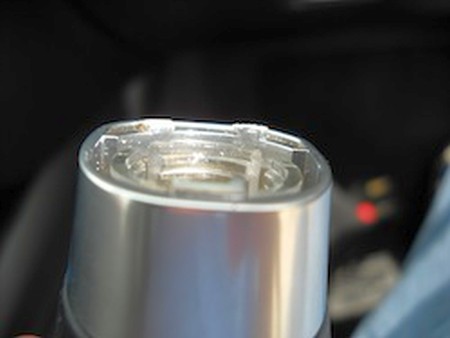
5. To get the shift knob to sit flush with the new boot, you need to trim the 3 tabs off the bottom of the knob, like this. Sand them down a little if you need to. They dont need to look pretty just be flush with the bottom. |
 |
|
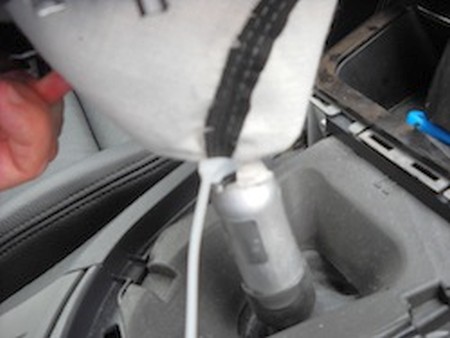
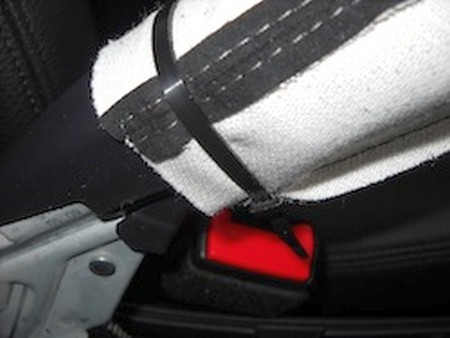
6. You want the zip tie for the shift boot to sit right about here, like this. Secure the zip tie and trim off the excess. |
 |
|
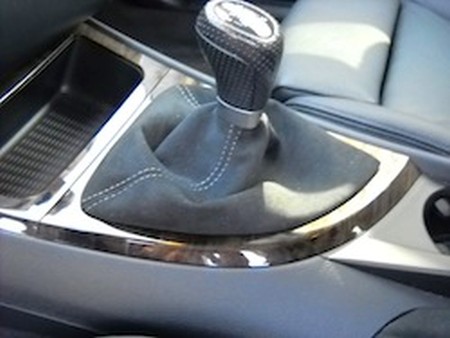
7. Turn the shift boot right side out and clip it into place. Then add a little dab of RTV (optional) on the end of the shifter and push the knob down on it firmly. It should click back into place and this will be the result. A much nicer shift boot! |
 |
|
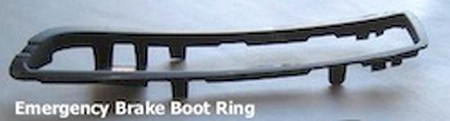
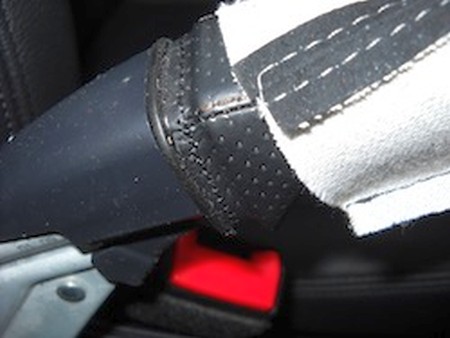
EMERGENCY BRAKE BOOT |
 |
|
2. Your e-brake boot will look similar to this when it is off of the car. There is a plastic ring at the bottom of the e-brake boot that needs to be separated from the boot in the same way the shifter boot had to be separated. So use an e-xacto knife and a small screwdriver to separate the 2 pieces. |
 |
|
3. This is the e-brake Boot ring with the OEM leather off of it. |
 |
|
4. Again, use contact cement glue and clothes pins to secure the trim ring to the Redline Fabric. Make sure not to cover any of the clips. |
 |
|
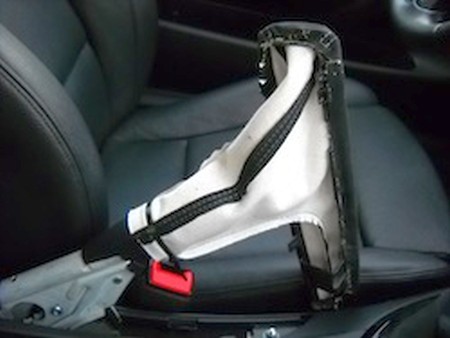
5. After your glue has dried, put the boot over the ebrake handle inside out, like this. You want to have a little excess fabric just past the edge of the actual handle. |
 |
|
6. Next the zip tie goes into the groove on the actual handle part like this. |
 |
|
7. It should look like this when you are finished. Trim off the end of the ziptie. |
 |
|
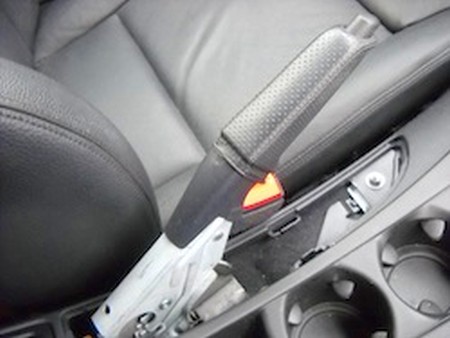
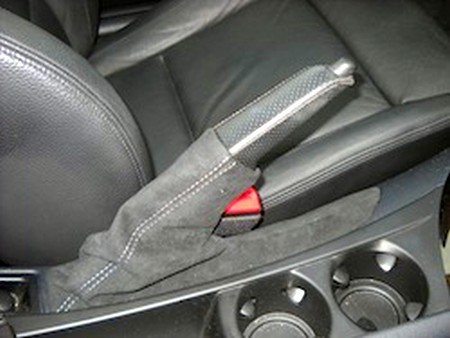
8. Then snap the boot ring back into place starting with the tab on the front. And youre done! It looks great and compliments the RedlineGoods shift boot very well. |
 |
|
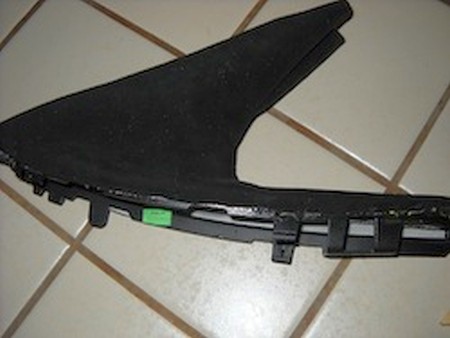
DOOR PULL COVER INSTALL |
 |
|
2. Here is the door handle. Start at the bottom and work your way up. |
 |
|
3. This is what the clips look like. So all you need to do is pull the handle off. |
 |
|
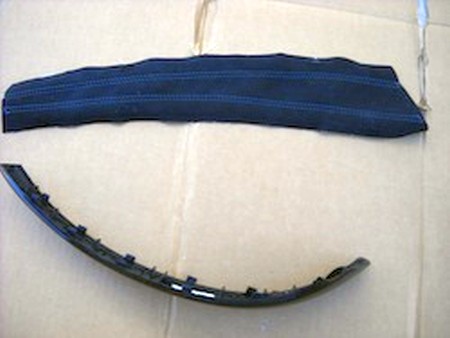
4. Here we have the fabric laid out next to the door trim. I put everything on cardboard so I would have a clean work surface to start. |
 |
|
5. Test fitting the Redline Fabric onto the door trim. |
 |
|
6. Here I had to work quickly because of how quick the spray glue dries. Spray the back of the fabric and the face of the door trim. Then center the fabric over the door trim and pull tight. Pull the edge of the fabric over the edge of the piece. |
 |
|
7. Then use the clothes pins to hold the edges in place while the glue dries. The can says the glue dries in 30 seconds. I gave each piece 10-15 minutes before I removed the clothes pins. If you have some edges that are not staying down, you could spray a brush with the glue and brush it on the edge of the fabric , then reapply the clothes pin. Contact cement would work here as well. |
 |
|
8. Ensure the fabric goes around the clips. Trim the excess fabric off the edges so it does not bunch up behind the trim piece. |
 |
|
9. Install is opposite of the removal. Start at the top of the piece and work your way down making sure all of the clips are lined up. Now go back with your trim tool and tuck in any excess fabric that sticks out. Repeat for the other side. Now stand back and admire your work! |
 |
|
DASH TRIM INSTALL |
 |
|
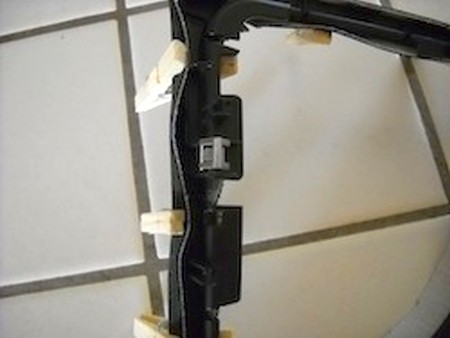
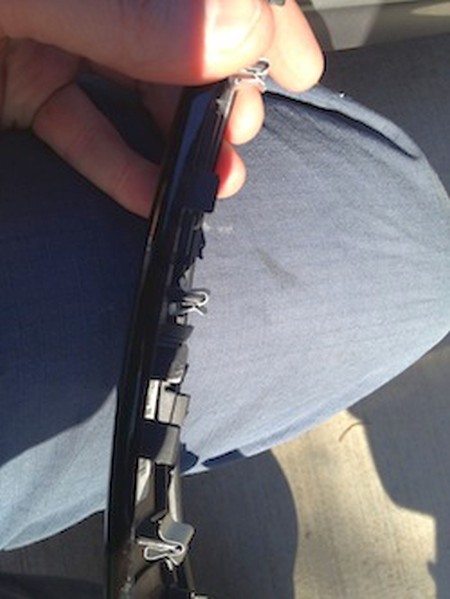
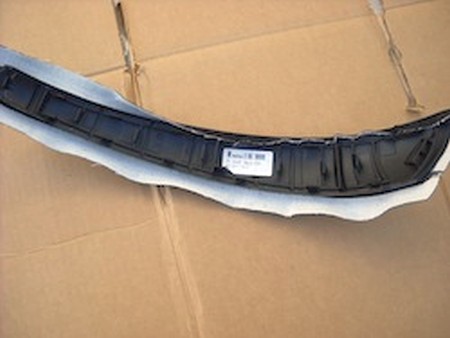
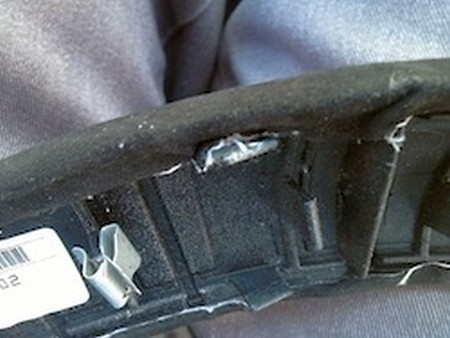
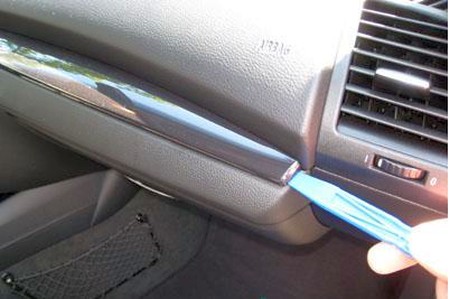
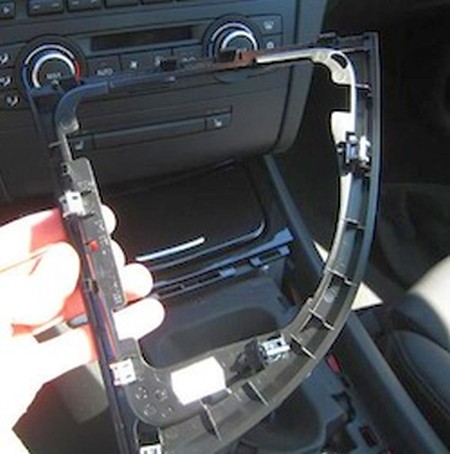
2. This is the receiver clip that the rivets push into. Again, pull the dash trim straight out. |
 |
|
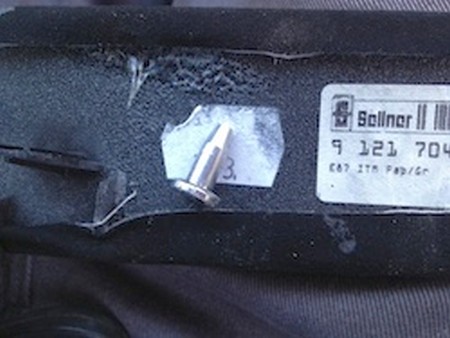
3. This is what the clips on the back of the dash trim look like. They are a small metal rivet so they pull straight out of their clip. |
 |
|
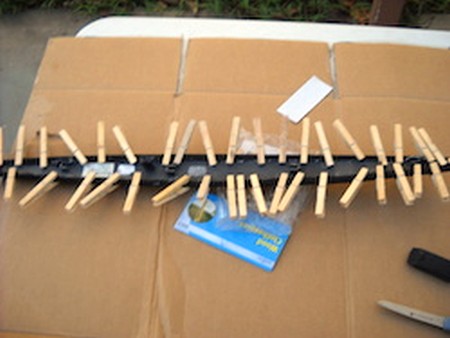
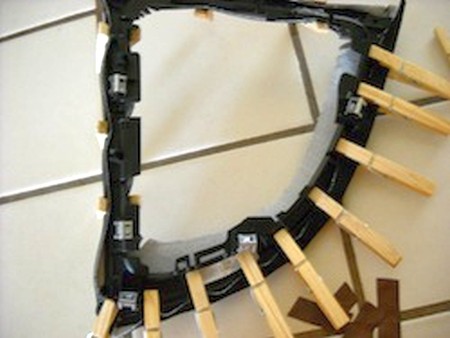
4. The same principles applies to putting on the RedlineGoods dash trim. Apply glue to both the suede and the dash trim. Then stretch the fabric over the dash trim. The only thing you need to be aware of is that the stitching is straight on the trim. Align the stitching toward the top of the dash piece. I had to test fit the suede many times to get it right. If you find that you have glued the fabric down and it is not straight, pull it off and start over. To clean the glue off of the BMW dash trim, you can use paint thinner, soap, and water. |
 |
|
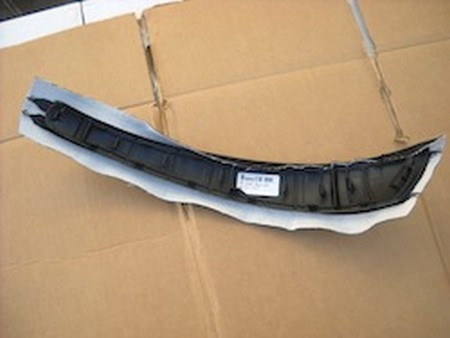
5. Here are the rivets reinstalled onto the dash trim and the fabric clear of the clips. |
 |
|
6. Install is the reverse of removal. Push the trim piece back onto the dash and the rivets into their clips. Use your removal tool to stuff any excess fabric in behind the trim piece. |
 |
CENTER CONSOLE INSTALL |
 |
|
2. As always, test fit the new piece before you glue it down. Then, spray the RedlineGoods piece and the piece you are going to glue down on. Use clothes pins to hold the fabric in place while the glue dries. |
 |
|
3. Once the glue dries, clip the shift boot back into the piece and clip the trim back into the center console. |
 |
|
CONGRATULATIONS - YOU HAVE SUCCESSFULLY INSTALLED YOUR NEW LEATHER BOOTS!
Useful tip You have installed a product made out of genuine leather. As you know, to maintain a leather product in good condition, you should take care of it. We suggest occasionally (every 4-6 week for example) applying some leather conditioner/UV protector to keep your leather from drying up in the sun and cracking. |
|
Subscribe to our newsletter to get an instant 20% discount!