1994-97 HONDA ACCORD |
||||||||||||||
|
1. The trim piece around the shifter must be removed to change the shift boot. Remove the shift knob by turning it (factory knob). The knob might be tight and require the use of vice grips. Remember to use a rag or towel to prevent damage while using the vice grips. |
|
|
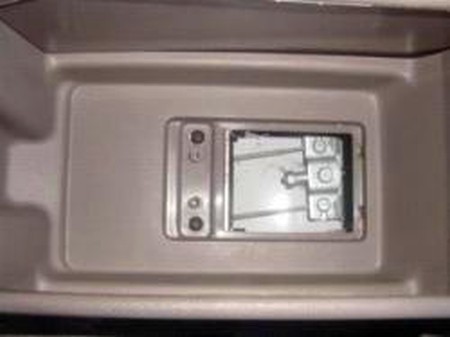
2. Open the armrest and removed the square cover inside. Remove the two screws inside the armrest. |
 |
|
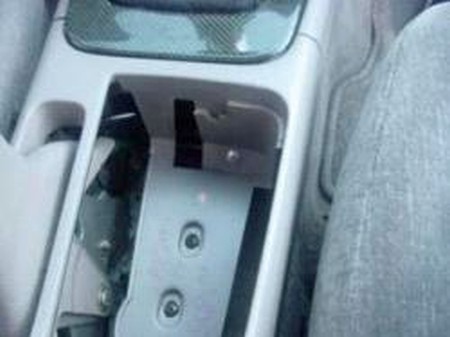
3. Remove the cup holder and remove the screw at the front (silver screw in the center of the picture). Pull back the armrest and lift it over the emergency brake.
|
 |
|
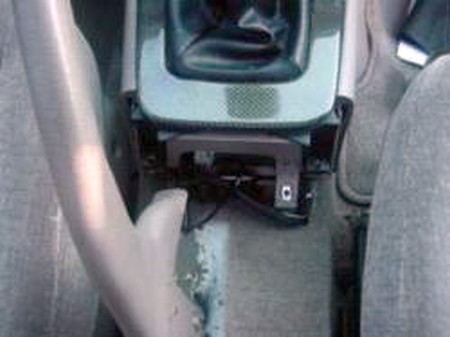
4. Remove the ash tray and cigarette lighter. The trim piece holding the old boot is held in place by two screws that have been exposed by the removed the armrest. Remove the two screws. The trim piece can be pulled up. Remove the plugs for the hazard lights and clock. |
 |
|
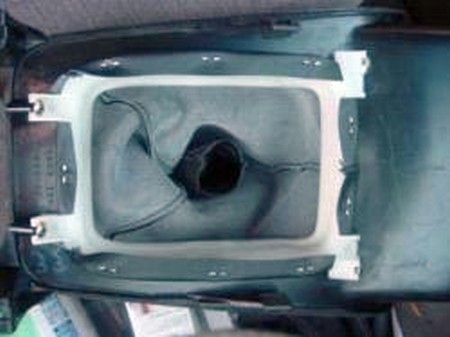
5. Turn the trim piece over and remove the four screws holding the shift boot bracket in place. Remove the old shift boot from the bracket. Attach the new shift boot to the bracket using a staple gun. The new boot can be attached using the top piece (the metal plug-like ring) if you are using the factory knob or a zip tie when using an aftermarket knob. |
 |
|
6. Reinstall everything in the reverse order of removal. |
|
|
CONGRATULATIONS - YOU HAVE SUCCESSFULLY INSTALLED YOUR NEW LEATHER BOOTS!
Useful tip You have installed a product made out of genuine leather. As you know, to maintain a leather product in good condition, you should take care of it. We suggest occasionally (every 4-6 week for example) applying some leather conditioner/UV protector to keep your leather from drying up in the sun and cracking. |
|
Please subscribe to our newsletter.
Get an instant 20% discount and enter our montly $100 CASH sweepstakes!

